WiNG Controller
Ta treść nie jest jeszcze dostępna w Twoim języku.
RADIUS server configuration
Log in to your WiNG controller
Go to Configuration -> Network -> AAA Policy
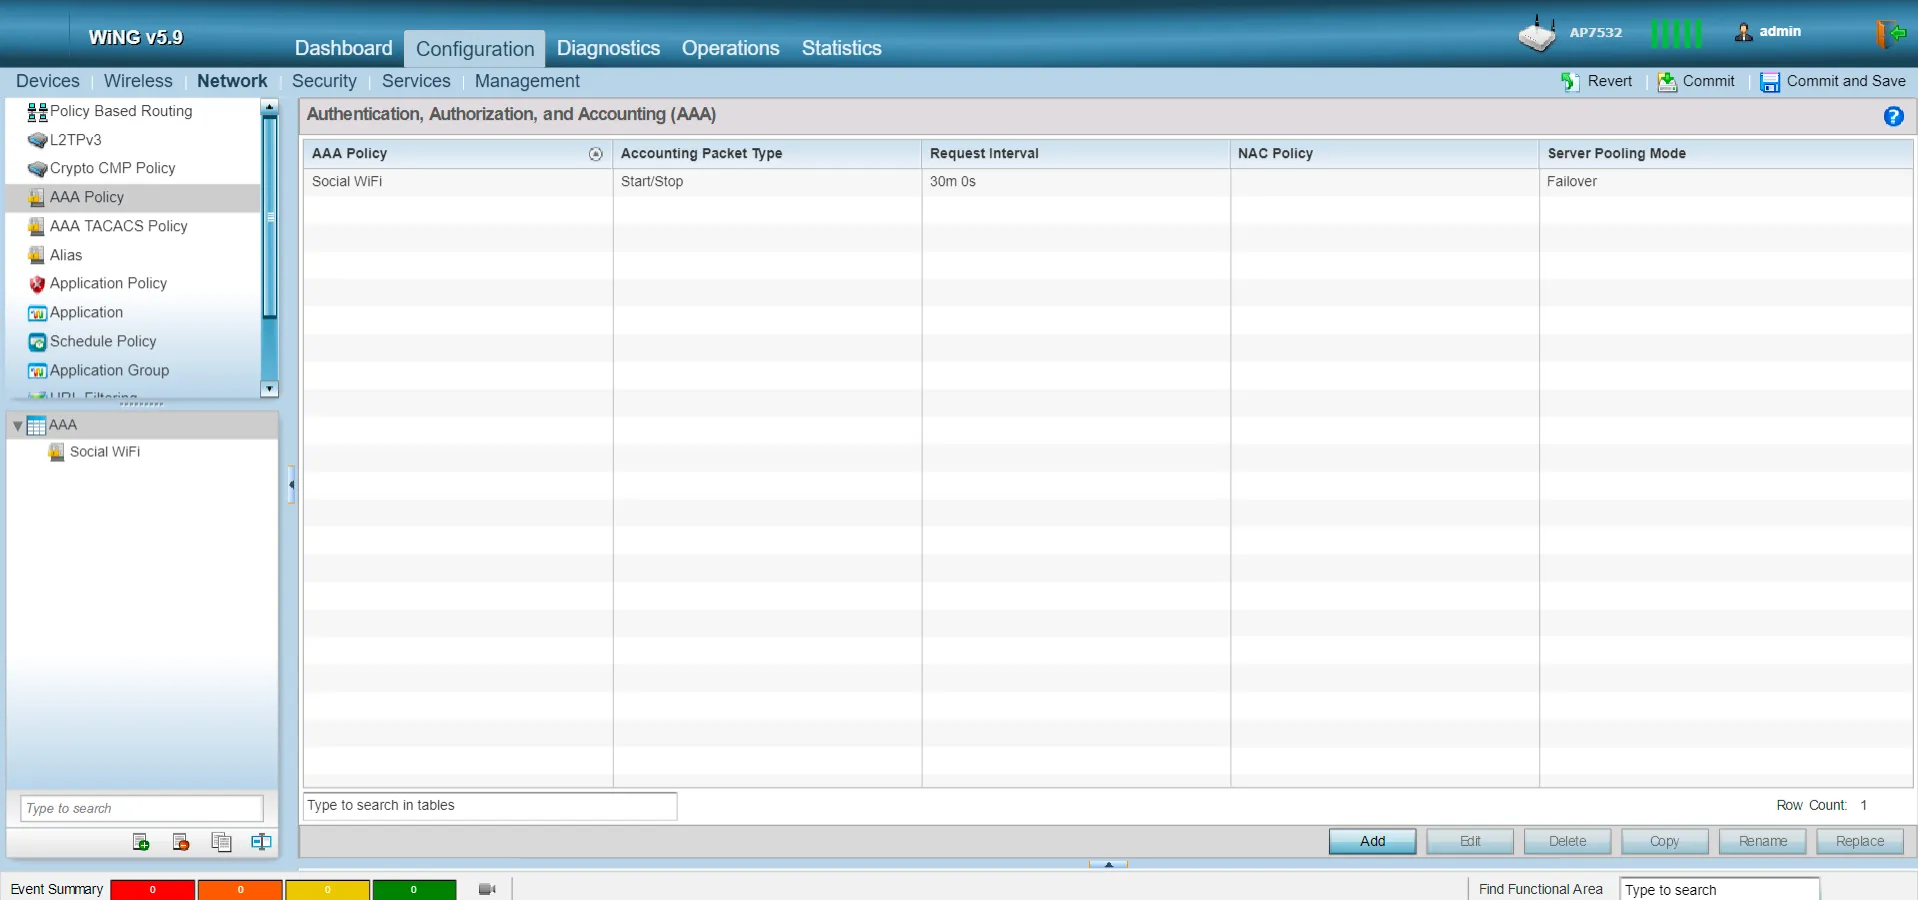
Click “Add”
Enter the name for the policy as “Social WiFi” and click “Continue”
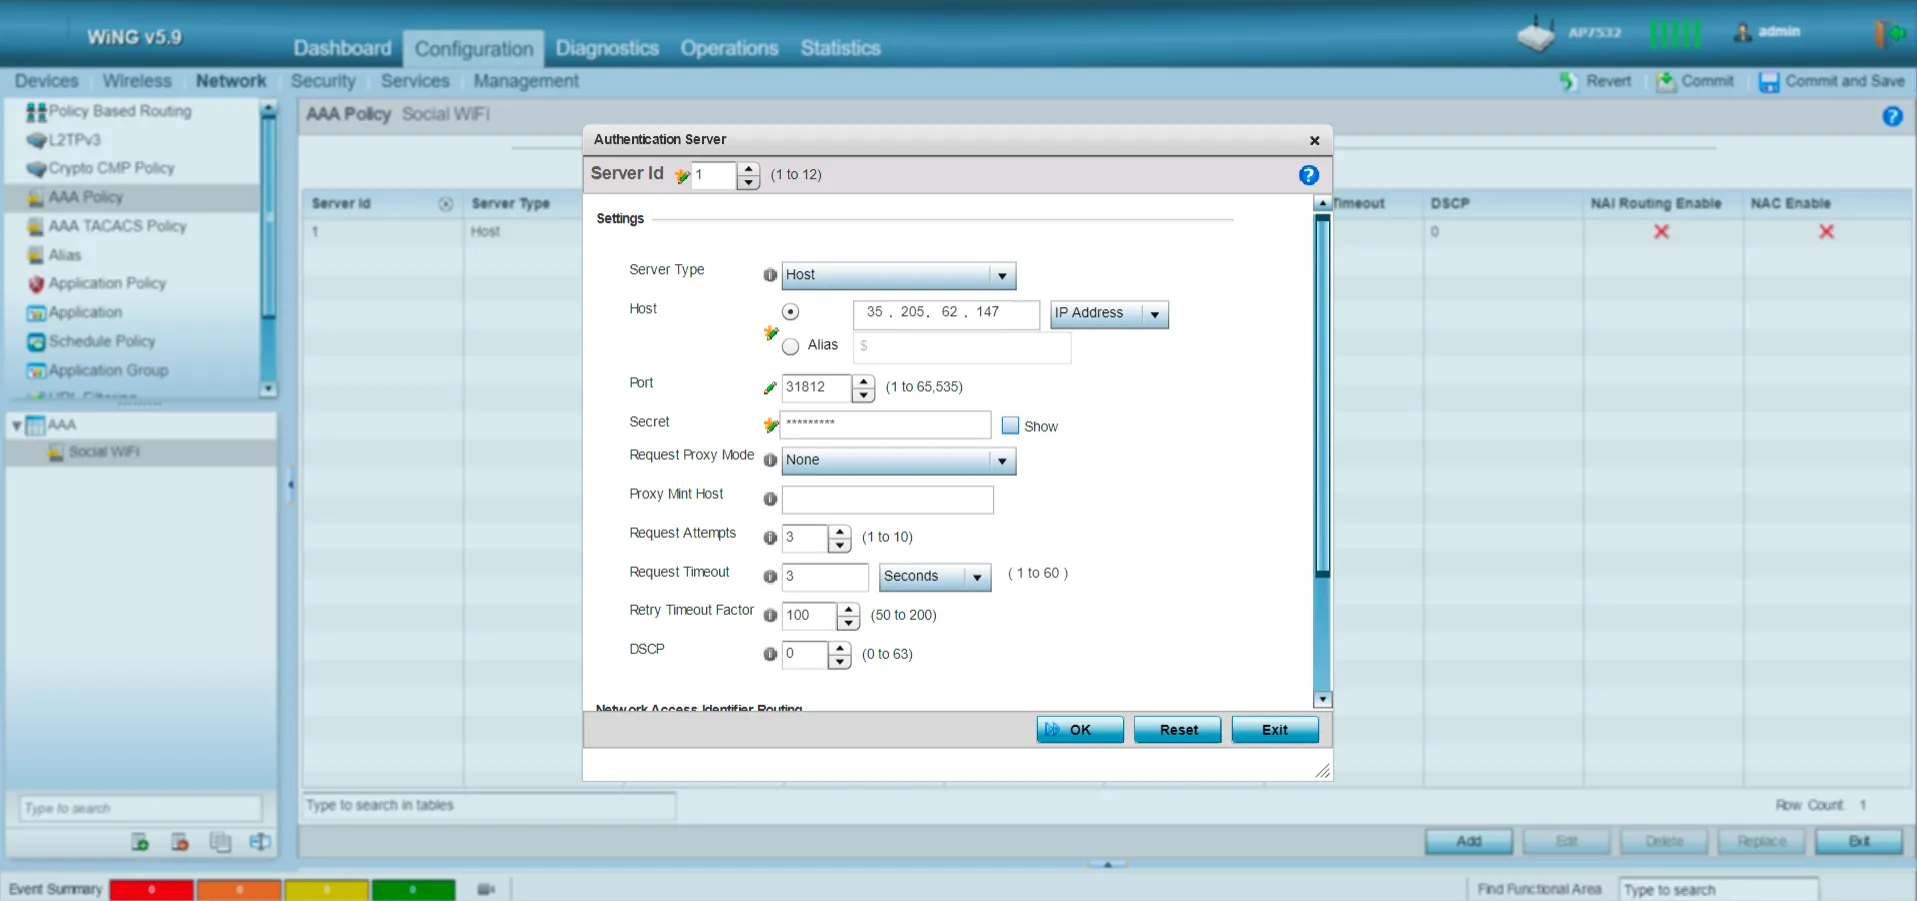
In RADIUS Authentication tab, click “Add” and fill the fields as follows:
| Server Type | Host |
|---|---|
| Host | choose the IP Address from the list and type in 35.205.62.147 |
| Port | 31812 |
| Secret | Radius Secret available in Access Points tab of the Social WiFi Panel |
| OK |
Walled Garden configuration
Go to Configuration -> Services
From the list on your left side, choose “DNS Whitelist”
Click “Add”
Enter the name of the profile as “Social WiFi”
Add the following entries by clicking “Add Row” and filling the details as follows:
| socialwifi.com | yes |
|---|---|
| sw-login.com | no |
| facebook.com | yes |
| fbcdn.net | yes |
| facebook.net | yes |
| twitter.com | no |
| api.twitter.com | no |
| x.com | no |
| api.x.com | no |
| twimg.com | yes |
| linkedin.com | yes |
| licdn.com | yes |
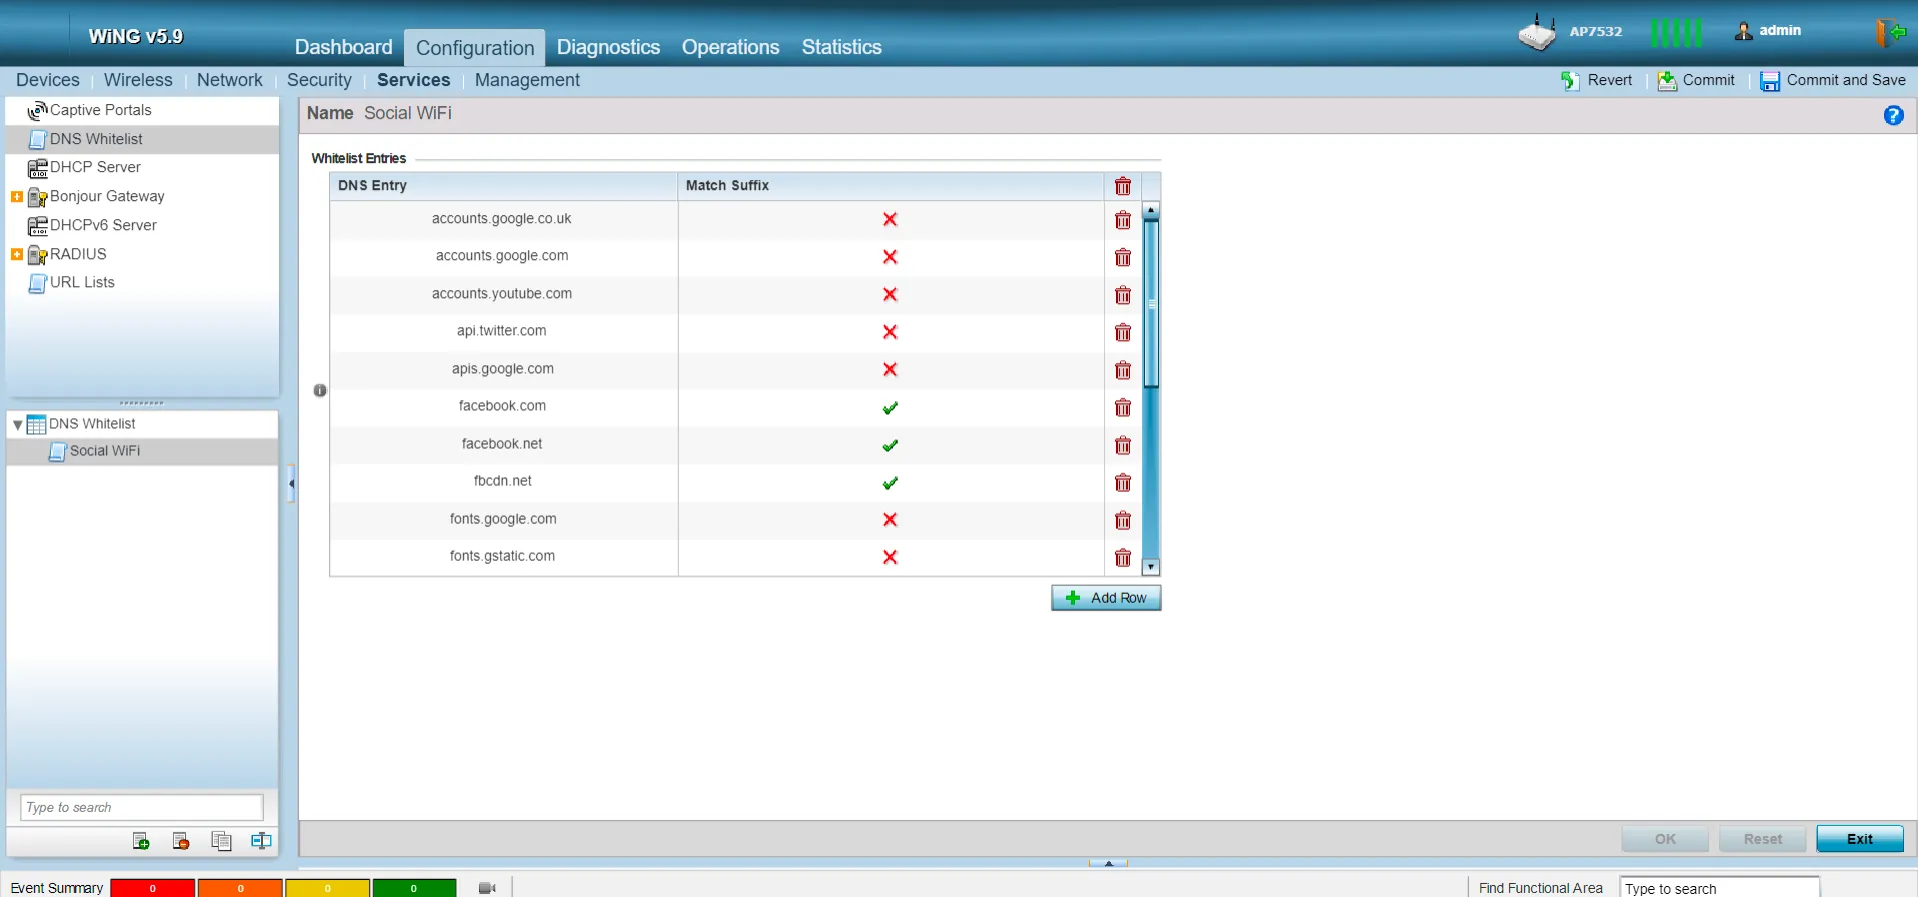
Click OK
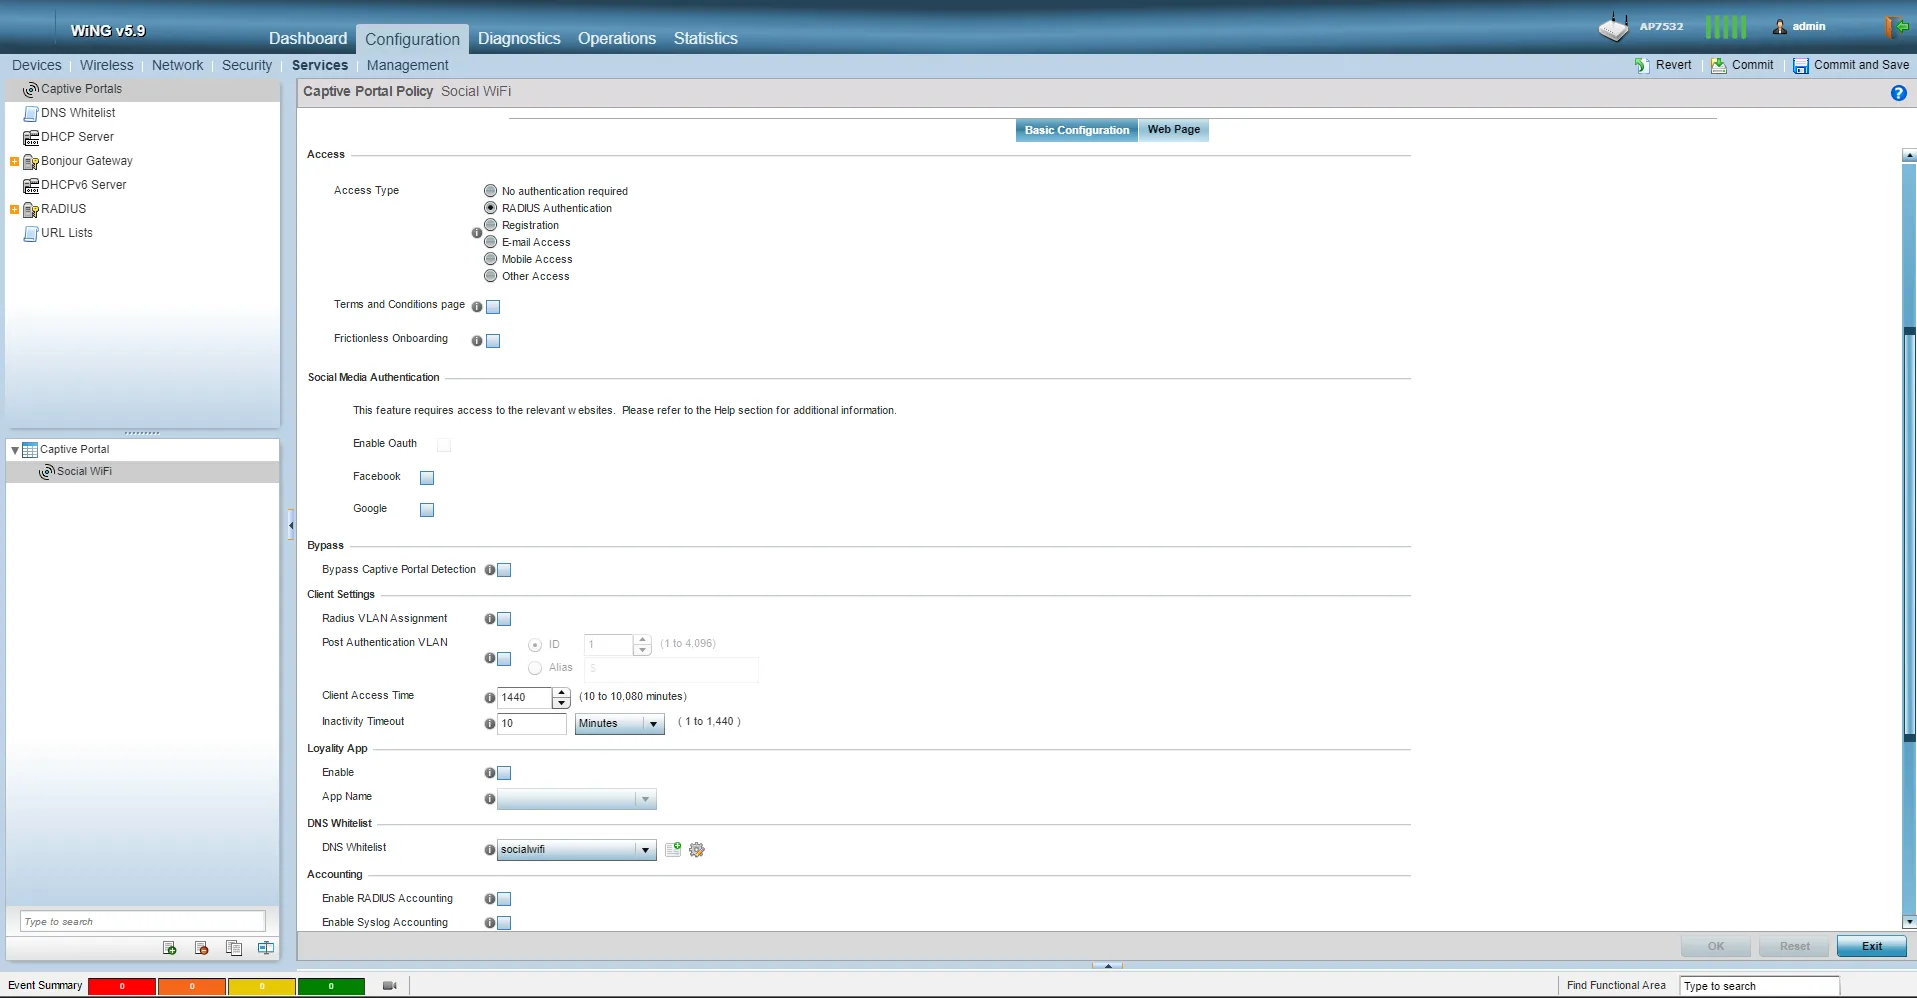
Captive Portal profile configuration
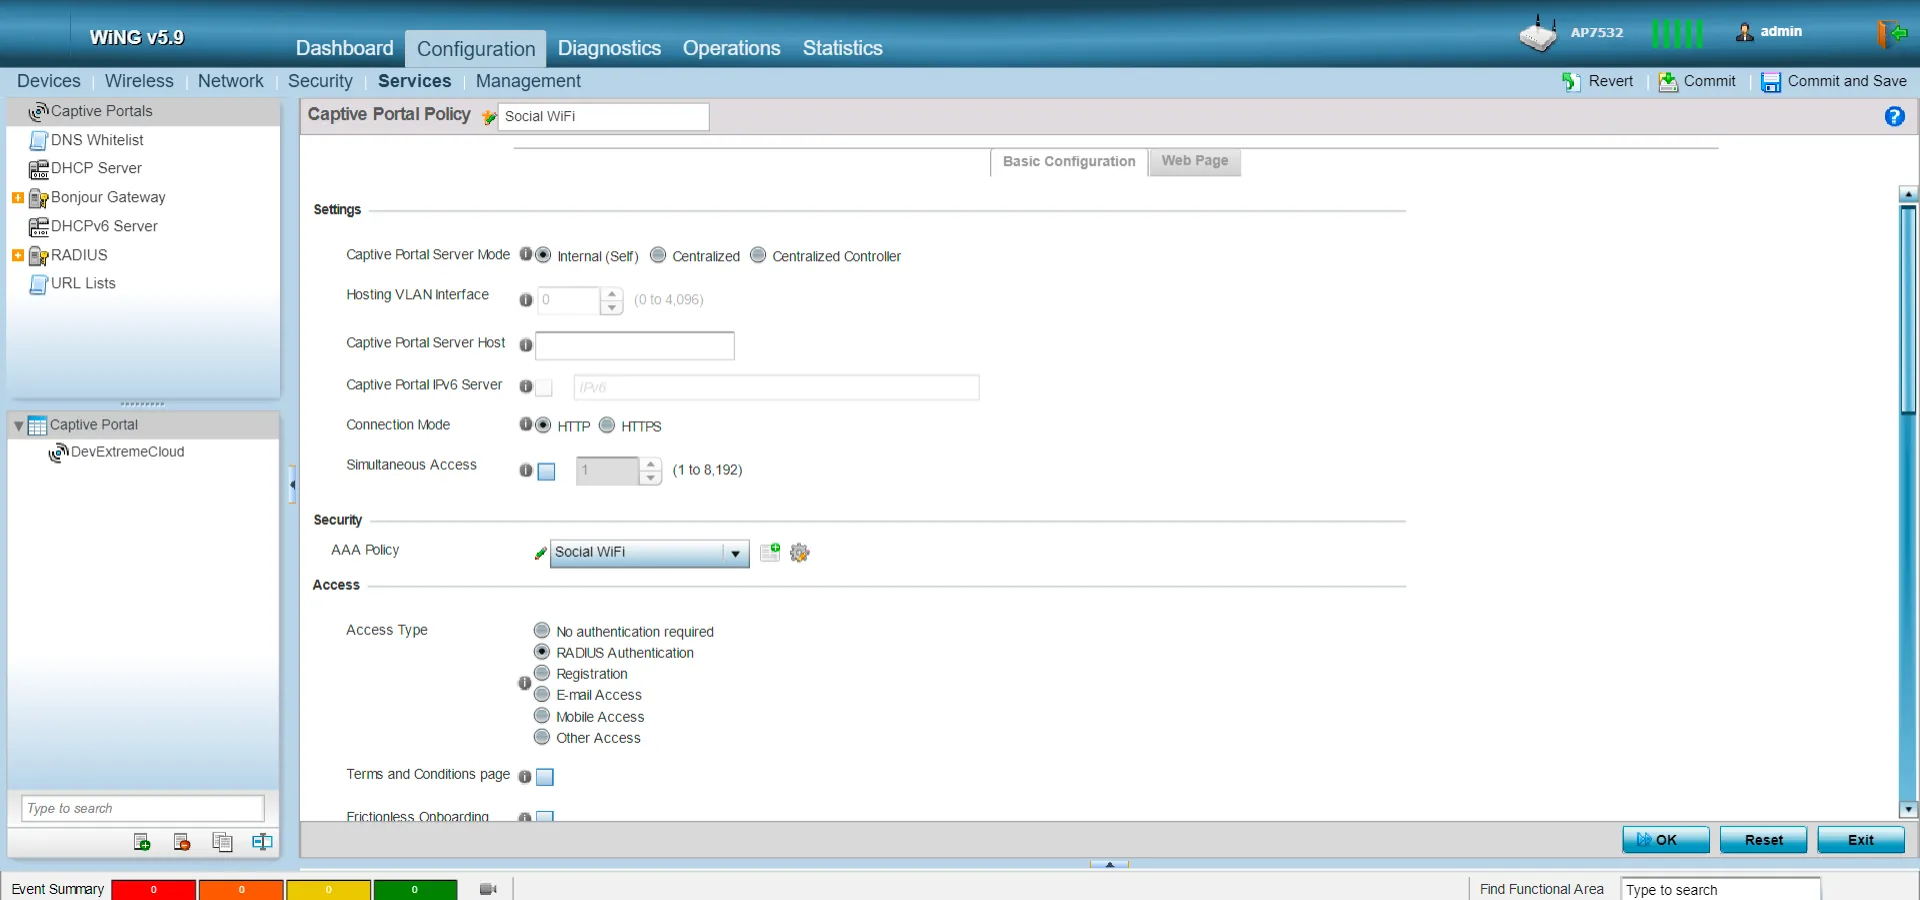
From the list on your left side, choose “Captive Portals”
Click “Add”
Enter the name of the profile as “Social WiFi”
In the “Basic Configuration” tab, fill the fields as follows:
| Captive Portal Server Mode | Internal (Self) |
|---|---|
| Connection Mode | HTTP |
| AAA Policy | choose “Social WiFi” |
| Access Type | Radius Authentication |
| DNS Whitelist | choose “Social WiFi” |
| OK |
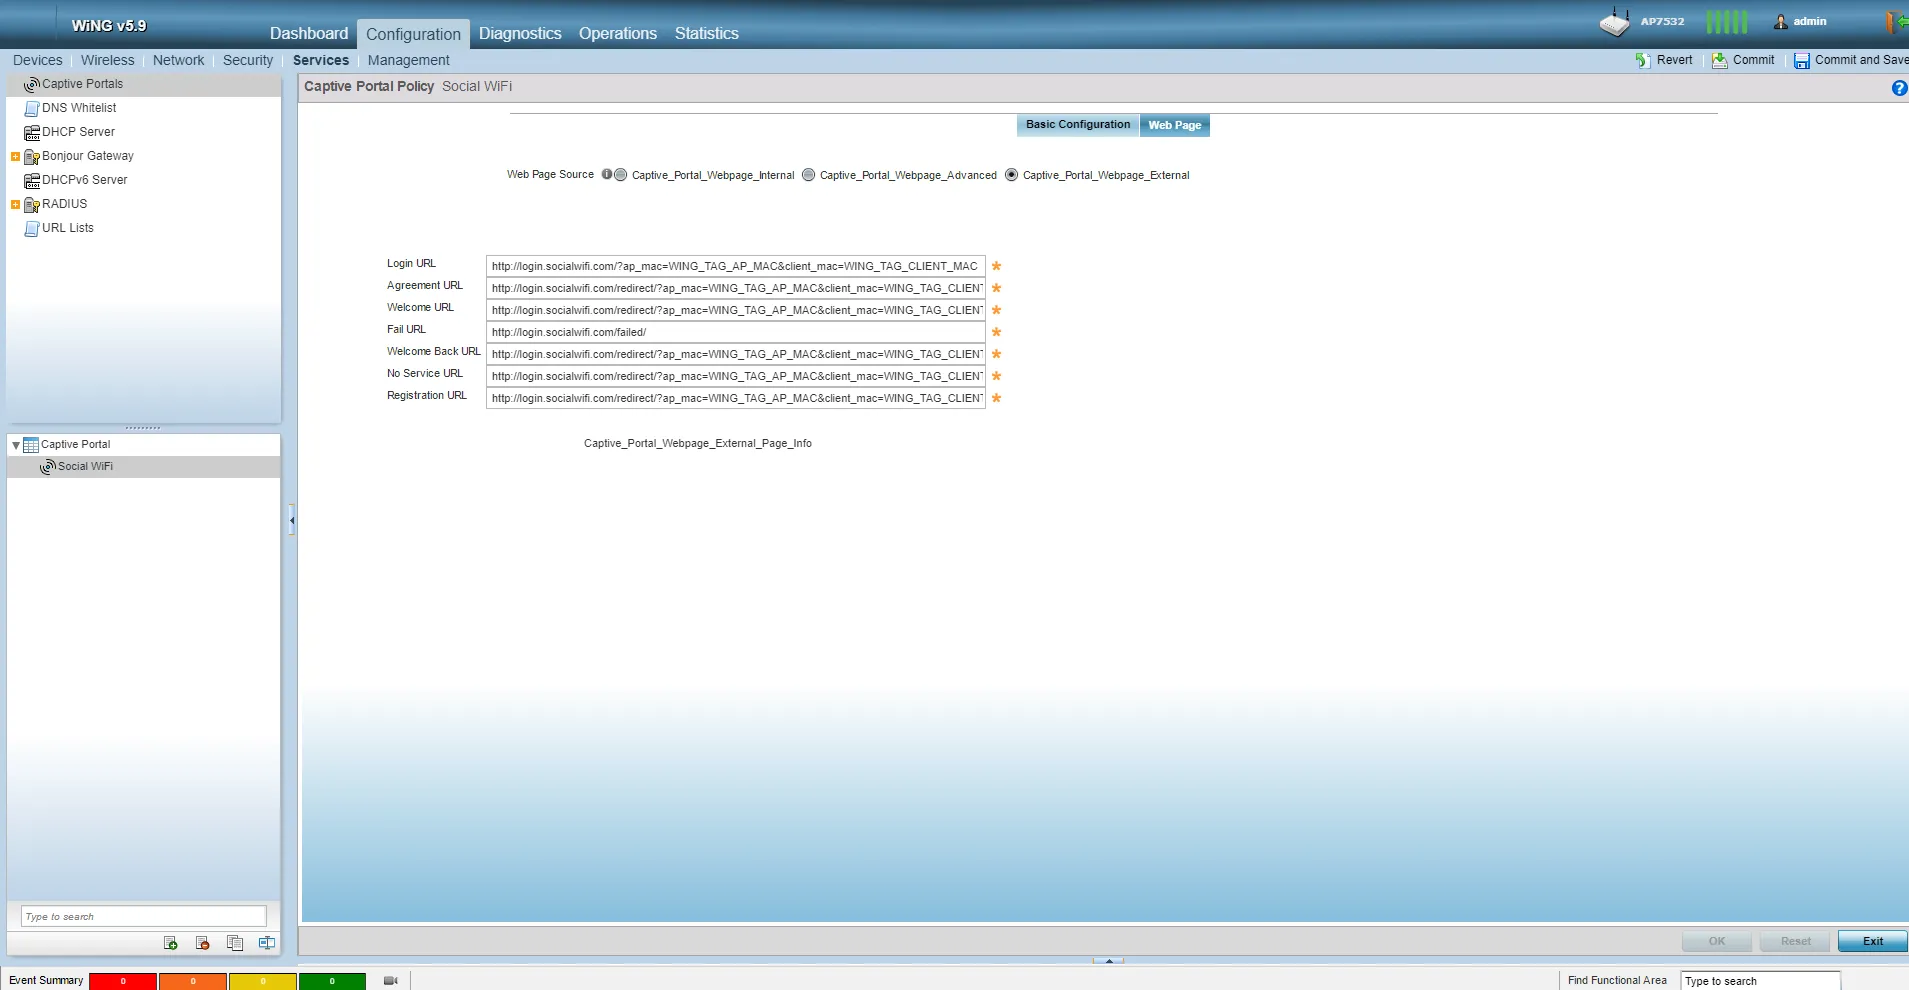
Click the “Web Page” tab and select Captive_Portal_webpage_External:
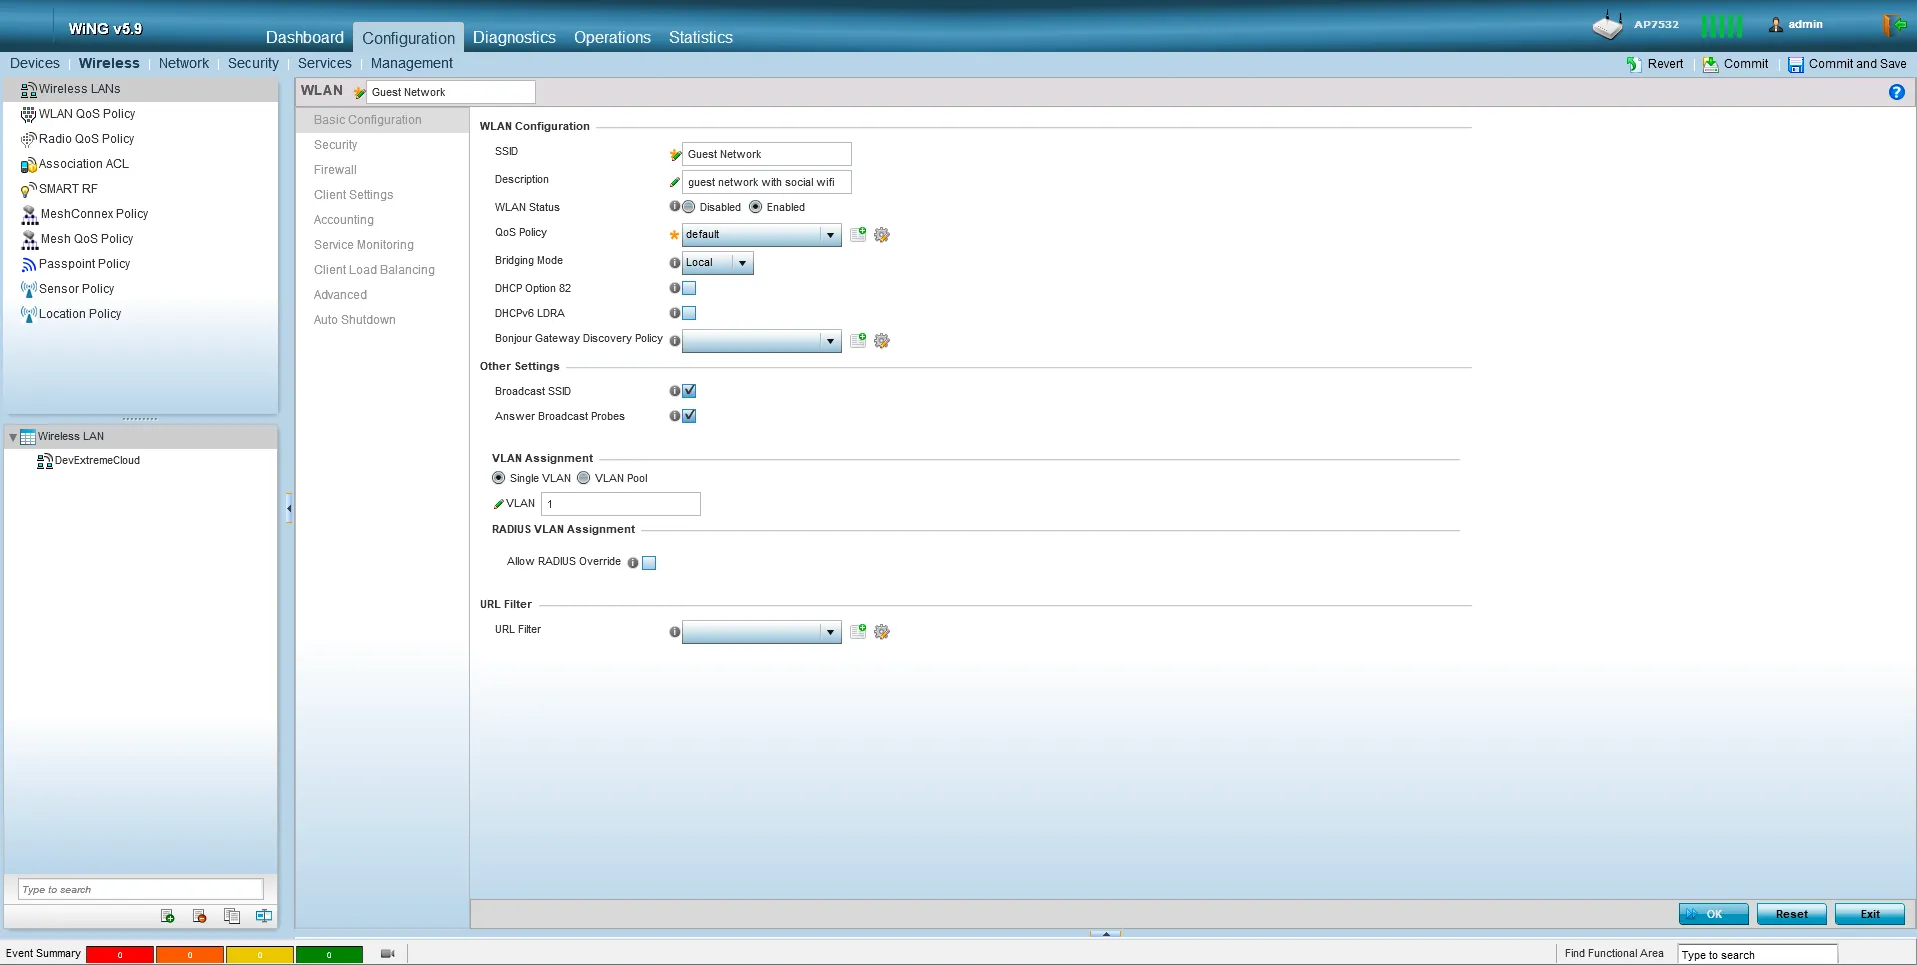
Guest Network configuration
Go to Configuration -> Wireless
Choose your guest network and press “Edit” or create a new one by pressing “Add”
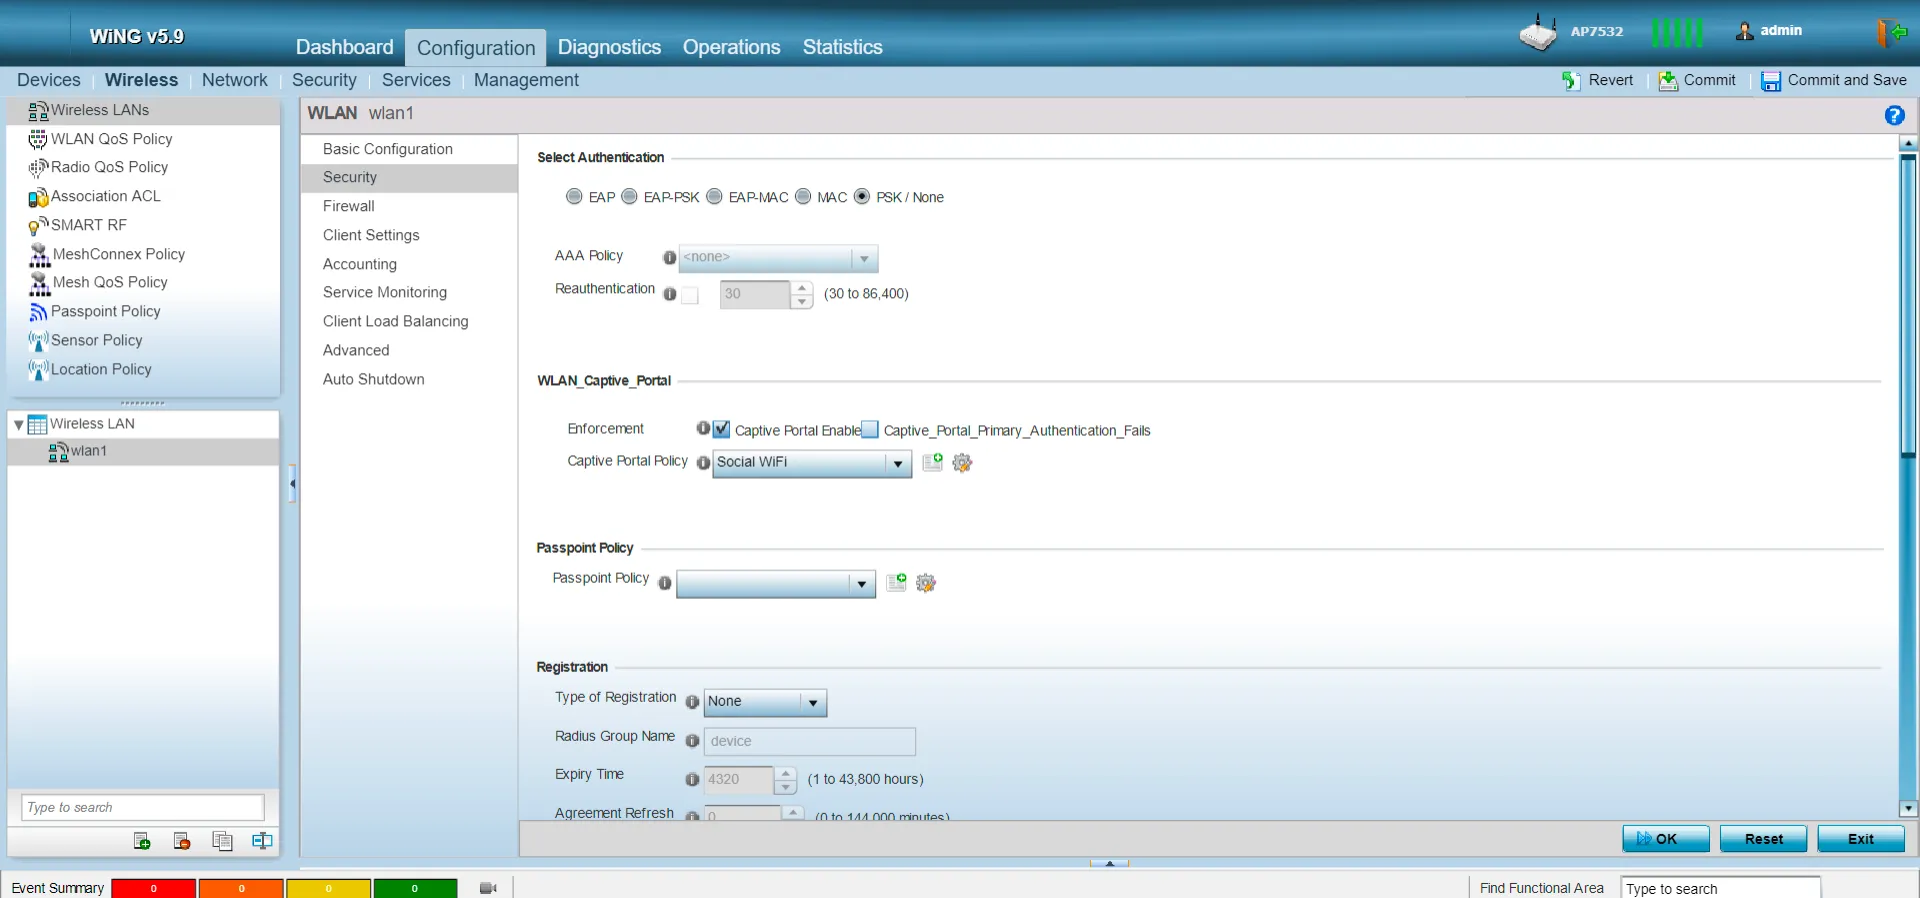
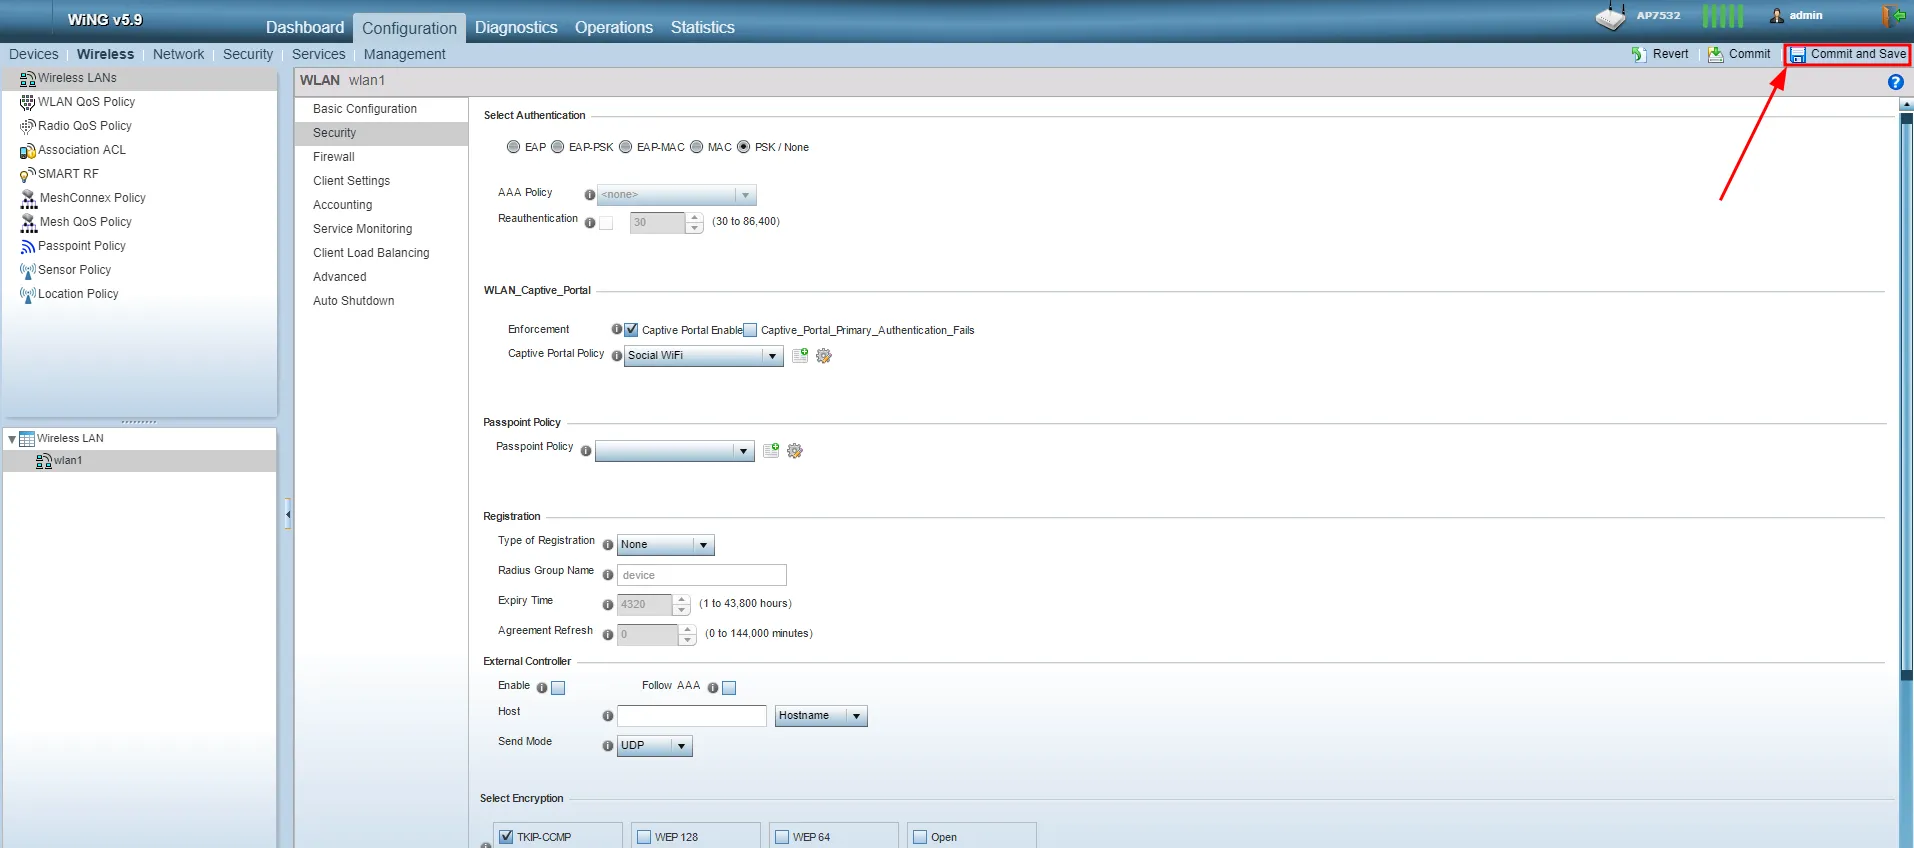
In the “Security” tab, set the following:
| Select Authentication | PSK/None |
|---|---|
| Enforcement | Captive Portal Enabled |
| Captive Portal Policy | choose “Social WiFi” |
| Select Encryption | Open |
Adding the device to Social WiFi Panel
Access your account in the Social WiFi Panel
Choose the correct venue to which you would like to add the device.
In the “Access Points” tab, press “Add” (upper right corner), paste the MAC address you copied into the form (adding a name is optional) and click “Create”.