Teltonika
Prerequisites
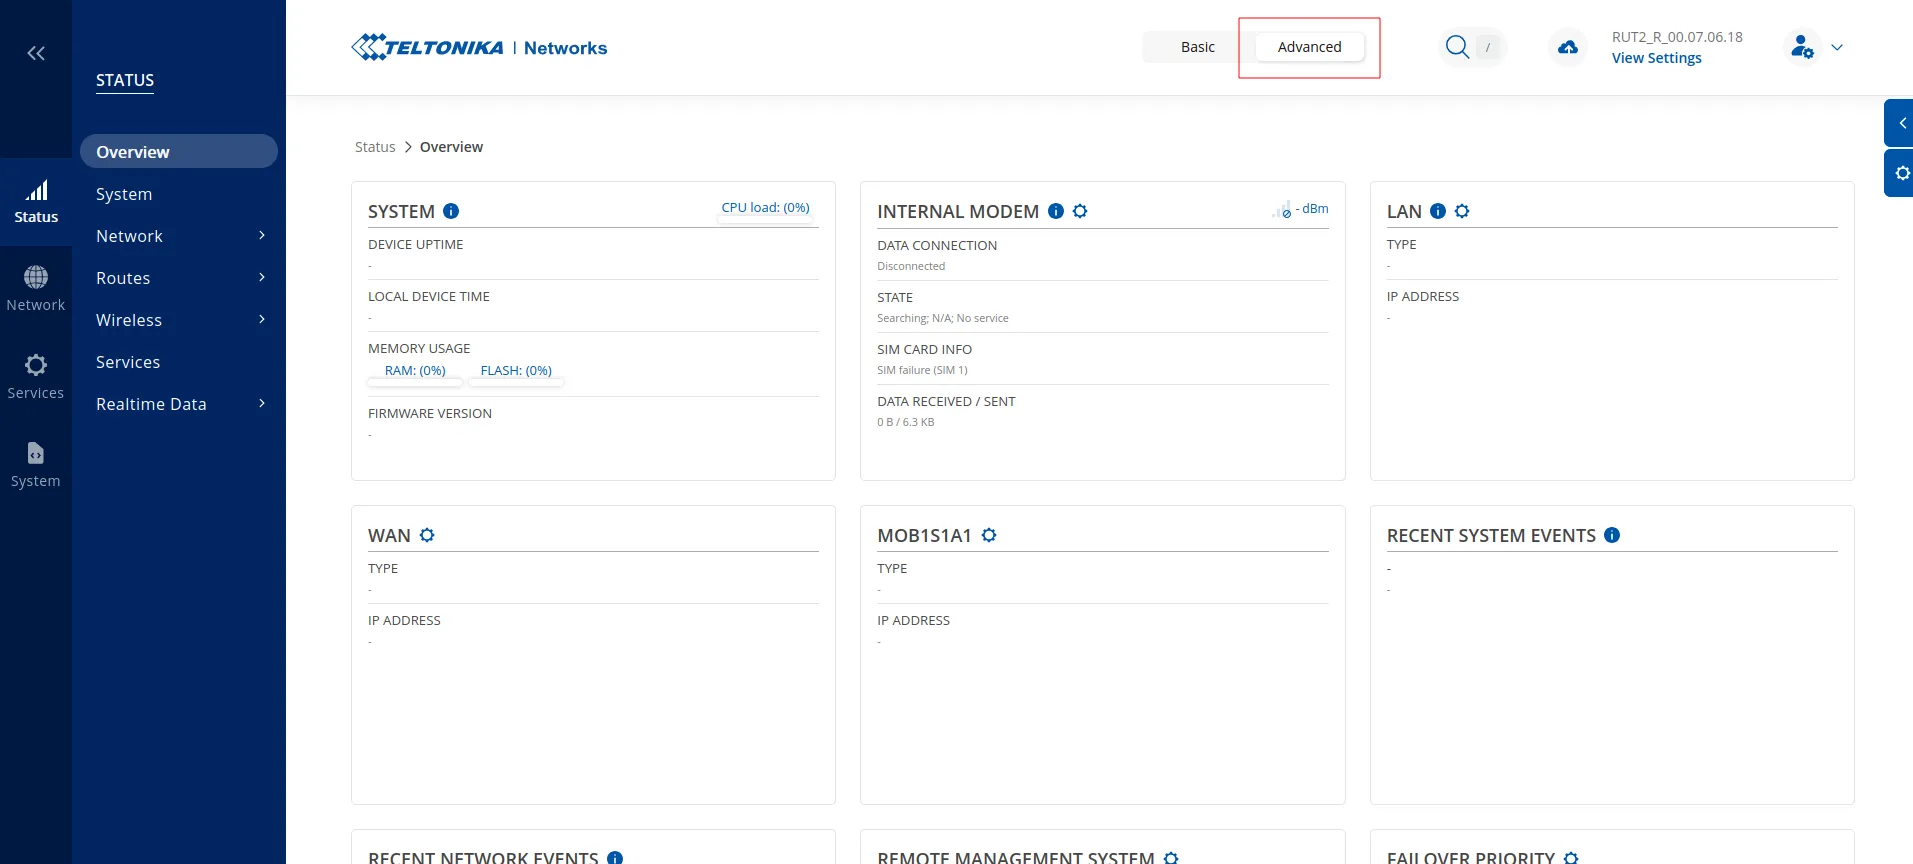
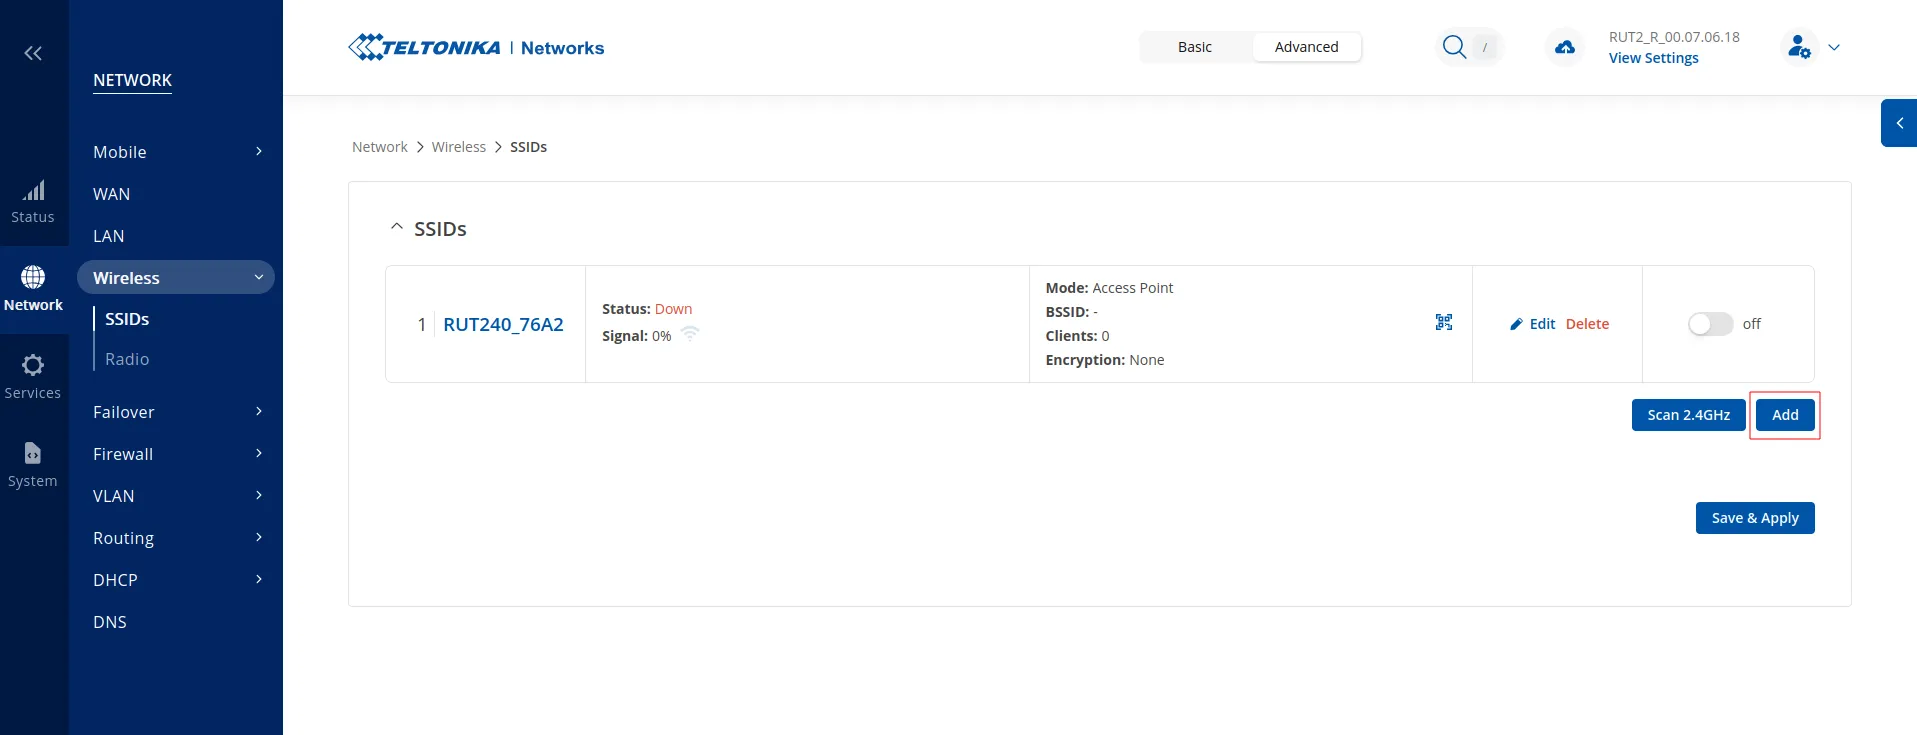
Switch to “Advanced settings” as shown below.
Compatibility
Device models:
- all Teltonika devices that can run firmware version 00.07 or higher
Firmware versions:
- 00.07+ (tested up to 00.07.06.18)
Package installation
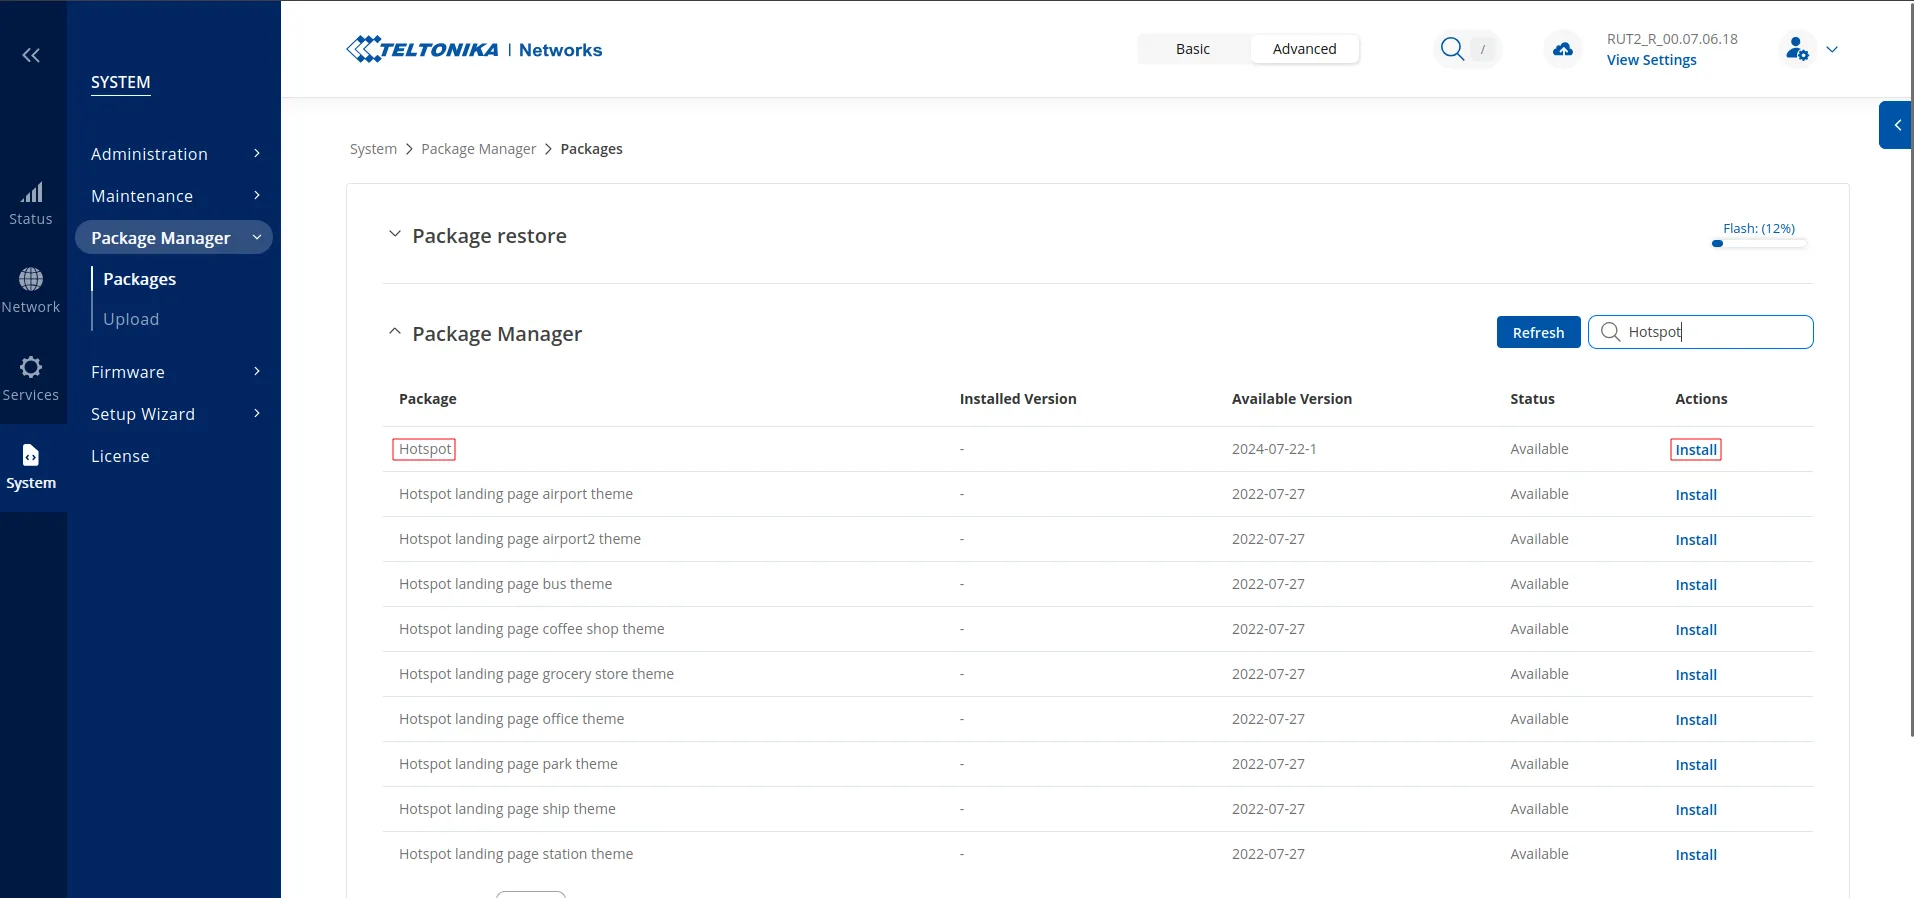
Ensure that the “Hotspot” package is installed. Go to System -> Package Manager -> Packages, search for “Hotspot”, and click Install under the “Actions” column.
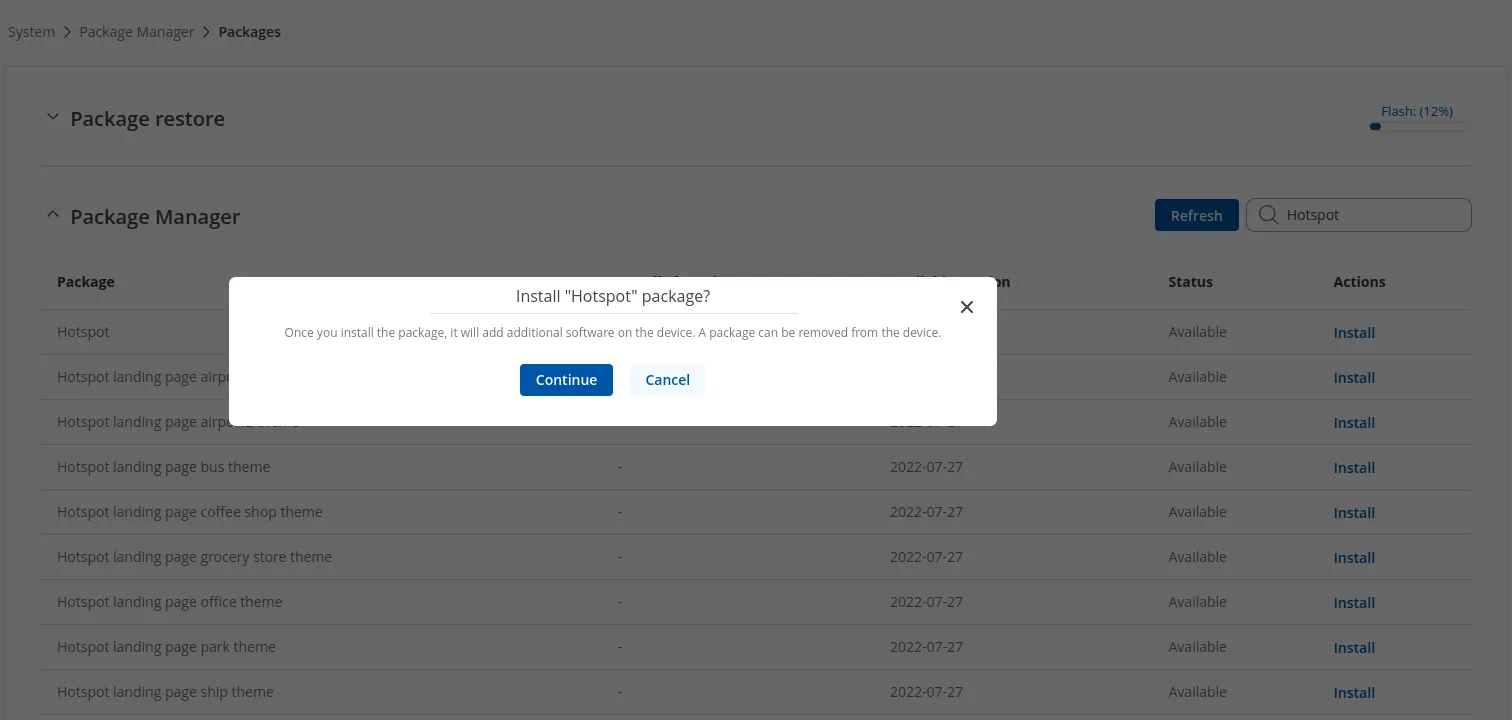
A pop-up window will appear. Click Continue and wait for the installation to complete.
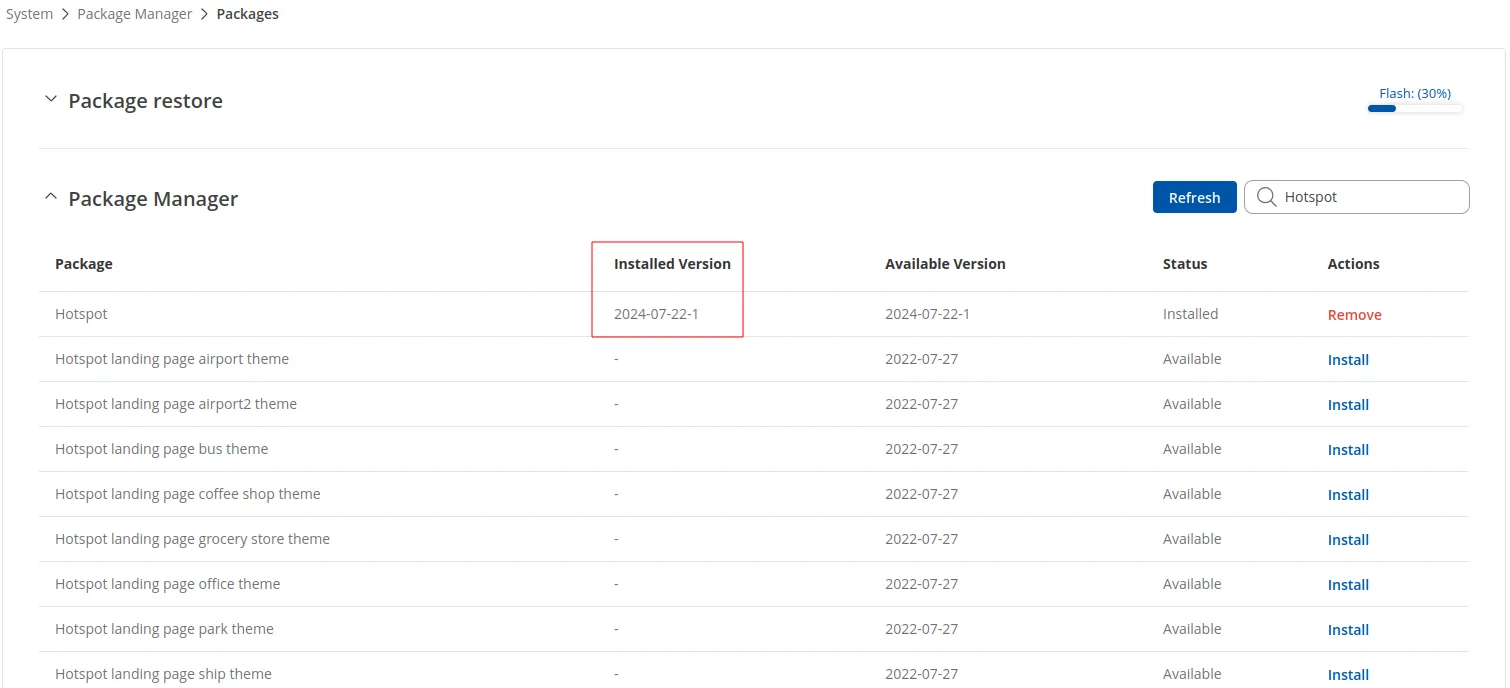
This might take a couple of minutes. Once finished, the package will be marked as installed:
If the Hotspot menu is not visible after installation completes, reboot the router.
SSID configuration
Go to Network -> Wireless -> SSIDs and click Add.
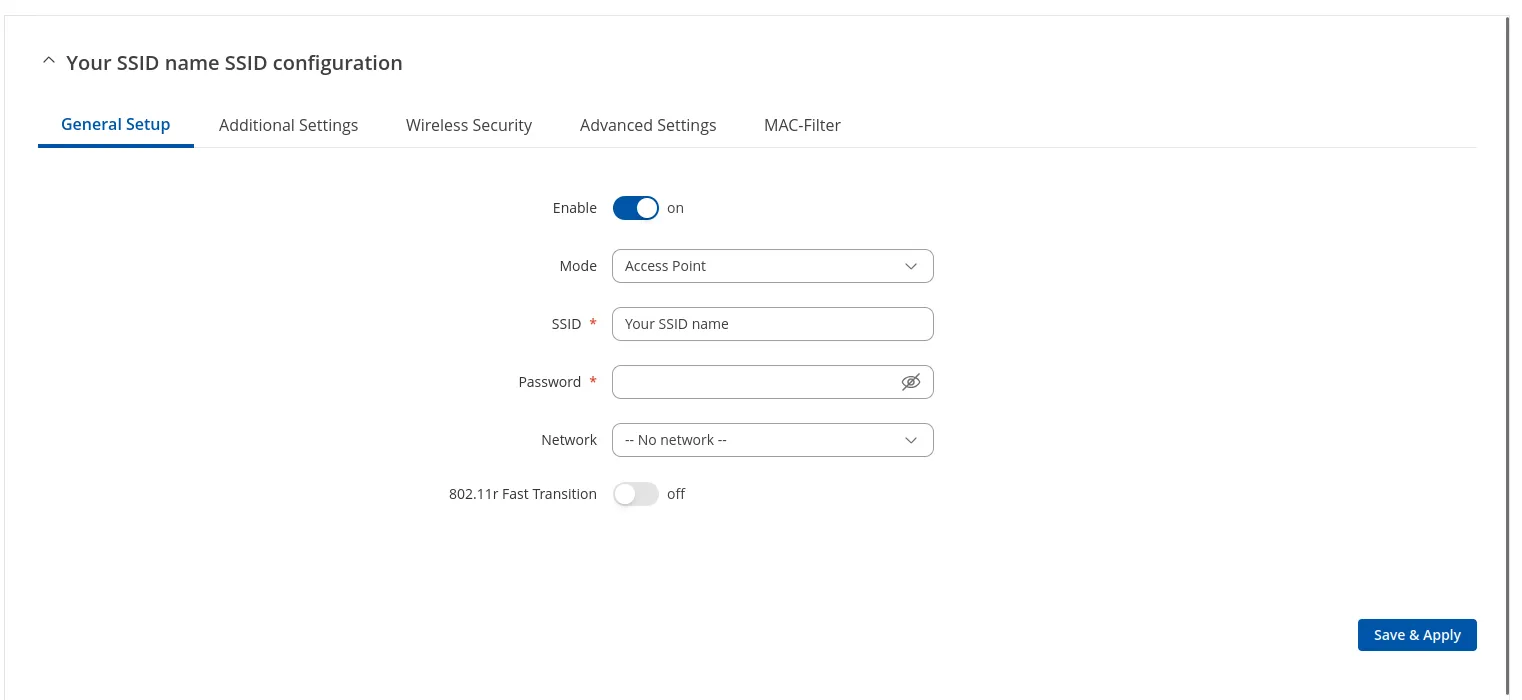
A pop-up window will appear. In the General Setup tab, configure as follows:
| Enable | on |
|---|---|
| Mode | Access Point |
| SSID | Your SSID name |
| Password | Leave empty |
| Network | — No network — |
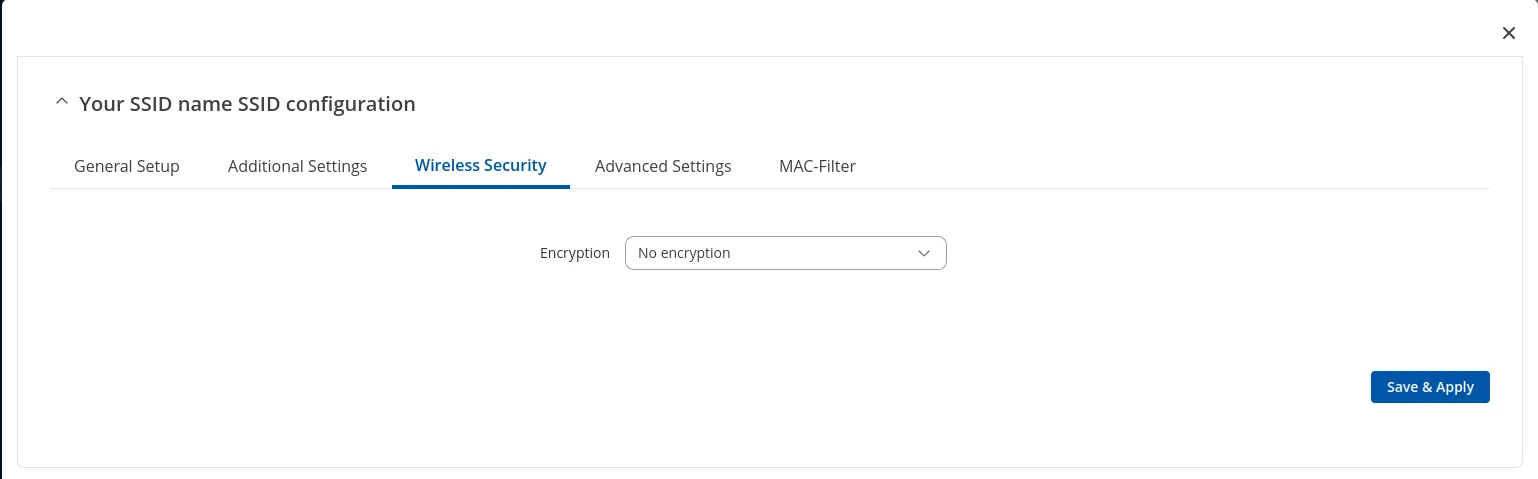
Switch to the Wireless Security tab and select “No encryption” from the Encryption drop-down menu:
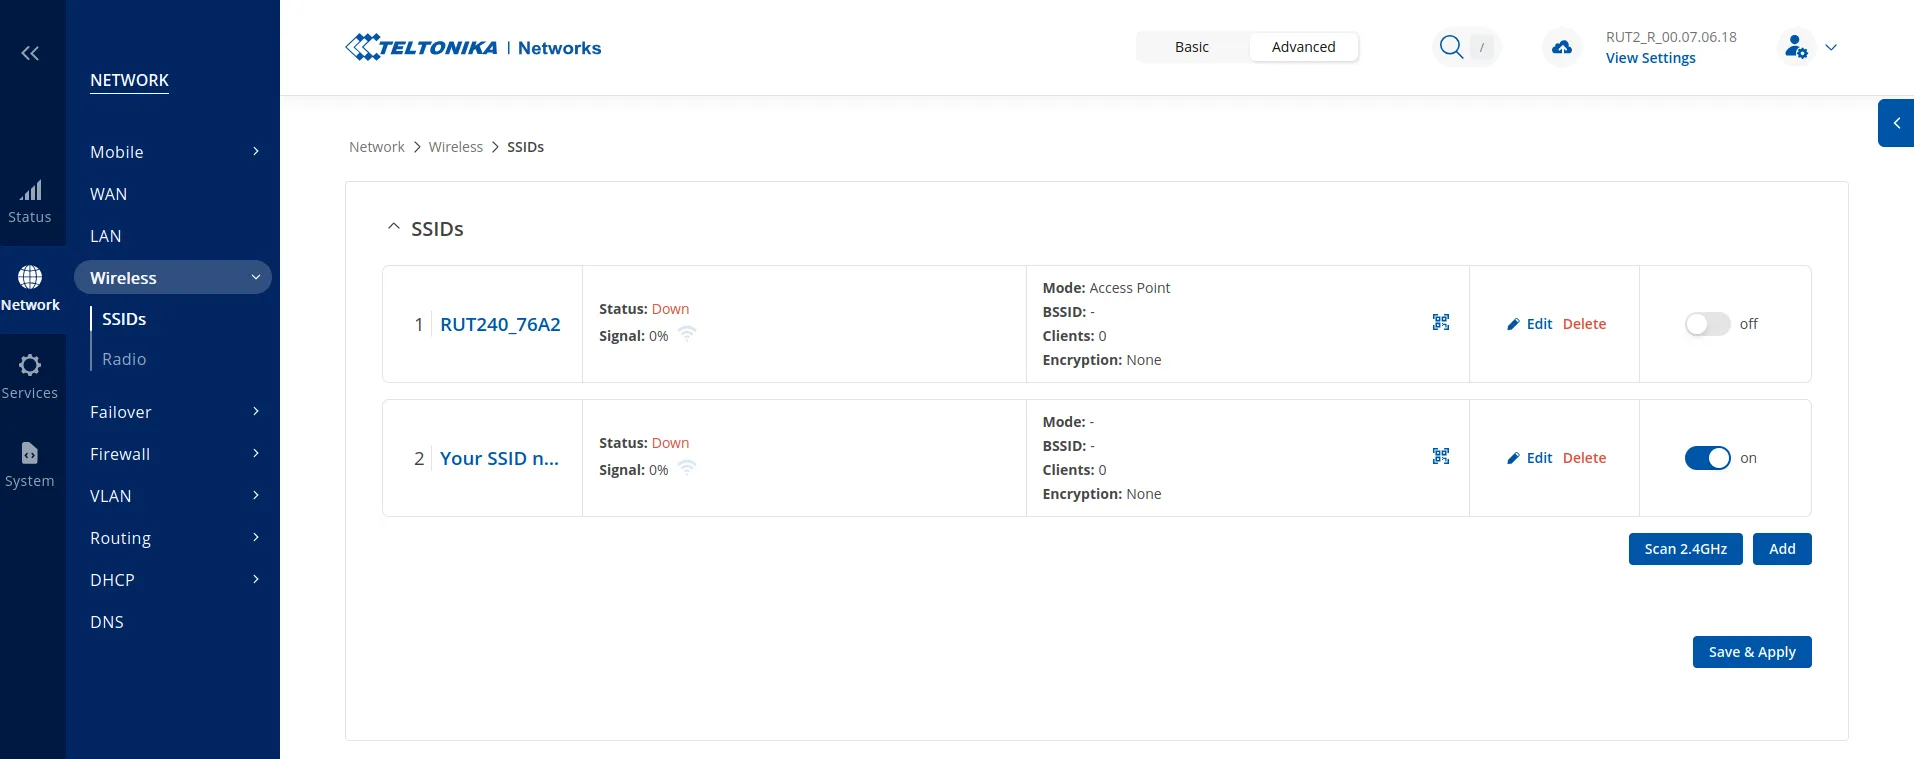
Click Save & Apply. The new SSID will appear as created and enabled:
Hotspot configuration
Go to Services -> Hotspot -> General.
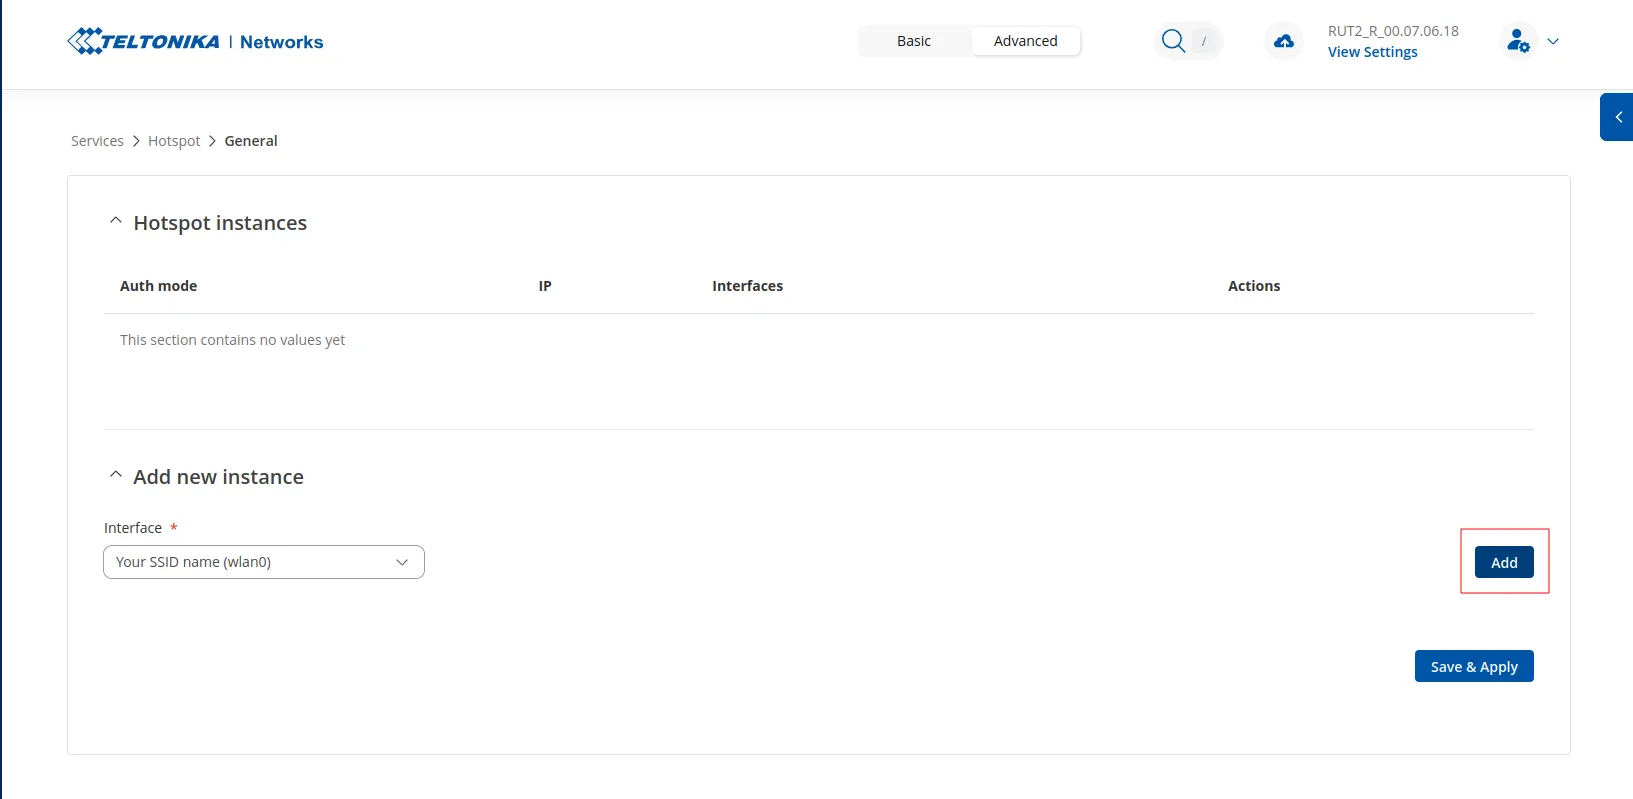
Under the “Add new instance” tab, select the SSID created in the previous step from the Interface drop-down menu.
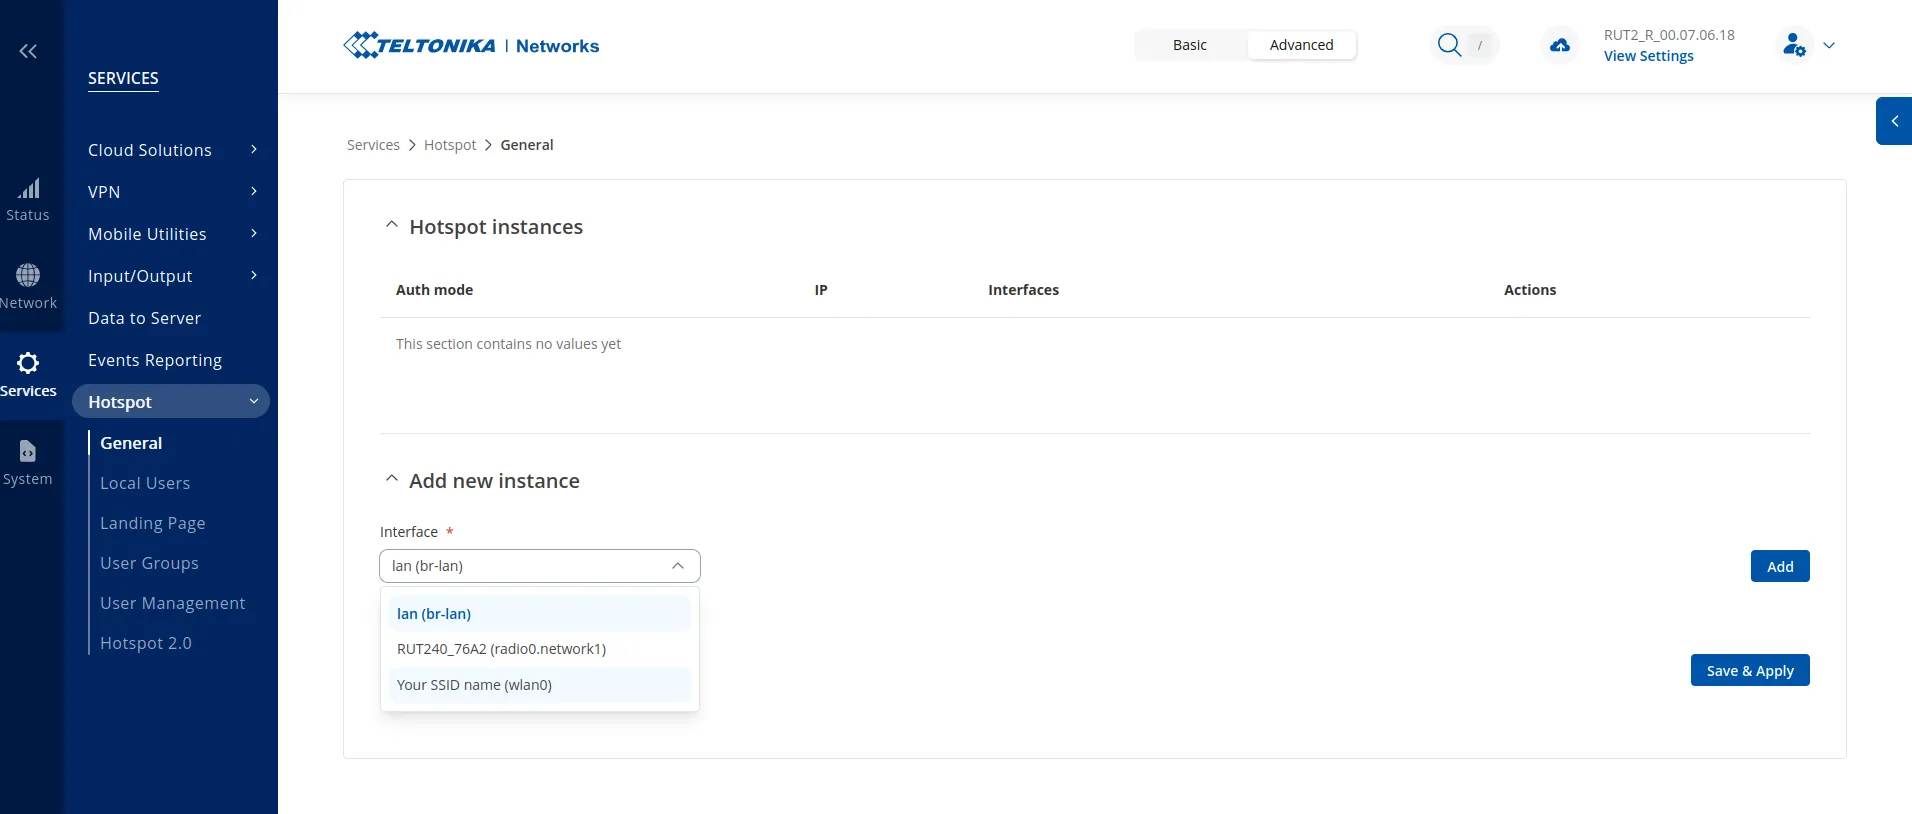
Click Add:
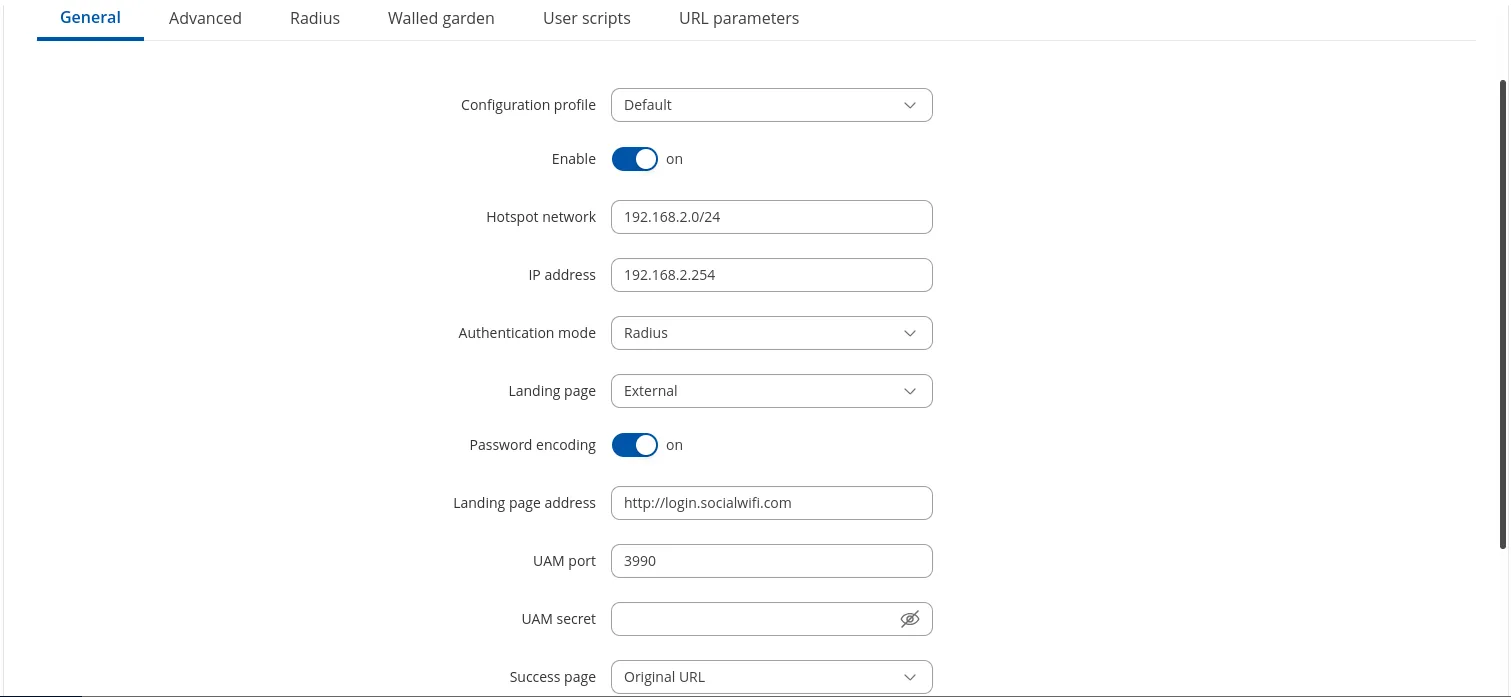
A pop-up window will appear. In the General tab, configure as follows:
| Configuration profile | Default |
|---|---|
| Enable | on - this will be available after changing “Authentication mode” to Radius |
| Hotspot network | 192.168.2.0/24 - the default value, feel free to change |
| IP address | 192.168.2.254 - the default value, must match Hotspot network |
| Authentication mode | Radius |
| Landing page | External |
| Password encoding | on |
| Landing page address | http://login.socialwifi.com |
| UAM port | 3990 |
| UAM secret | Leave empty |
| Success page | Original URL |
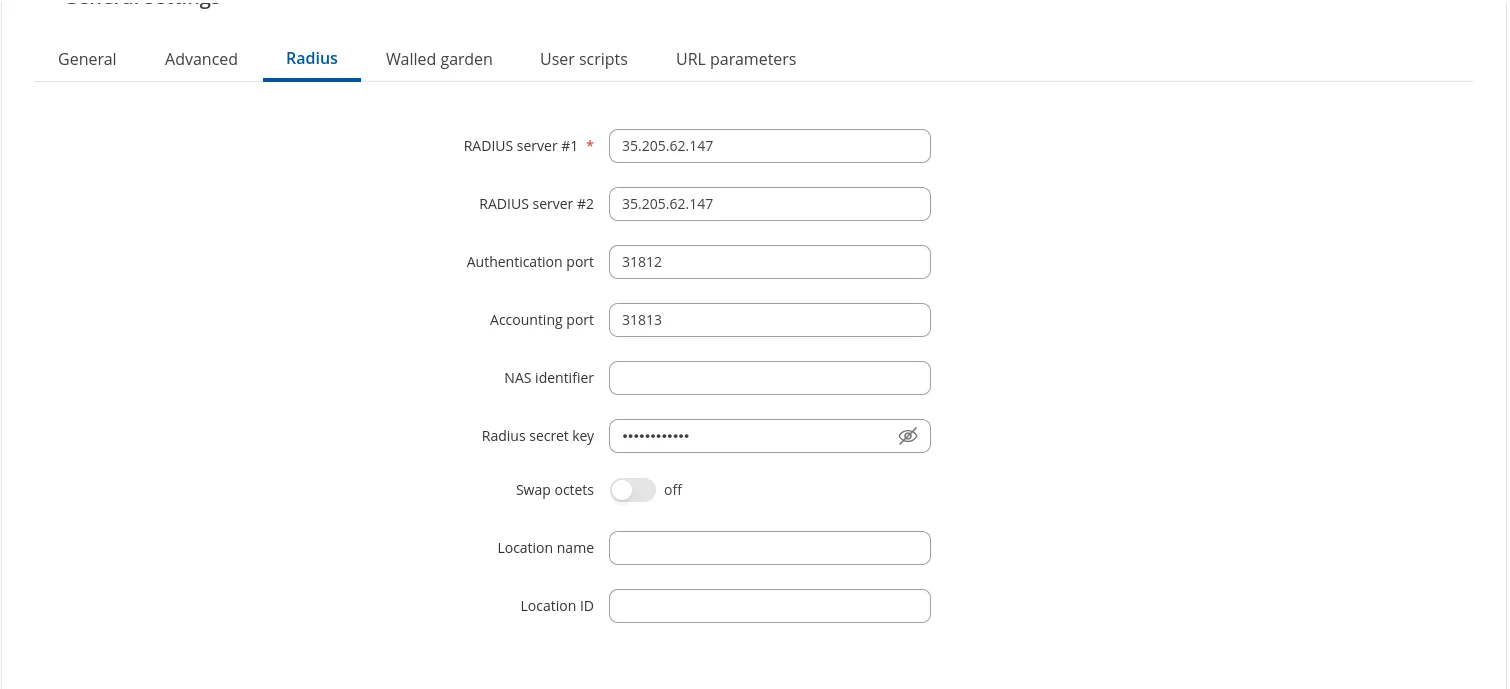
Switch to the Radius tab and configure as follows:
| RADIUS server #1 | 35.205.62.147 |
|---|---|
| RADIUS server #2 | 35.205.62.147 |
| Authentication port | 31812 |
| Accounting port | 31813 |
| NAS identifier | Leave empty |
| Radius secret key | RADIUS Secret is available in the Access Points tab of the Social WiFi Panel |
| Swap octets | off |
| Location name | Leave empty |
| Location ID | Leave empty |
Switch to the Walled garden tab. Make sure Mode is set to “Allowlist”, then copy and paste the entries below:
login.socialwifi.comsw-login.comwww.facebook.comfacebook.comstatic.xx.fbcdn.netexternal-frt3-2.xx.fbcdn.netwww.linkedin.comstatic-exp1.licdn.commedia-exp1.licdn.comstatic.licdn.comtwitter.comapi.twitter.comx.comapi.x.compbs.twimg.comabs-0.twimg.comabs.twimg.comwhatsapp.netwhatsapp.commmx-ds.cdn.whatsapp.netchat.cdn.whatsapp.netscontent.whatsapp.netconnect.facebook.netwww.facebook.comwww.googletagmanager.comwww.googleadservices.comgoogleads.g.doubleclick.net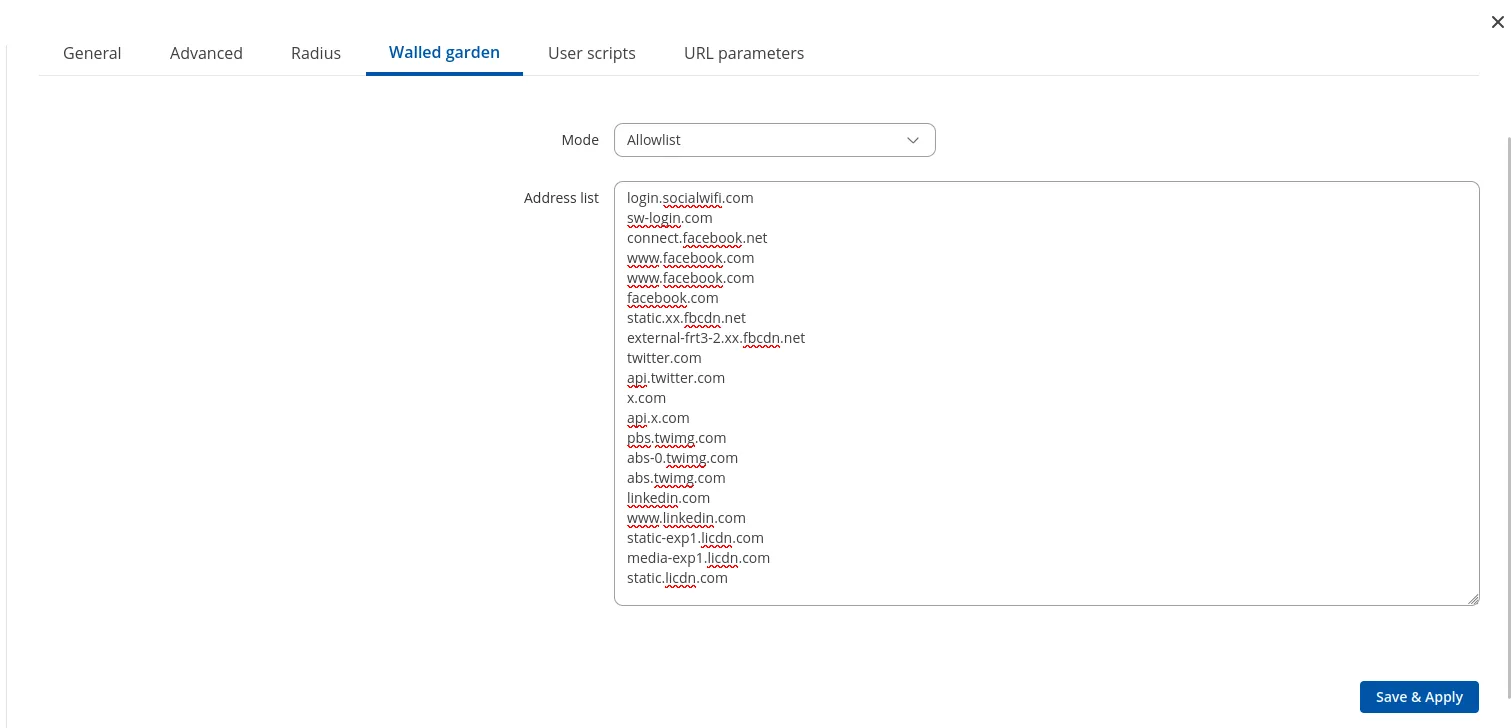
Click Save & Apply.
Adding the MAC address to the panel
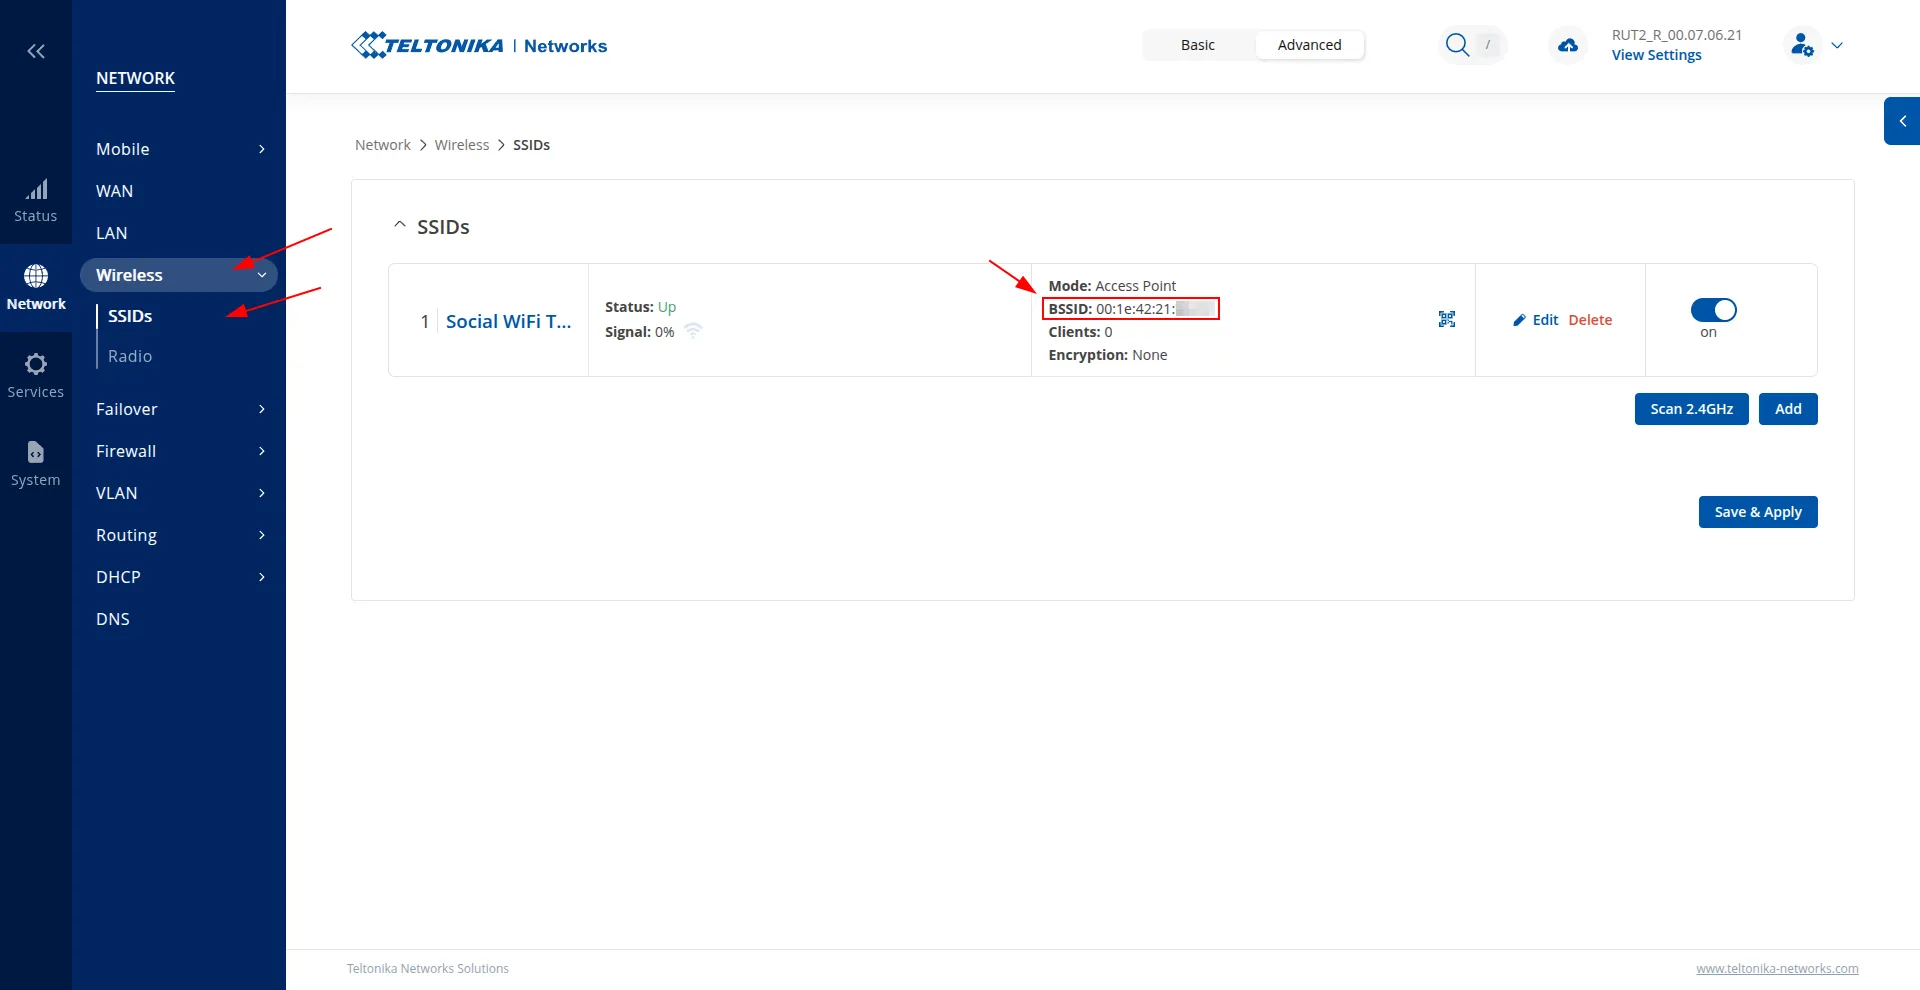
Go to Network -> Wireless -> SSIDs and copy the MAC address of your WLAN interface, as shown below.
Open the Social WiFi Panel, go to the Access Points tab, click Add, and paste the MAC address of the Teltonika router. Click Create.
Test the solution
Connect to the WiFi network. A login page should appear. Complete the login process to gain internet access. The first connections and authorizations will appear in the statistics section of the Social WiFi Panel.