TanazaOS
Overview
This guide assumes that you already have TanazaOS installed on your device.
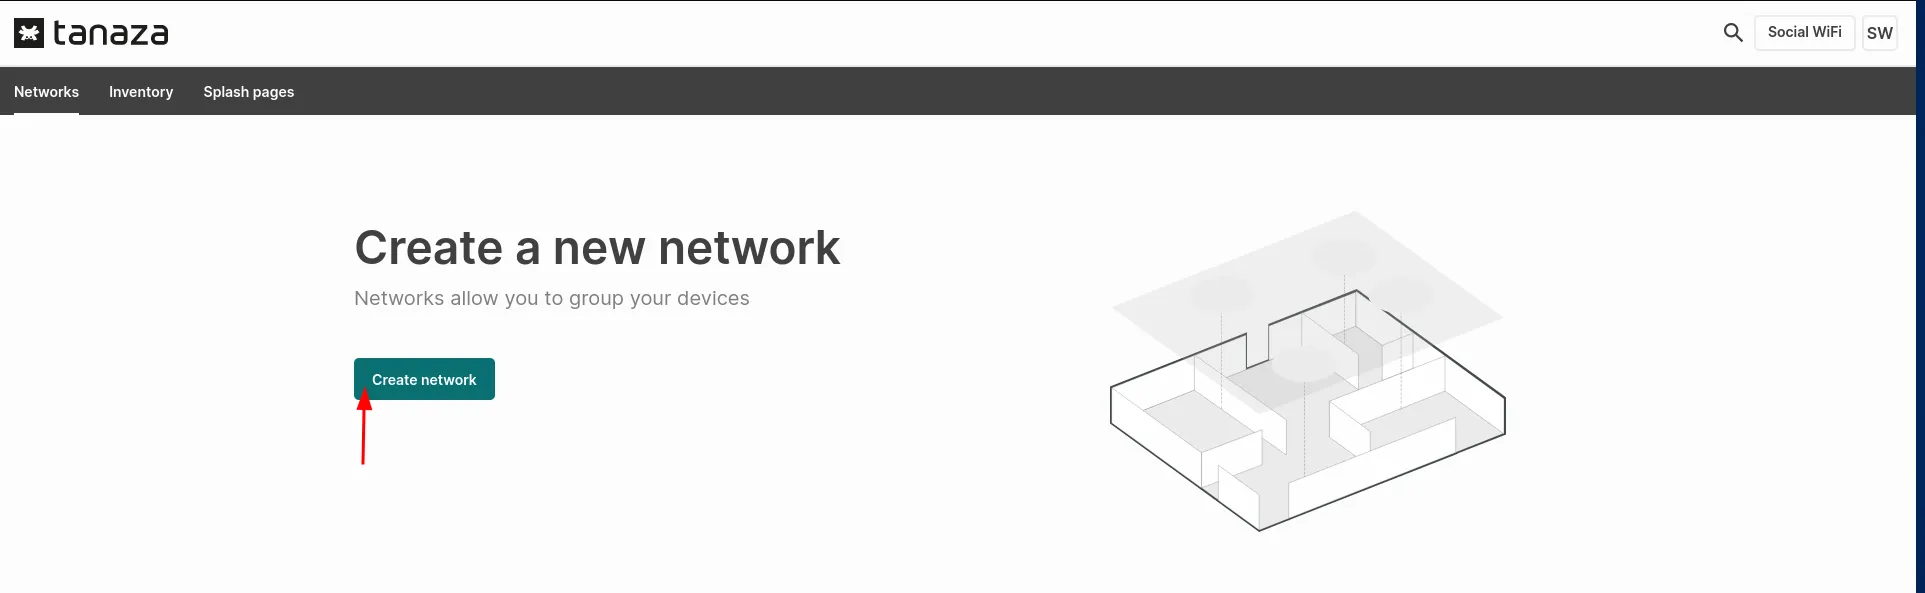
Create a network
Go to your Tanaza account. In the “Networks” tab click on Create network.
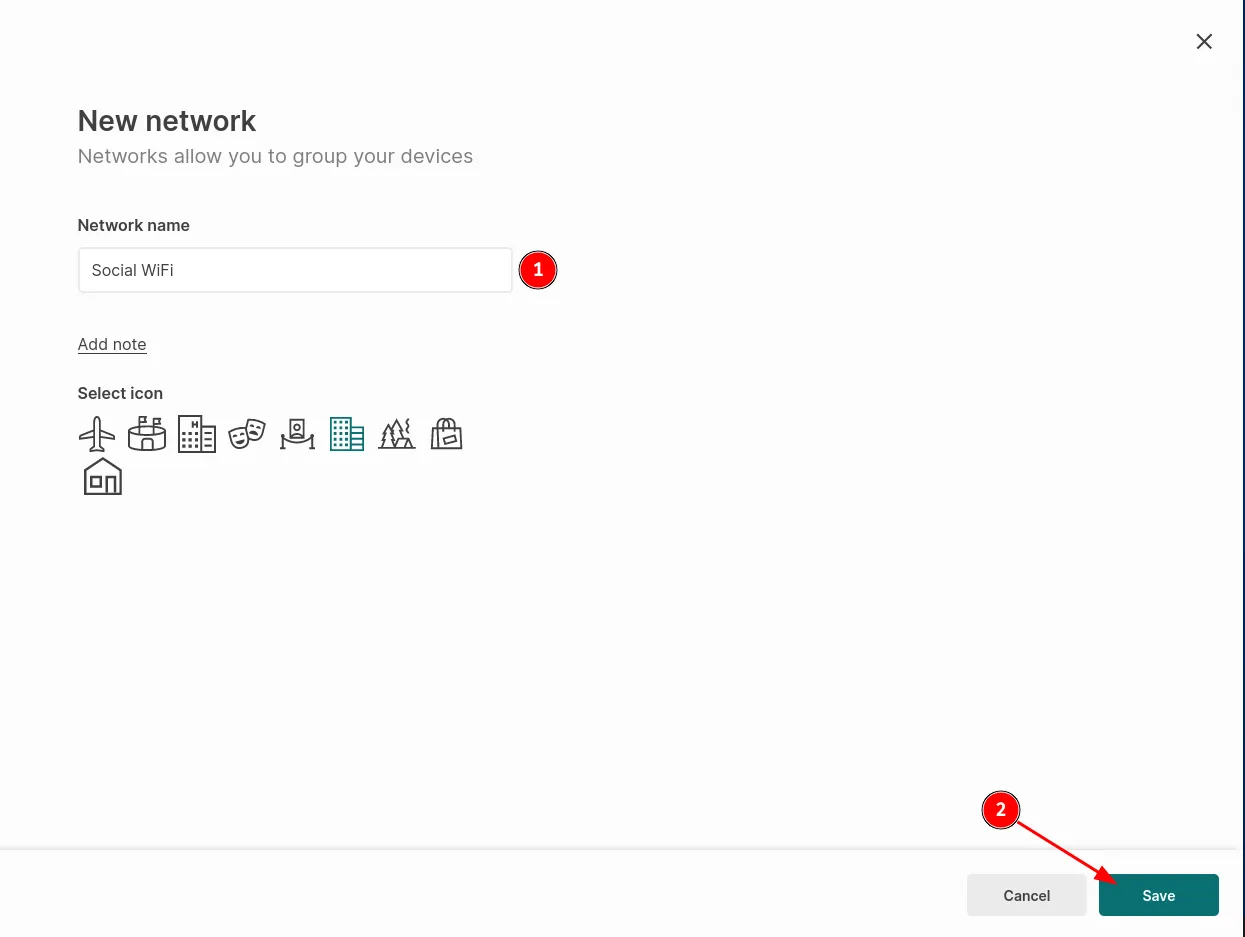
Name your network and click Save to continue.
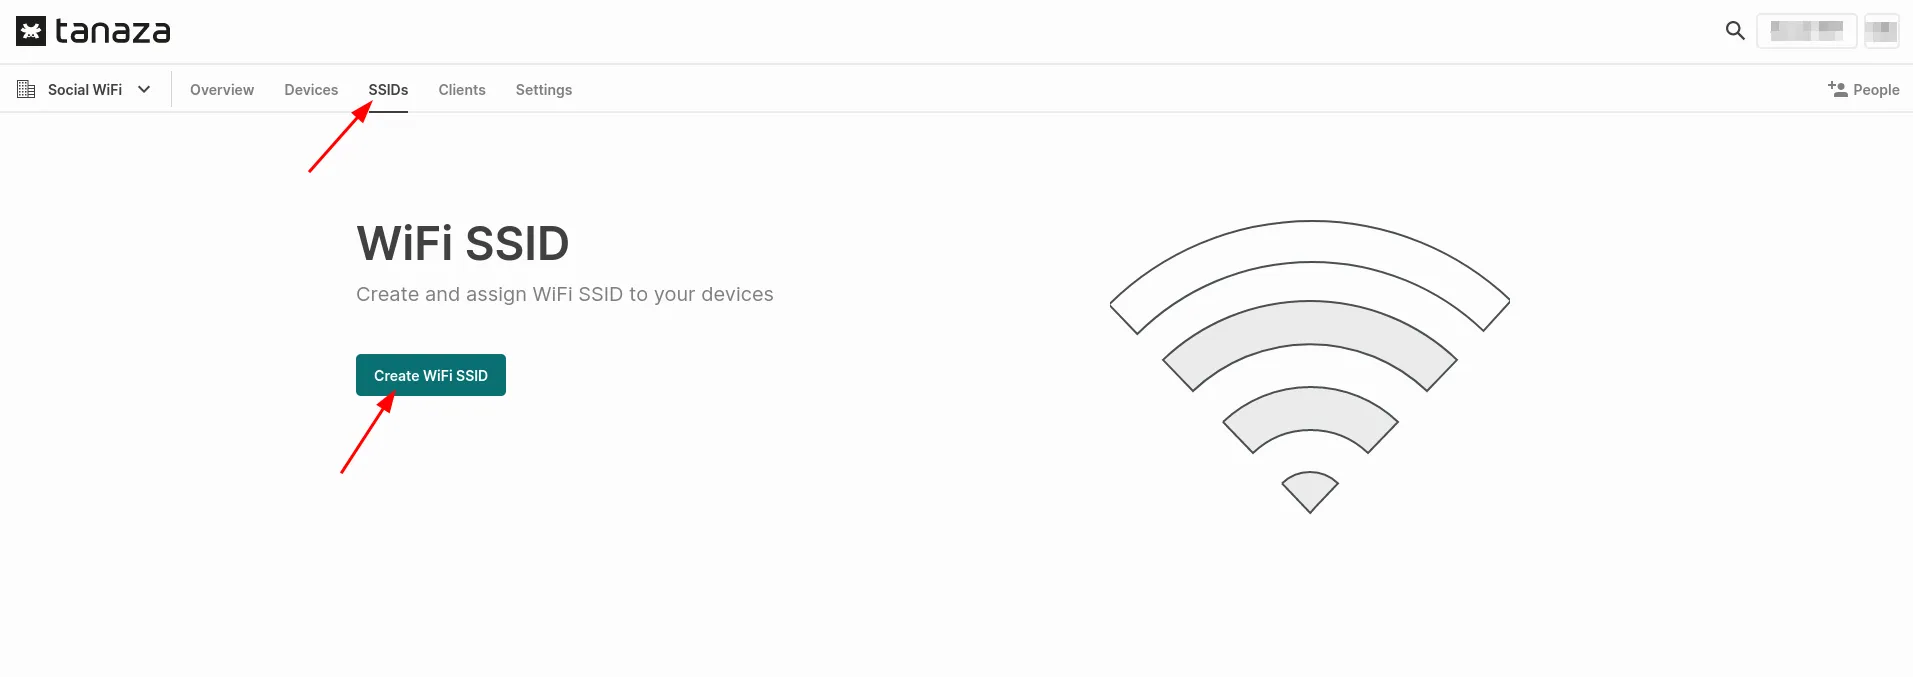
Create an SSID
After creating a network, go to *Your network name* -> SSIDs -> Create WiFi SSID.
| SSID label | *enter your WiFi name here* |
|---|---|
| Authentication | Open |
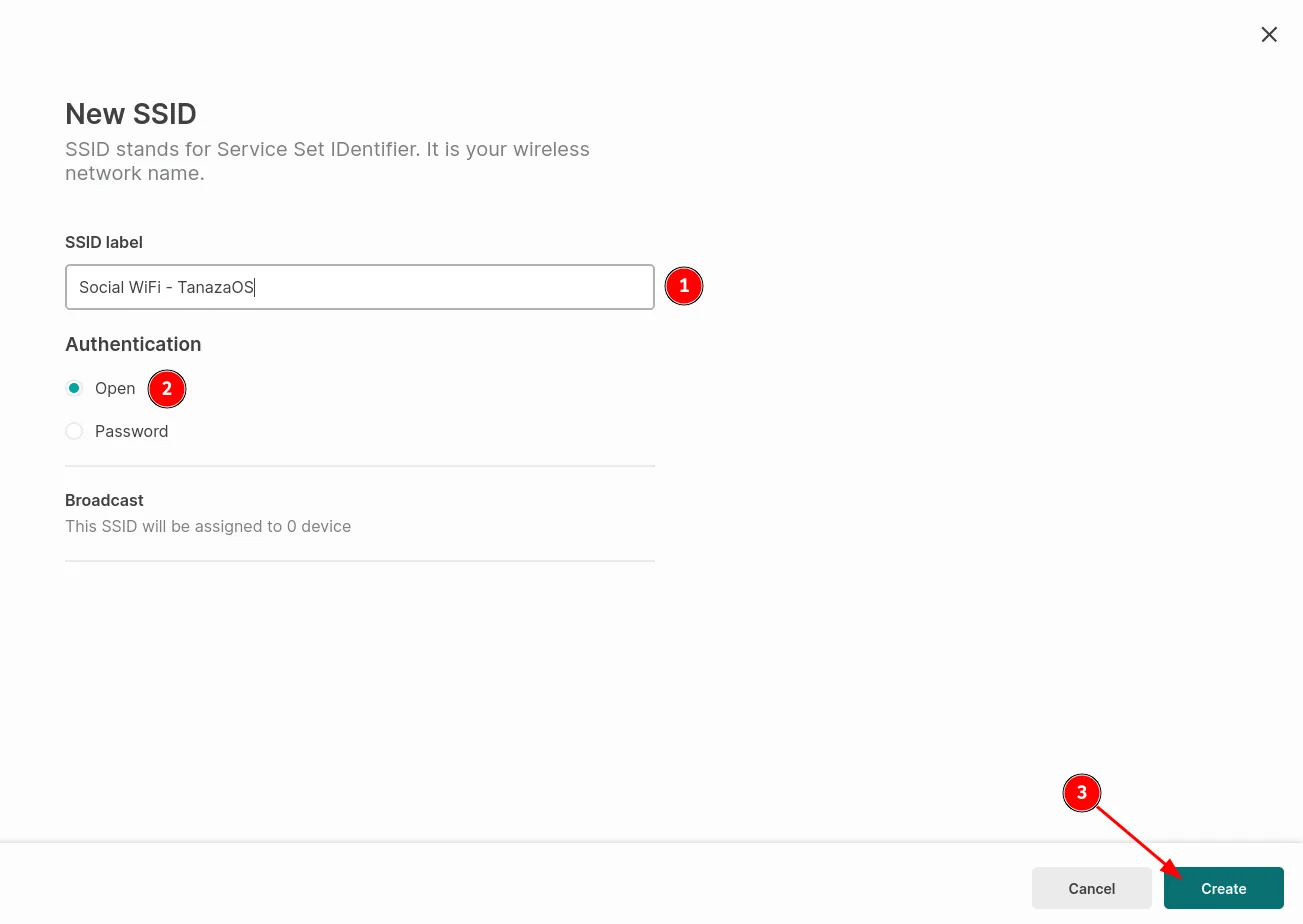
Press Create.
Setting up Social WiFi
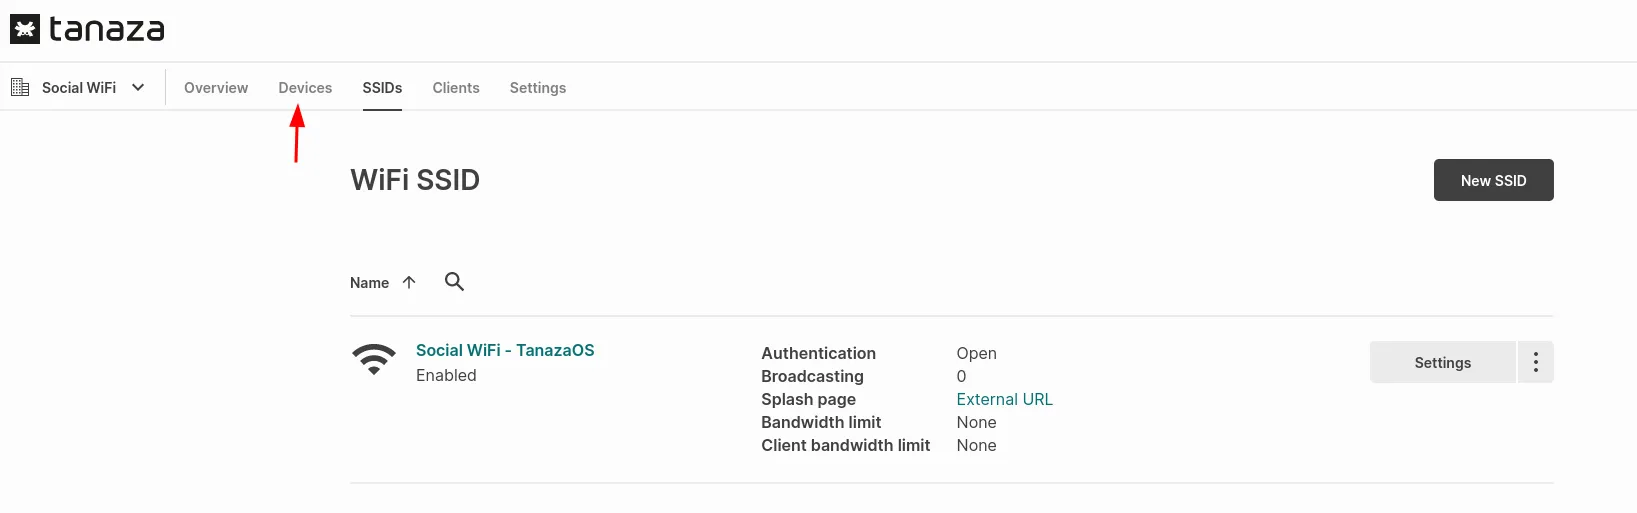
As you’ve created your WiFi network, go to the SSIDs->Settings.
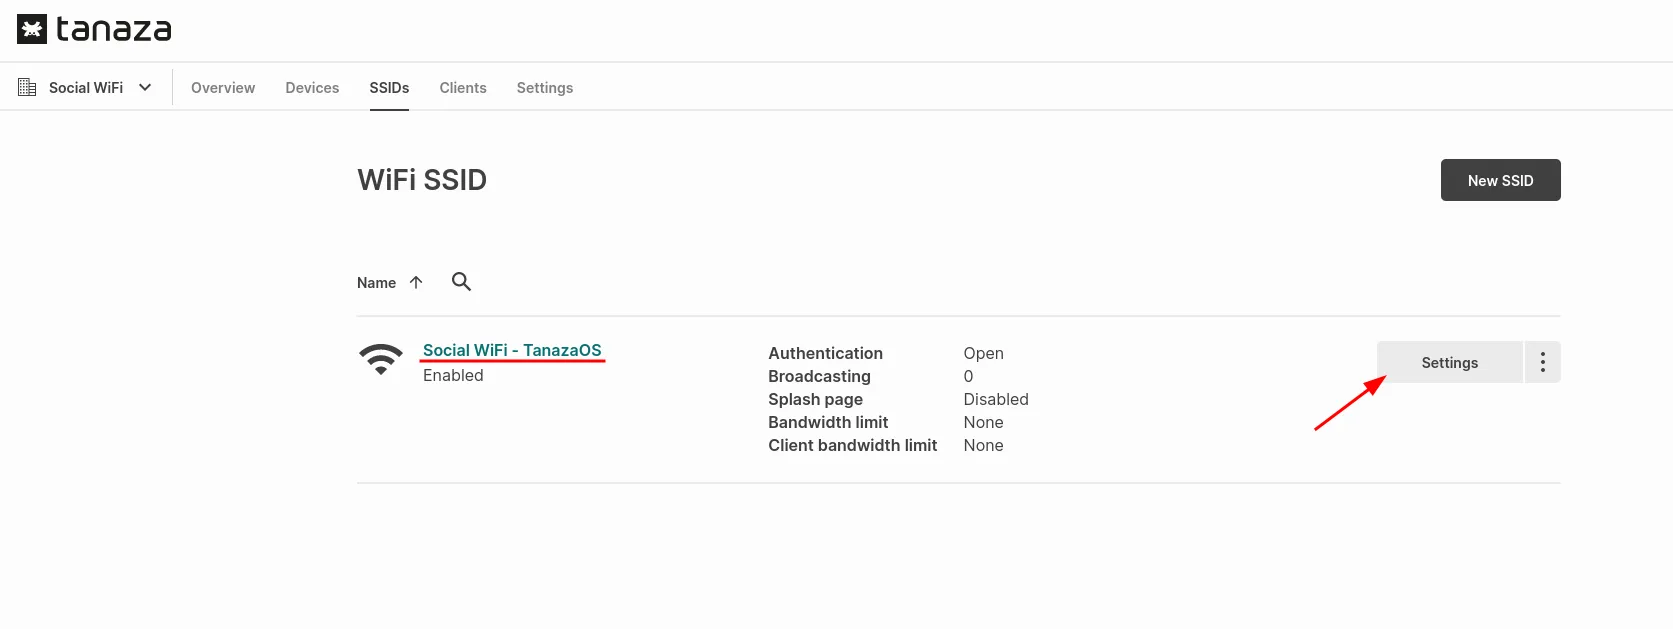
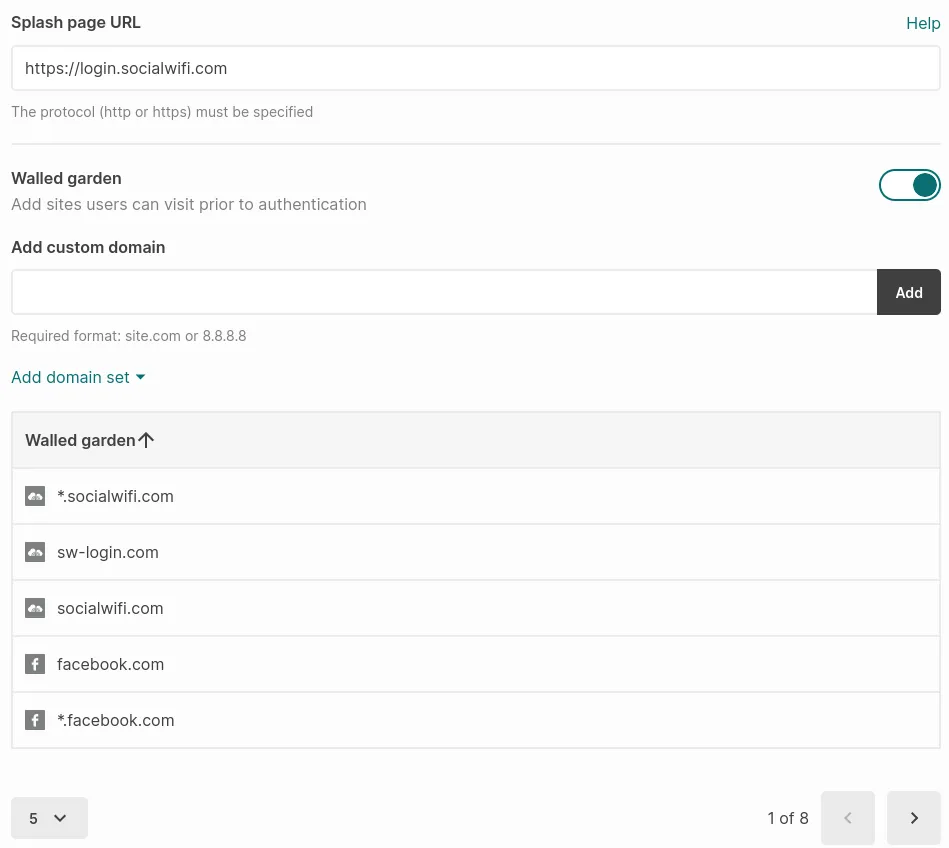
In the SSID settings go to Splash Page and enable External splash page.

Configure as follows:
| Splash page URL | https://login.socialwifi.com |
|---|---|
| Walled garden | Enabled |
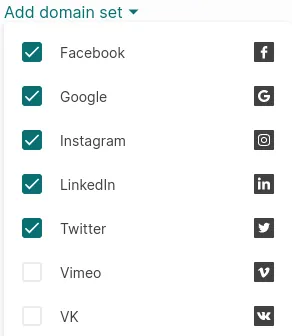
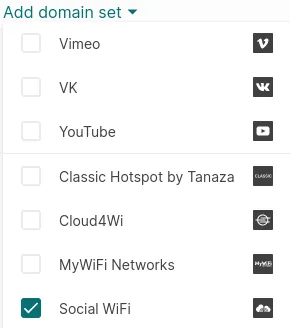
In the Walled garden section click on Add domain set and you will see a dropdown menu. Make sure that you check all the boxes below:
| Enabled | |
|---|---|
| Disabled | |
| Enabled | |
| Enabled | |
| Enabled | |
| Social WiFi | Enabled |
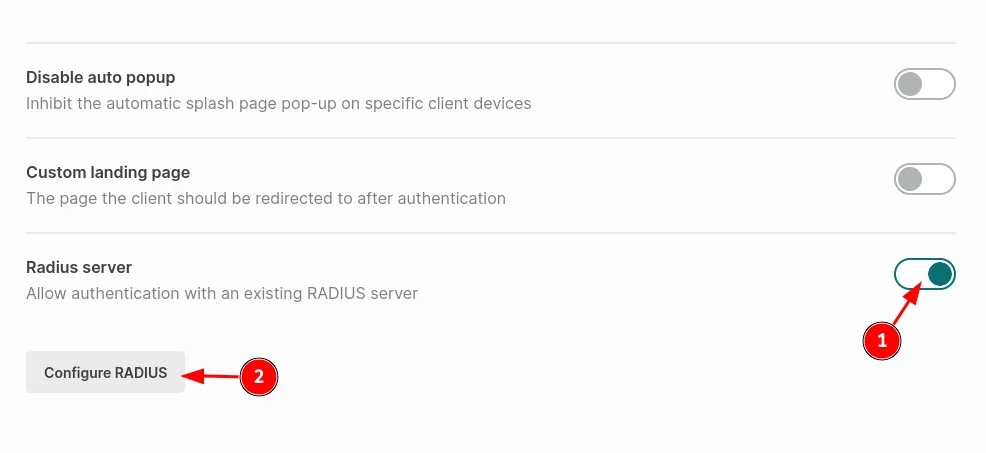
Now, scroll down to the “Radius server” section. Enable RADIUS(1) and proceed with the configuration by clicking Configure RADIUS(2).
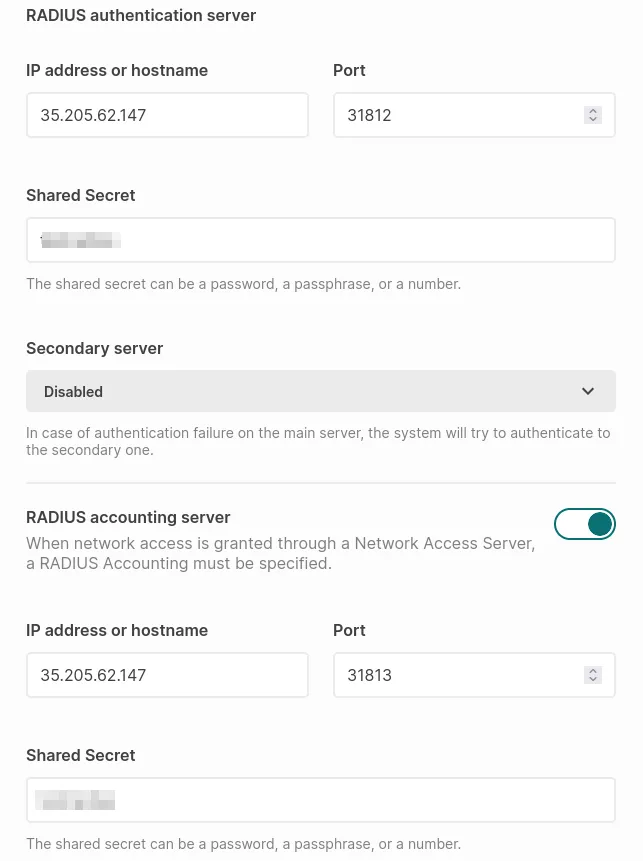
| IP address or hostname | 35.205.62.147 |
|---|---|
| Port | 31812 |
| Shared Secret | RADIUS Secret is available in Access Points tab of the Social WiFi Panel |
| Secondary server | Disabled |
| RADIUS accounting server | Enabled |
| IP address or hostname | 35.205.62.147 |
| Port | 31813 |
| Shared Secret | RADIUS Secret is available in Access Points tab of the Social WiFi Panel |
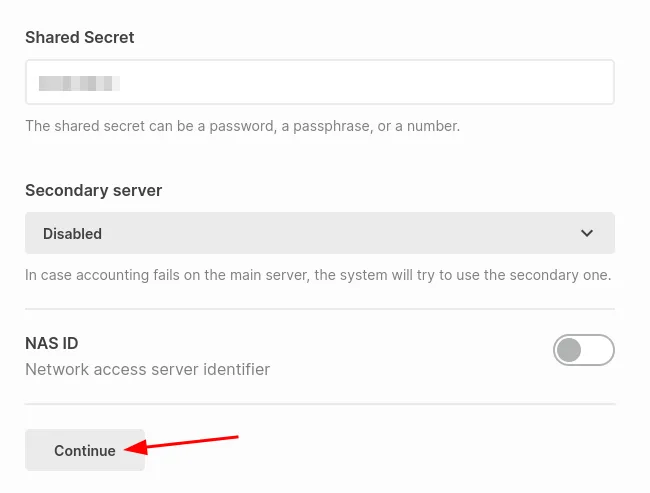
Press Continue.
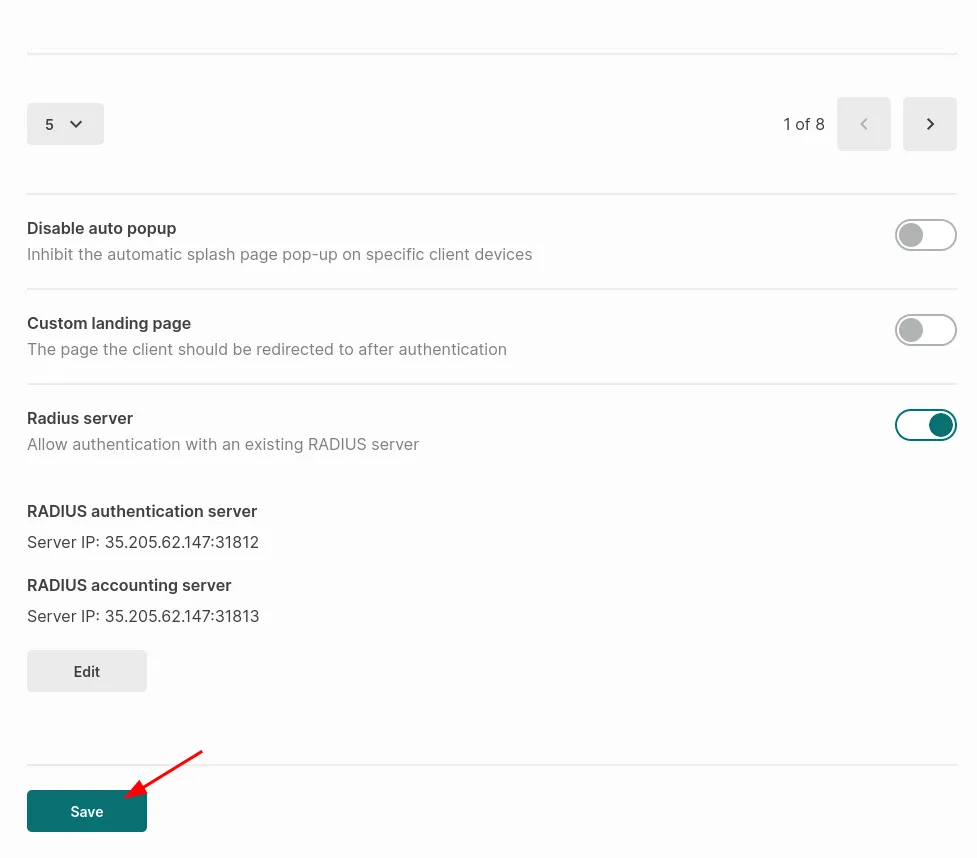
As everything is configured, press Save.
Add the devices to your network.
After Social WiFi is configured, go to the Devices section and click on Add new device.
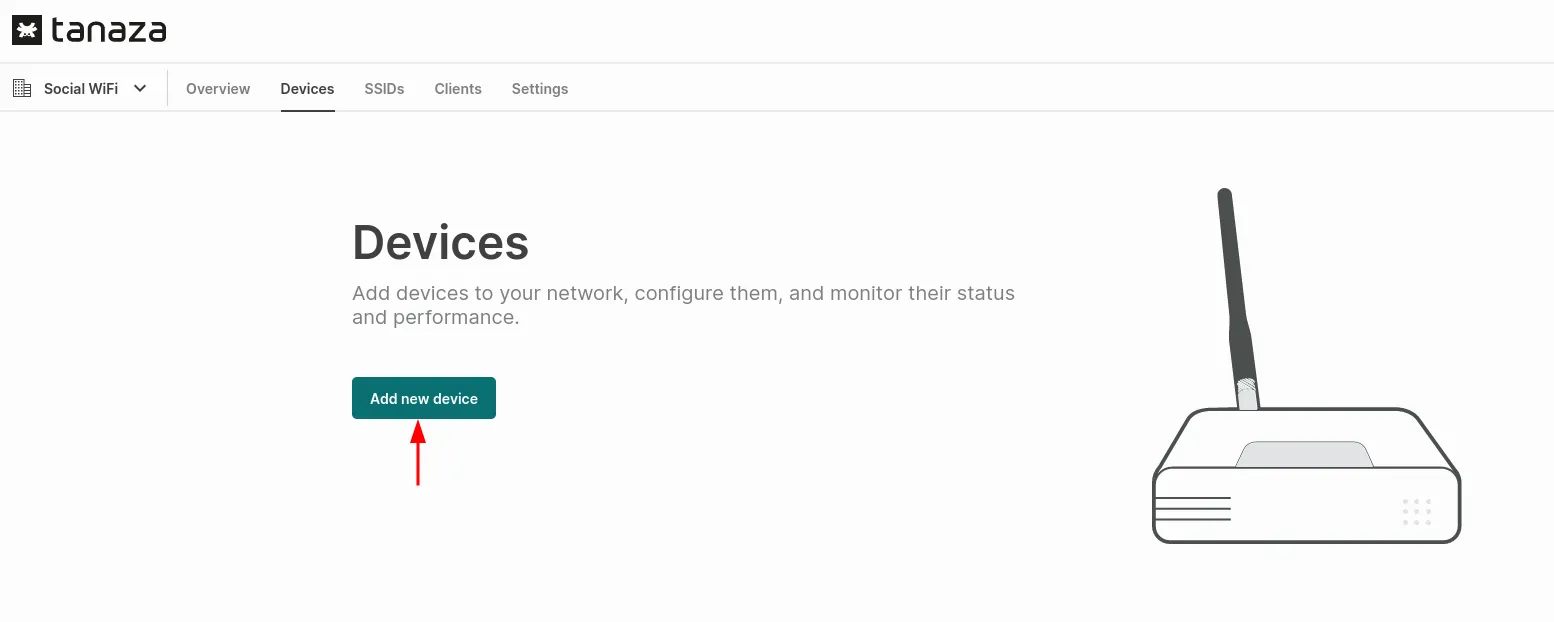
If you have no devices added in your inventory, press +Add new device, if you already have a device in your inverntory - pick Take existing from the inventory.

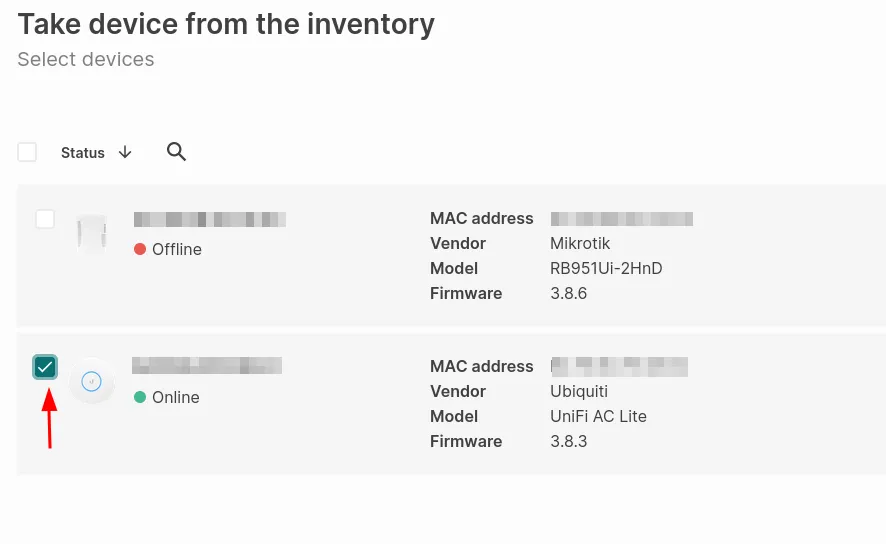
After you add your device, it should appear in the inventory. Pick the device you want to broadcast the Social WiFi network.
After the device is added to the Network, you alsho have to assign it to the SSID. Go to
*Your network*->Settings->Broadcasting and check the previously added device. Press Save.

You can also find the MAC address here, copy it and add to the Social WiFi Panel.
Adding the APs to Social WiFi Panel
In order to add a device to Social WiFi platform:
- Access your account in the Social WiFi Panel.
- Choose the correct venue to which you would like to add the device.
- In the “Access Points” tab, press “Add” (upper right corner), paste the MAC address you copied into the form (adding a name is optional) and click “Create”.