WebFig
These instructions will guide you through configuration of your Mikrotik to work with Social WiFi, but without using Winbox software. This solution could be useful if you are using an operating system other than Windows.
Please complete every step as detailed below.
Compatibility
Social WiFi has been tested and is proven to work on the following configurations:
RouterOS versions:
- 6.x
- 7.5 and newer (hotspot doesn’t work on RouterOS 7.x below version 7.5)
Connect the router
Plug an ethernet cable into port 2 of your Mikrotik. Plug in the other side into your computer. Insert internet cable into port 1 of your Mikrotik.
Open WebFig
Open an internet browser (Firefox, Google Chrome, Internet Explorer, etc.) and open page:
http://192.168.88.1/ and choose WebFig in top right corner.
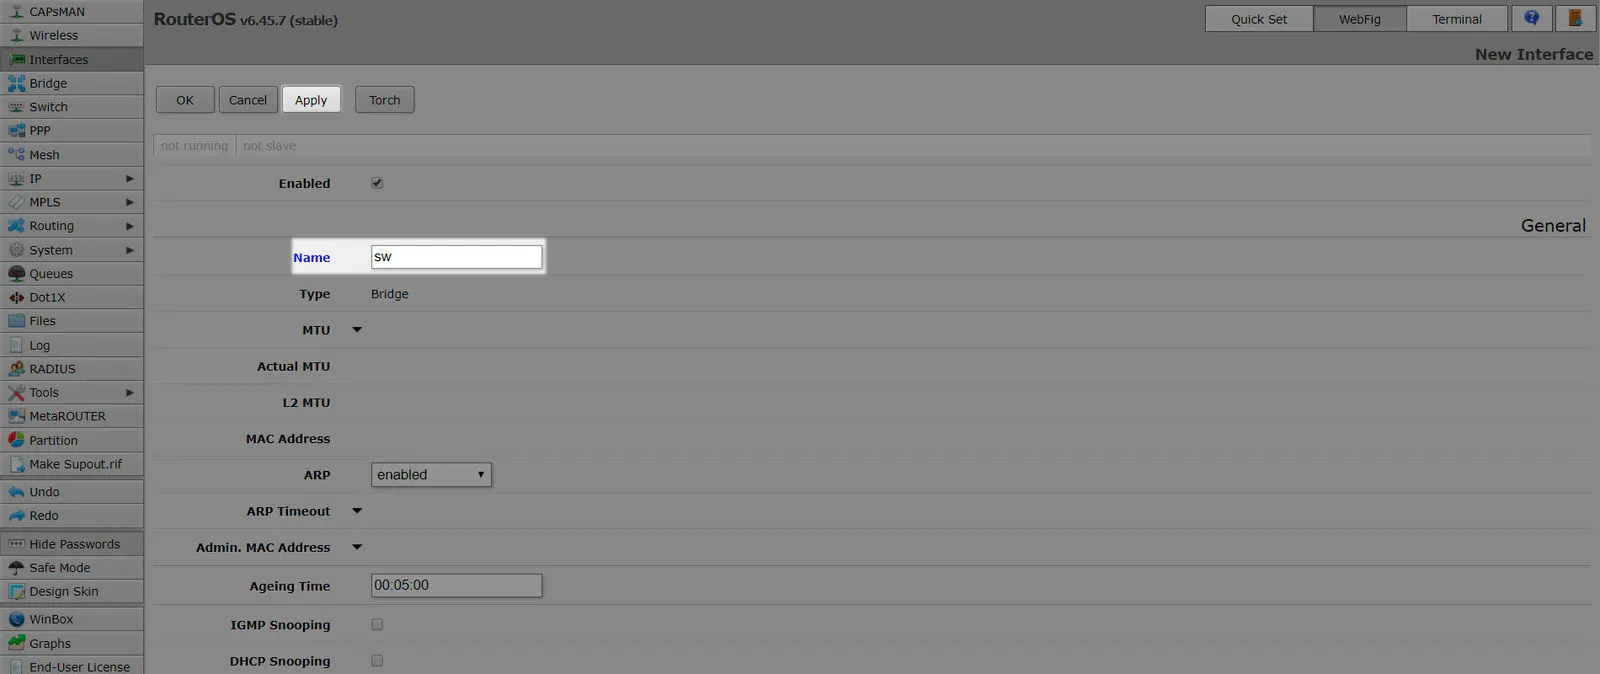
Add a bridge
In WebFig go into the “Interfaces” section in the menu on the left side of the page.
Click [Add New] button.

Select “Bridge”
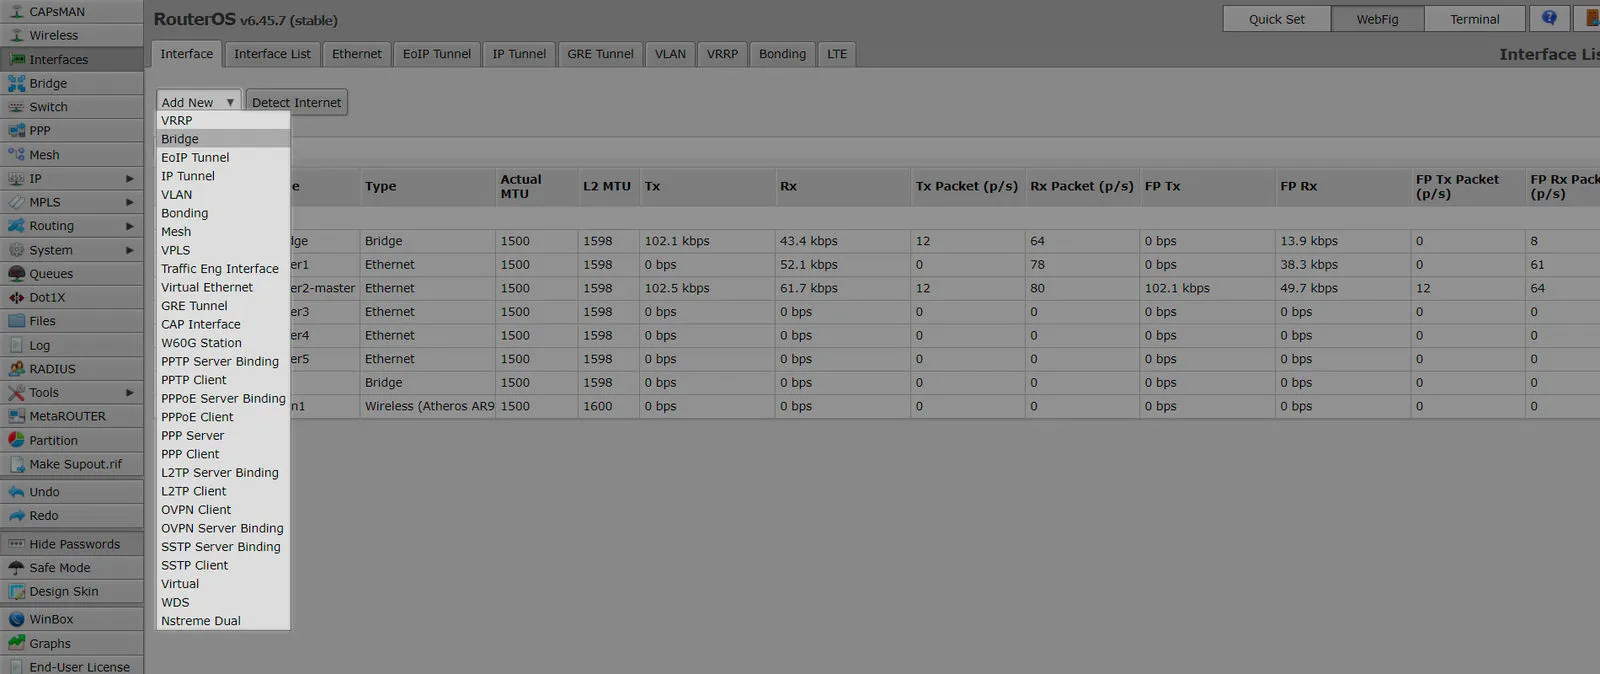
Insert new name: “sw” and accept by clicking [Apply].
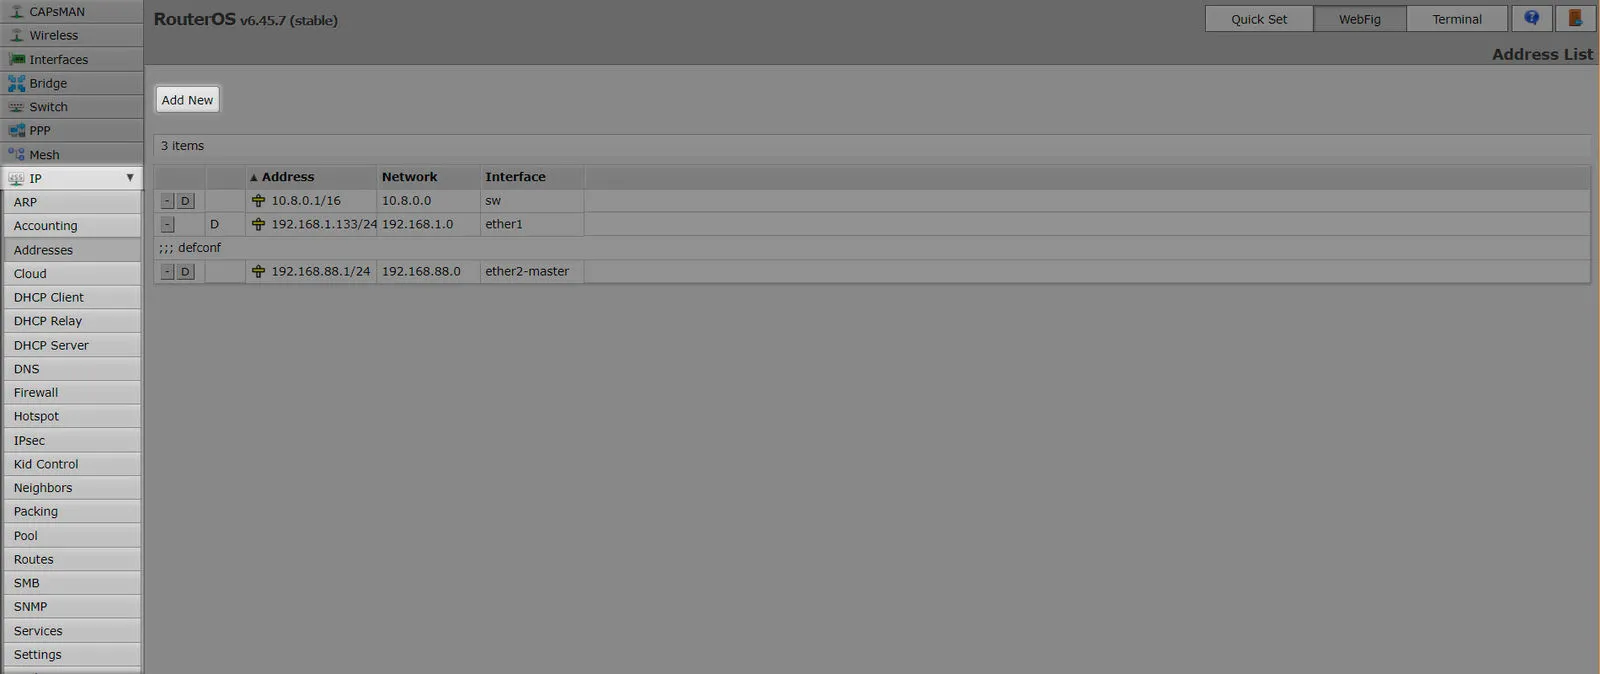
Configure the bridge
Select section “IP” and subsection “Addresses” in the menu on the left side of the page.
Click [Add New] button.
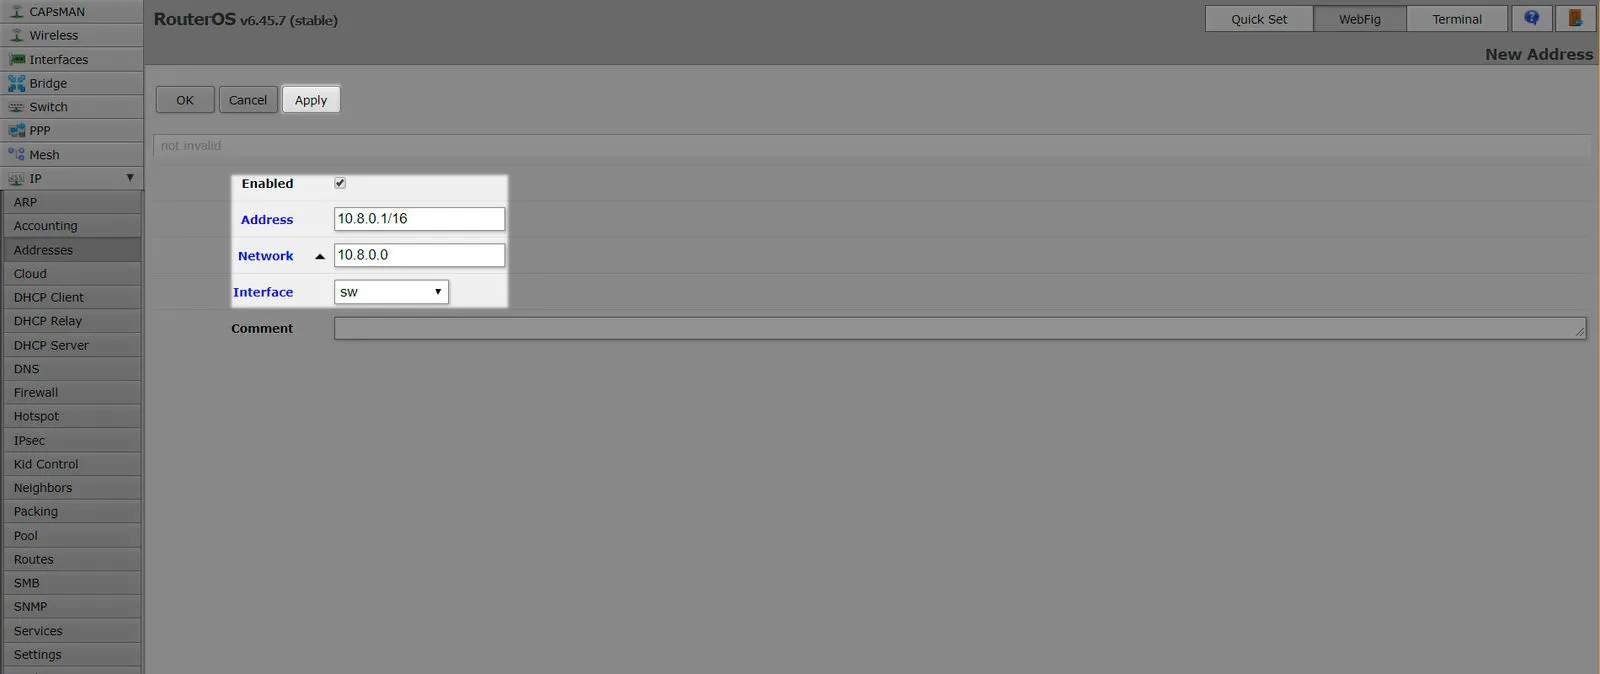
Fill in the form:
| Enabled | Yes |
|---|---|
| Address | 10.8.0.1/16 |
| Network | 10.8.0.0 |
| Interface | sw |
You can leave the “Comment” field empty.
Click [Apply].
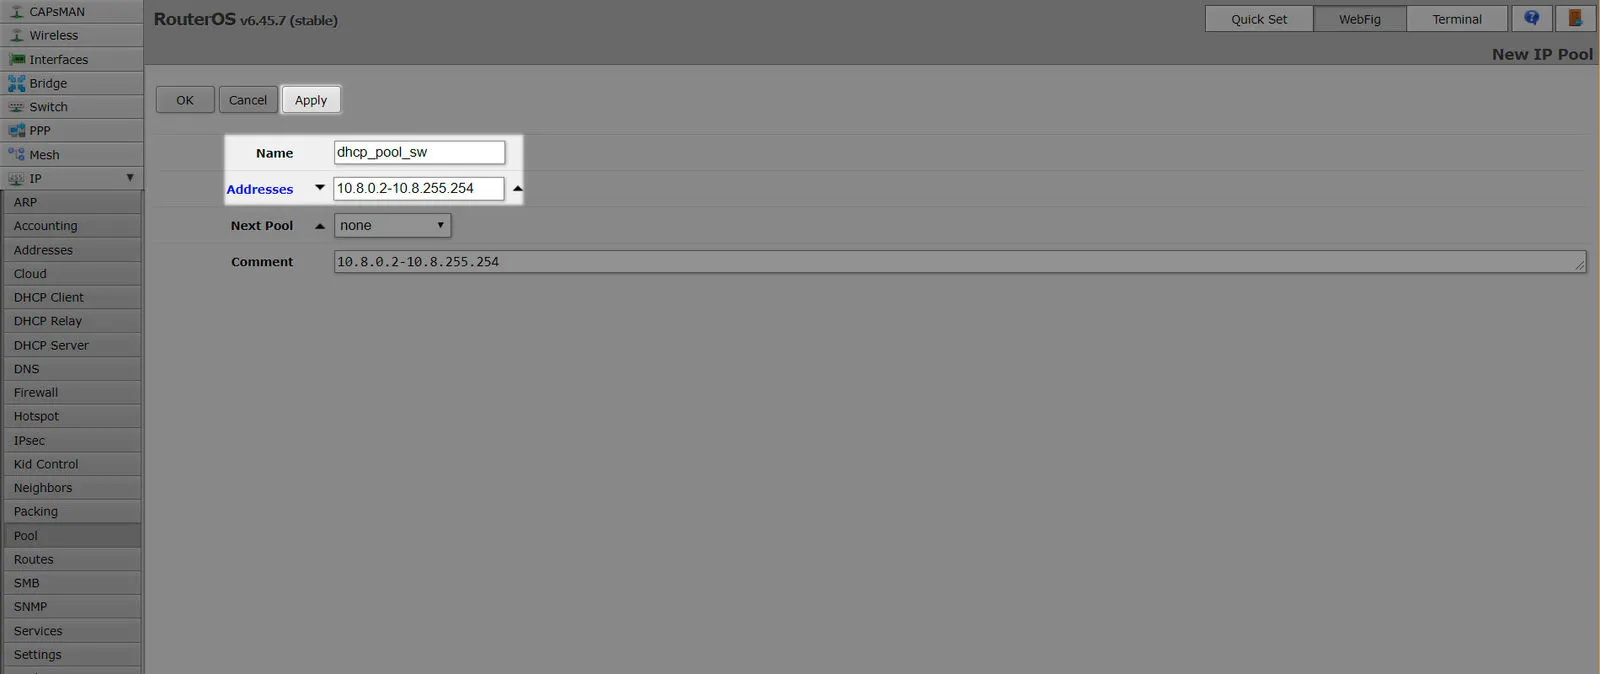
Add IP address pool
Select section “IP” and subsection “Pool” in the menu on the left side of the page.
Click [Add New] button.
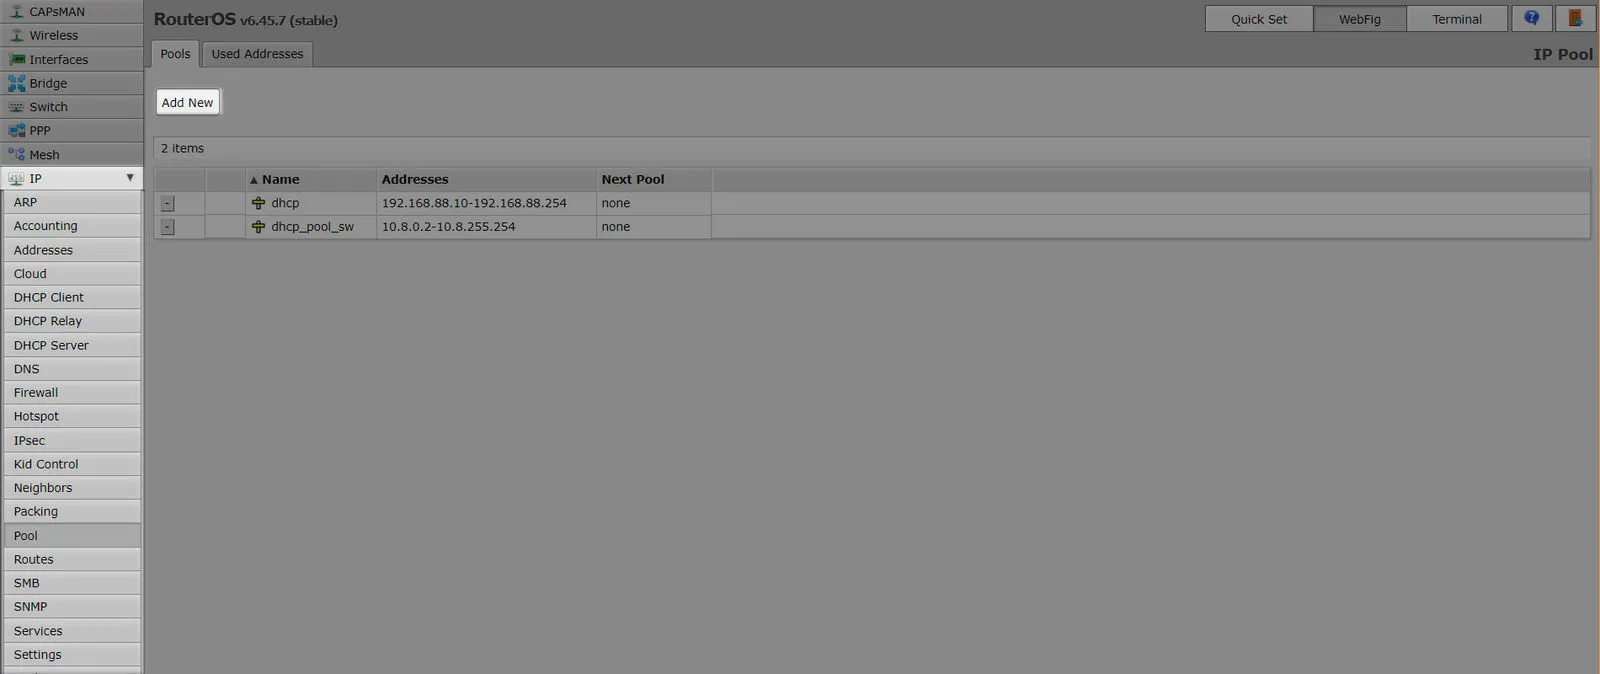
Fill in the form:
| Name | dhcp_pool_sw |
|---|---|
| Addresses | 10.8.0.2-10.8.255.254 |
| Apply |
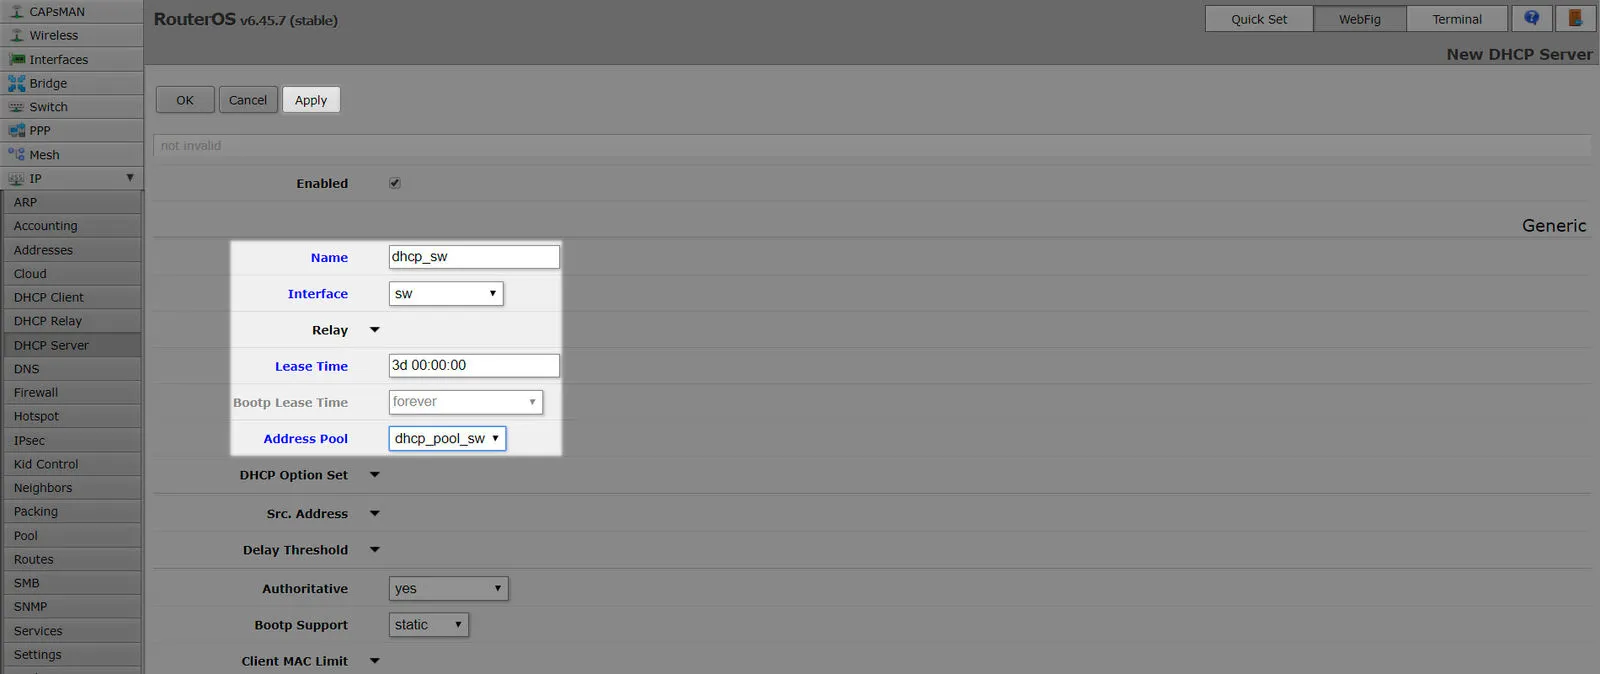
Add DHCP server
Select section “IP” and subsection “DHCP Server” in the menu on the left side of the page.
Click [Add New] button.
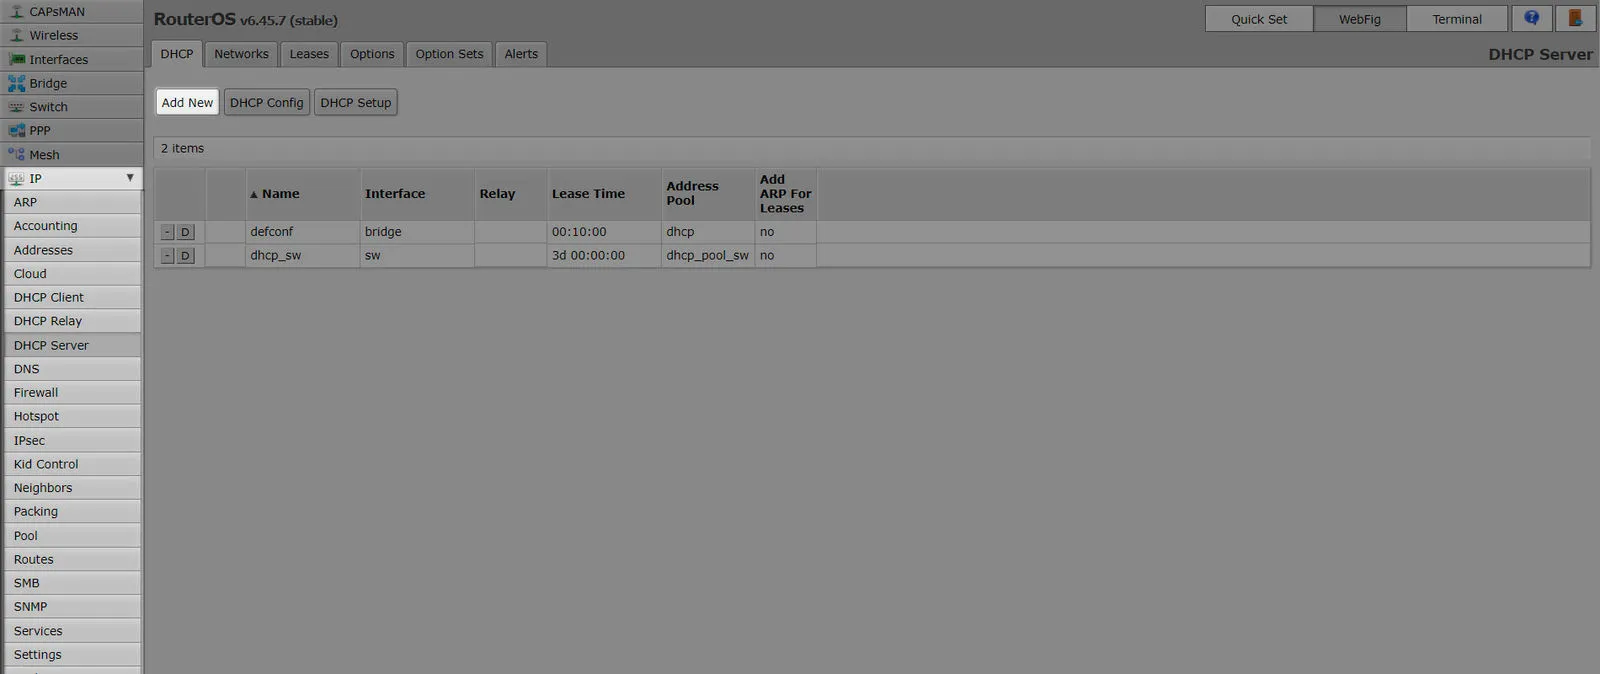
Fill in the form:
| Enabled | Yes |
|---|---|
| Name | dhcp_sw |
| Interface | sw |
| Lease Time | 3d 00:00:00 |
| Address Pool | dhcp_pool_sw |
| Apply |
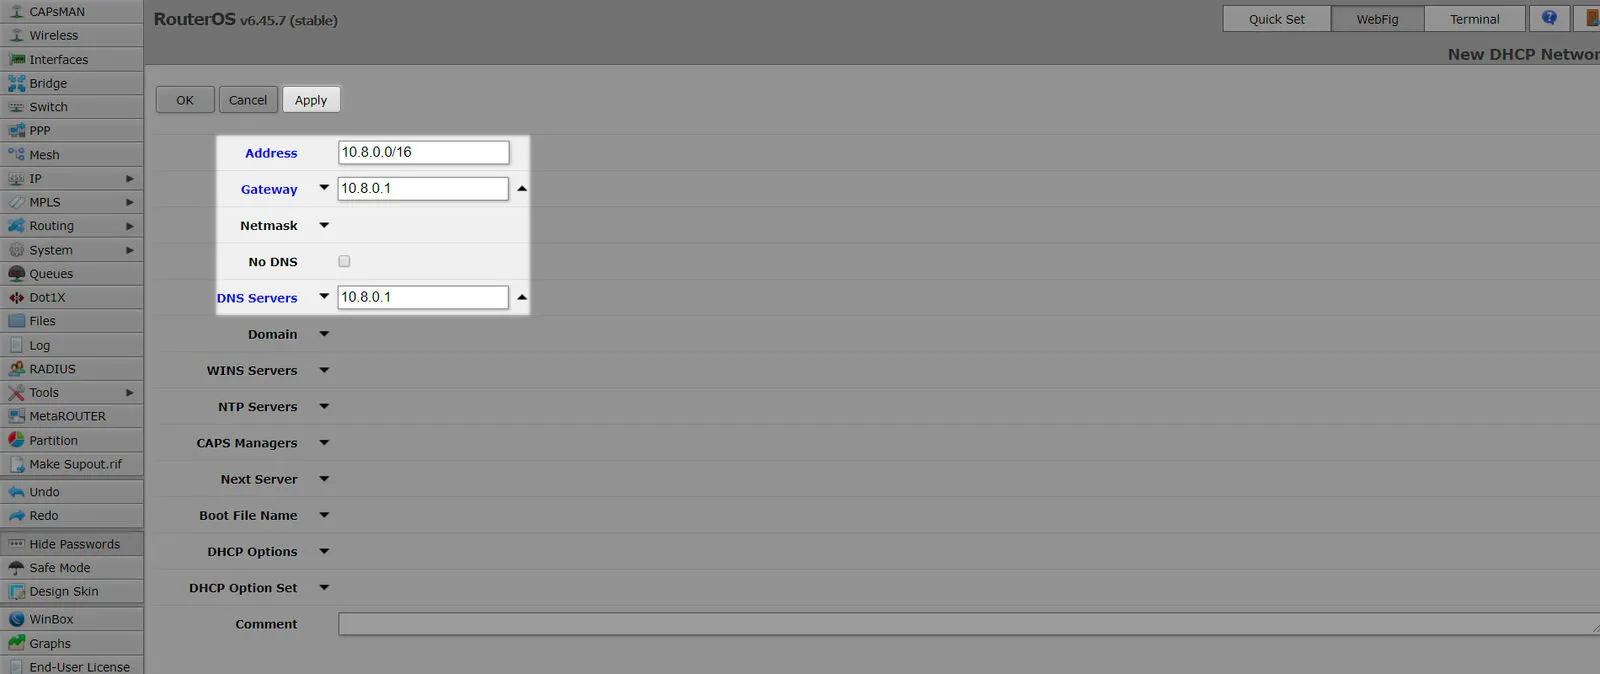
Add address and gateway to the DHCP server
Select section “IP” and subsection “DHCP Server” in the menu on the left side of the page.
Select tab “Networks” on the top of the page.
Click [Add New] button.
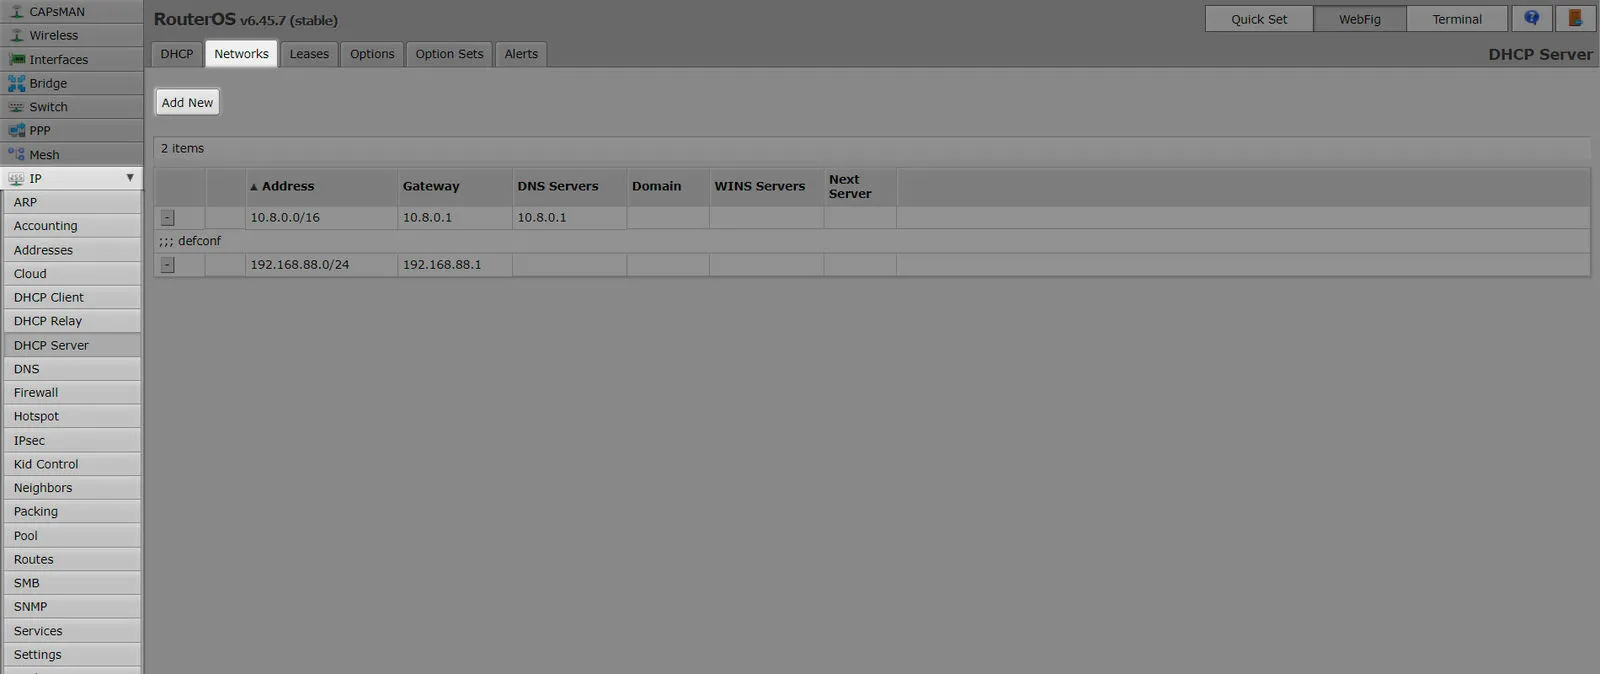
Fill in the form:
| Address | 10.8.0.0/16 |
|---|---|
| Gateway | 10.8.0.1 |
| DNS Servers | 10.8.0.1 |
| Apply |
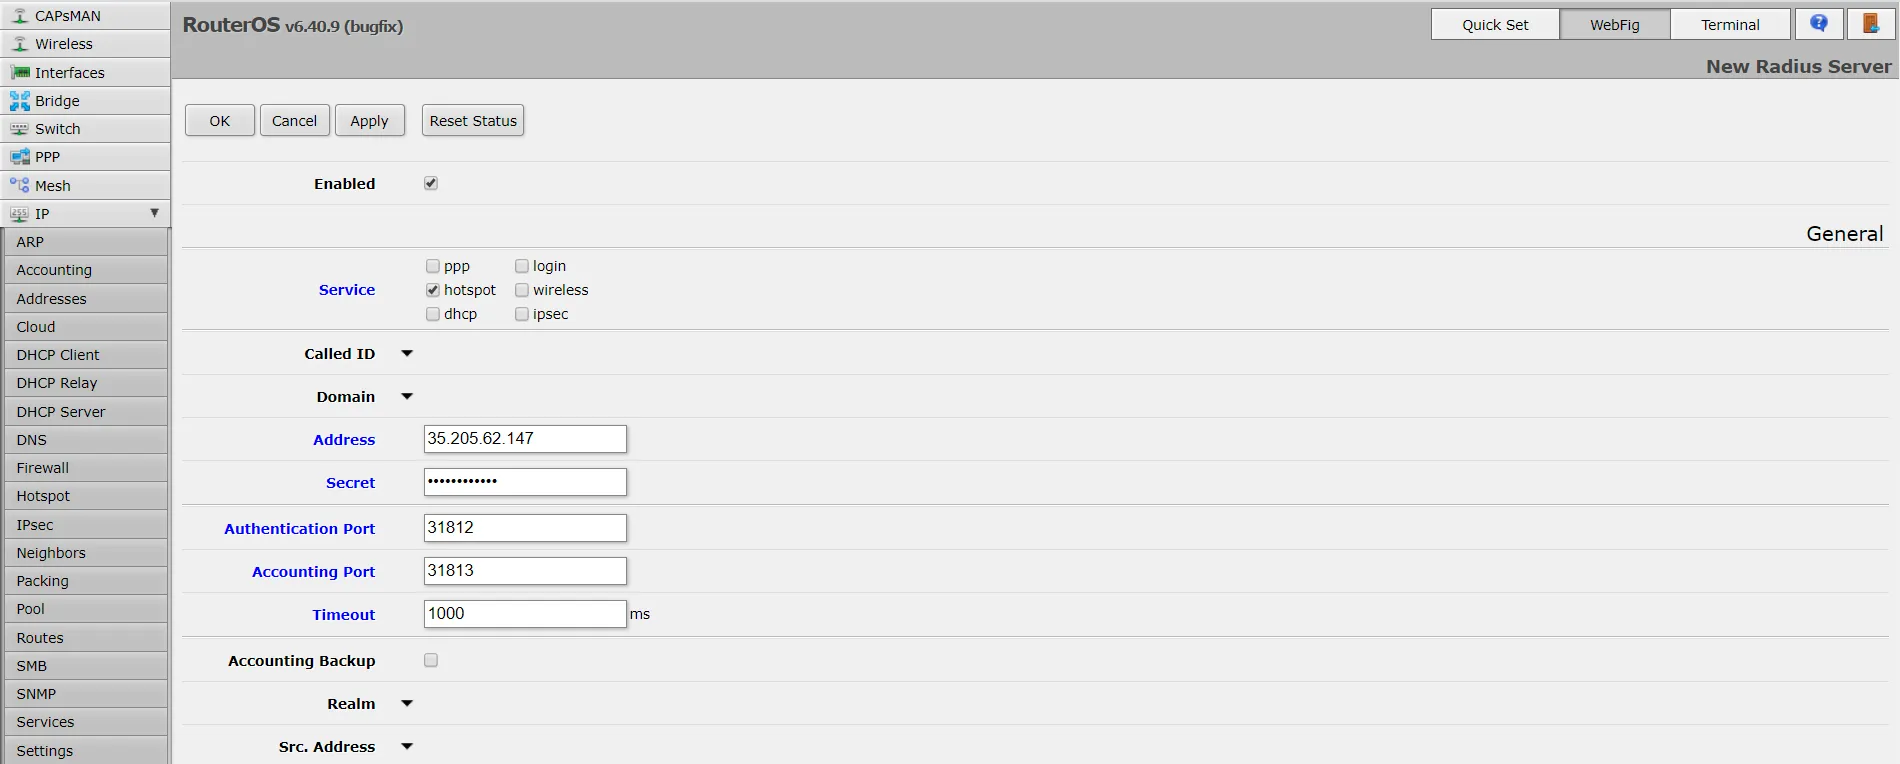
Configure your RADIUS
Select section “Radius” in the menu on the left side of the page.
Click [Add New] button.
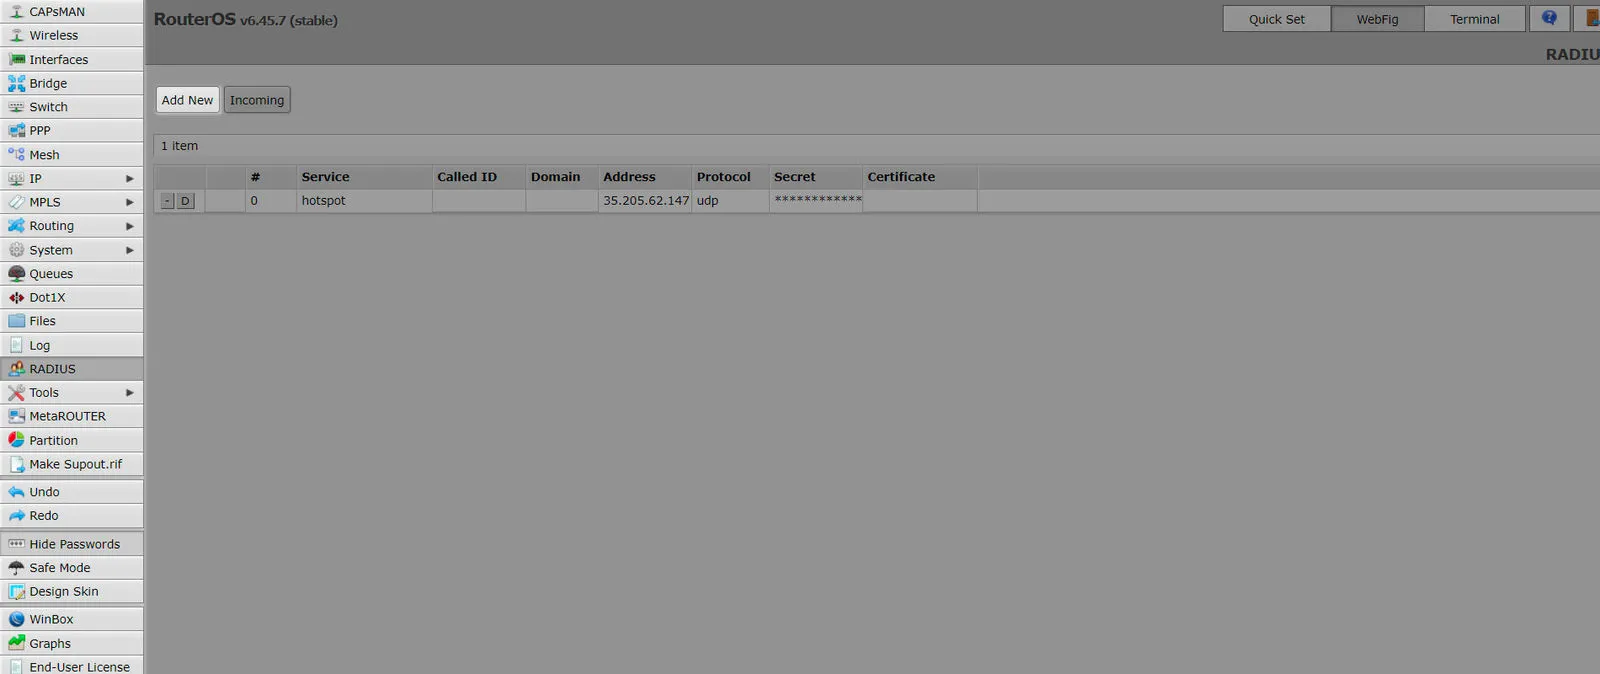
Fill in the form:
| Enabled | yes |
|---|---|
| Service | hotspot |
| Address | 35.205.62.147 |
| Secret | Radius Secret available in Access Points tab of the Social WiFi Panel |
| Authentication Port | 31812 |
| Accounting Port | 31813 |
| Timeout | 1000 |
| Apply |
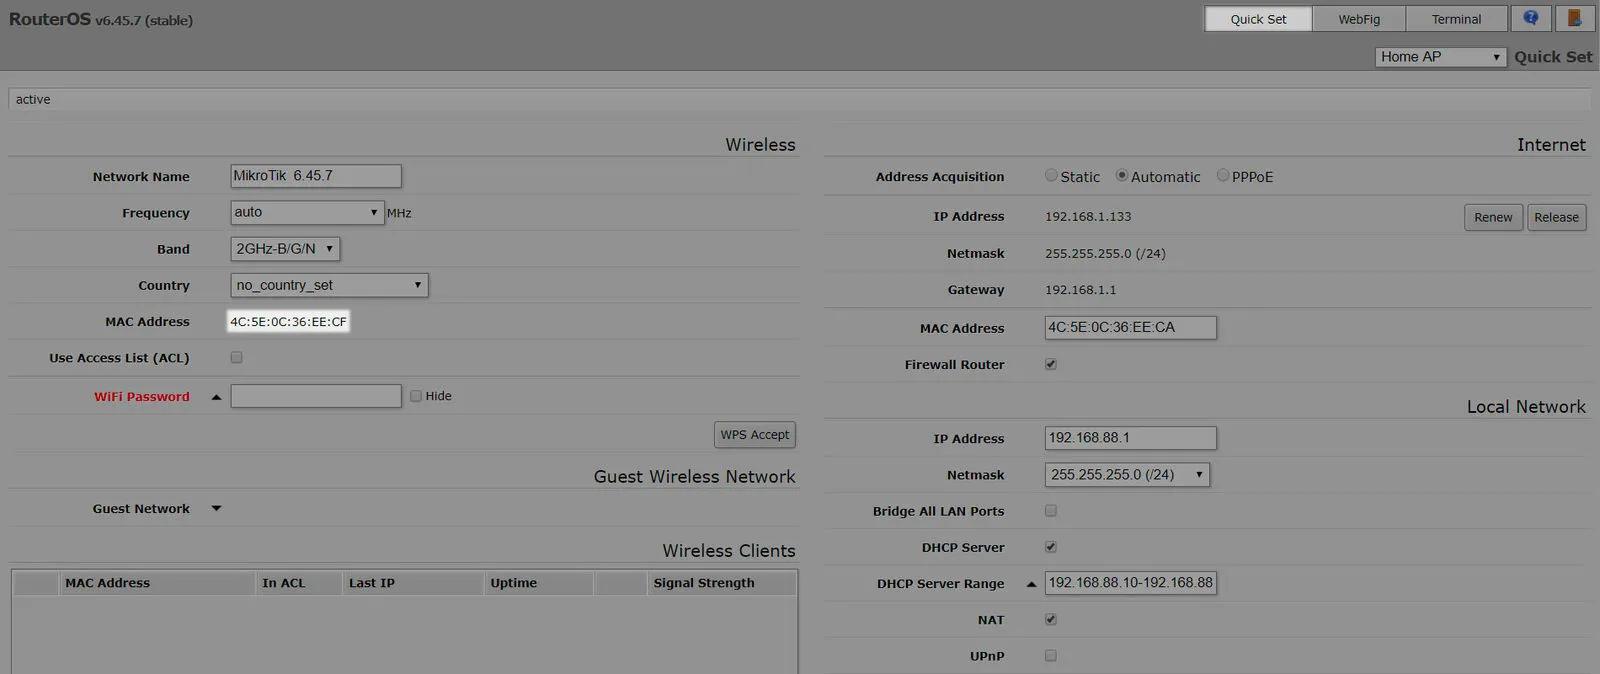
Download hotspot files
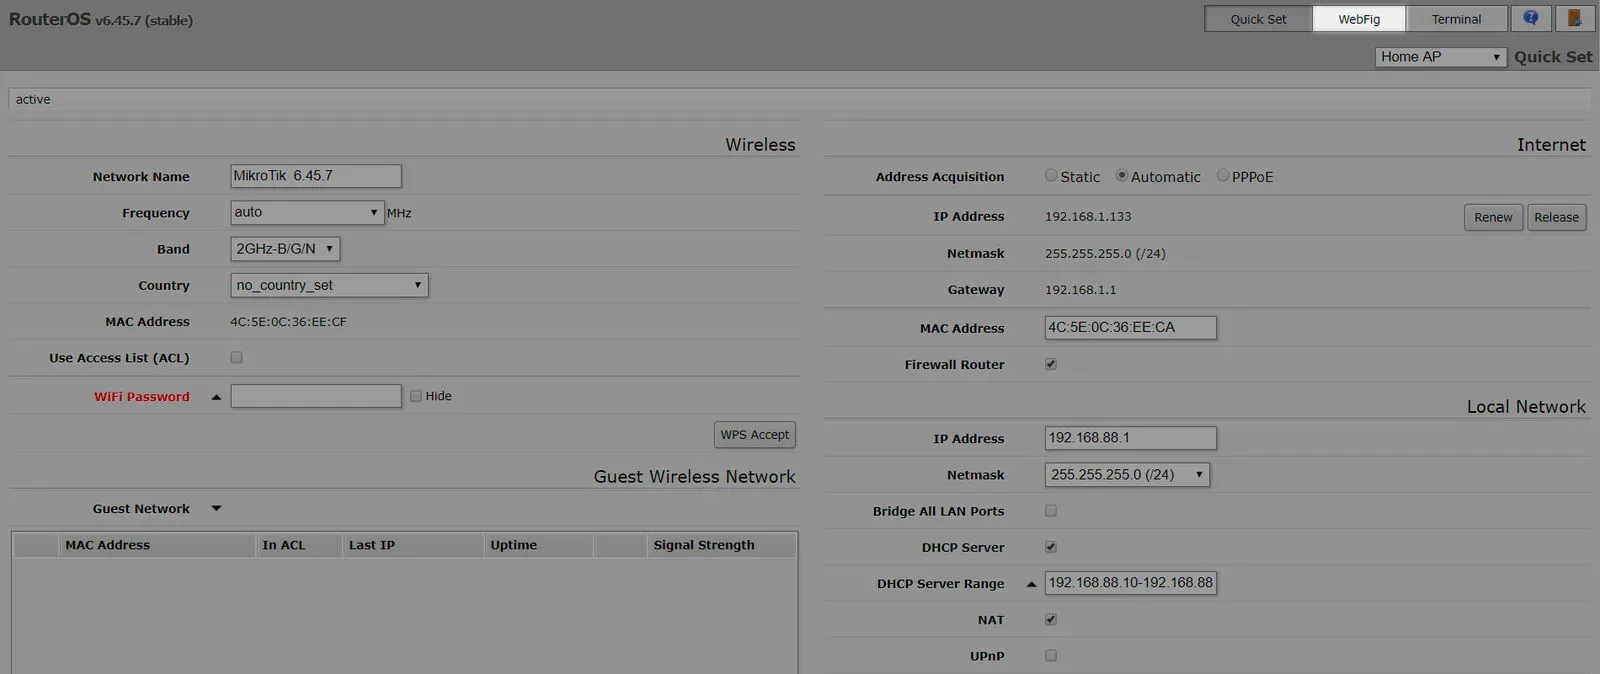
Select section “Quick Set” in the menu on the top right of the page.
Write down or copy value of “MAC Address” field.
Open following page in any internet browser:
Type or paste “MAC Address” value from the previous step into “MAC address” field.
Click [Get files].

Locate the downloaded file on your computer. It may be in Downloads folder.
Right click on the file and select [Extract All…].

On the newly opened “Extract Compressed (Zipped) Folders” window click [Extract].
New folder will appear, containing files required for the following steps.
Select section “Files” in the menu on the left side of the page.

Click [Browse…]
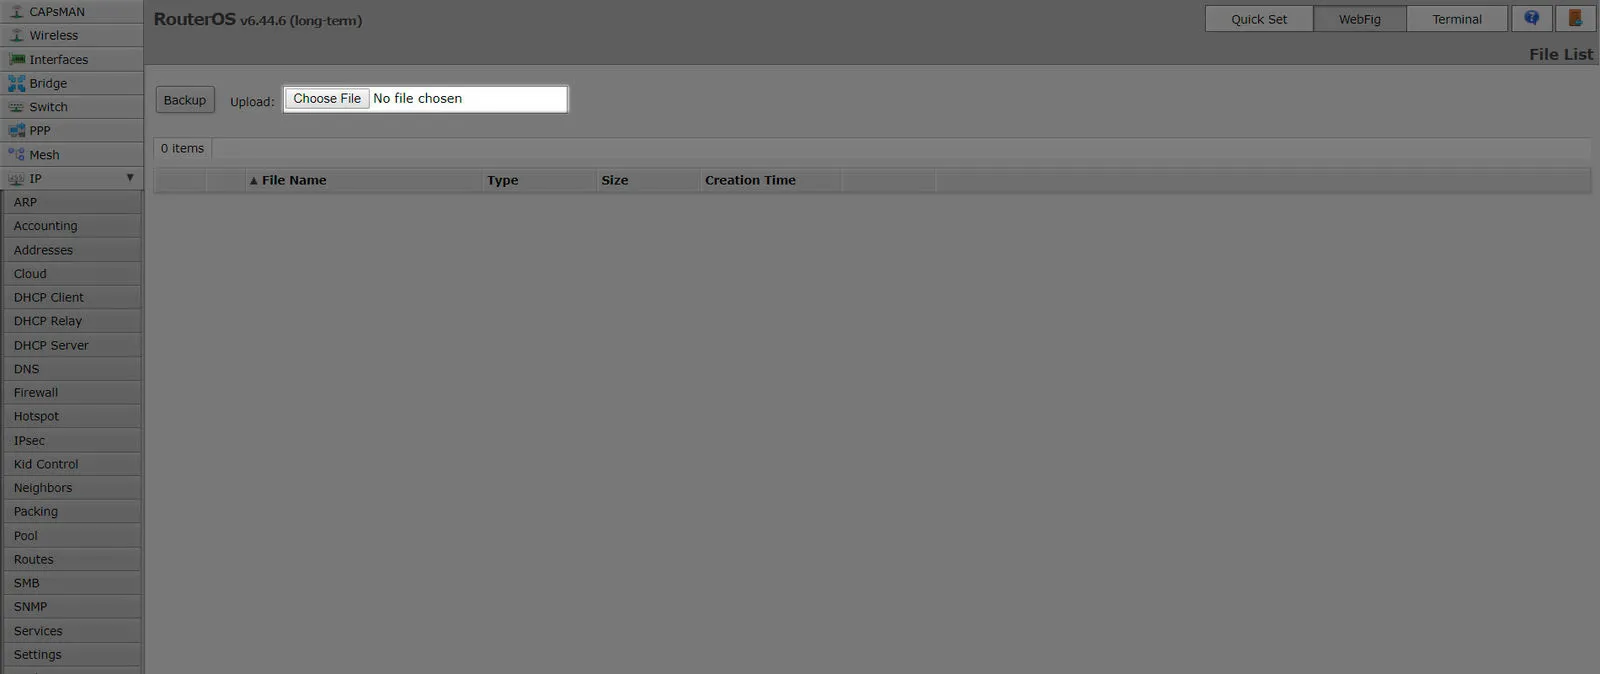
Navigate to the extracted files from step Extract the .zip file. Select “login.html” and accept.
Repeat this steps for:
- “md5.js” file.
- “rlogin.html” file.
- “flogin.html” file.
- “alogin.html” file.
Configure your hotspot
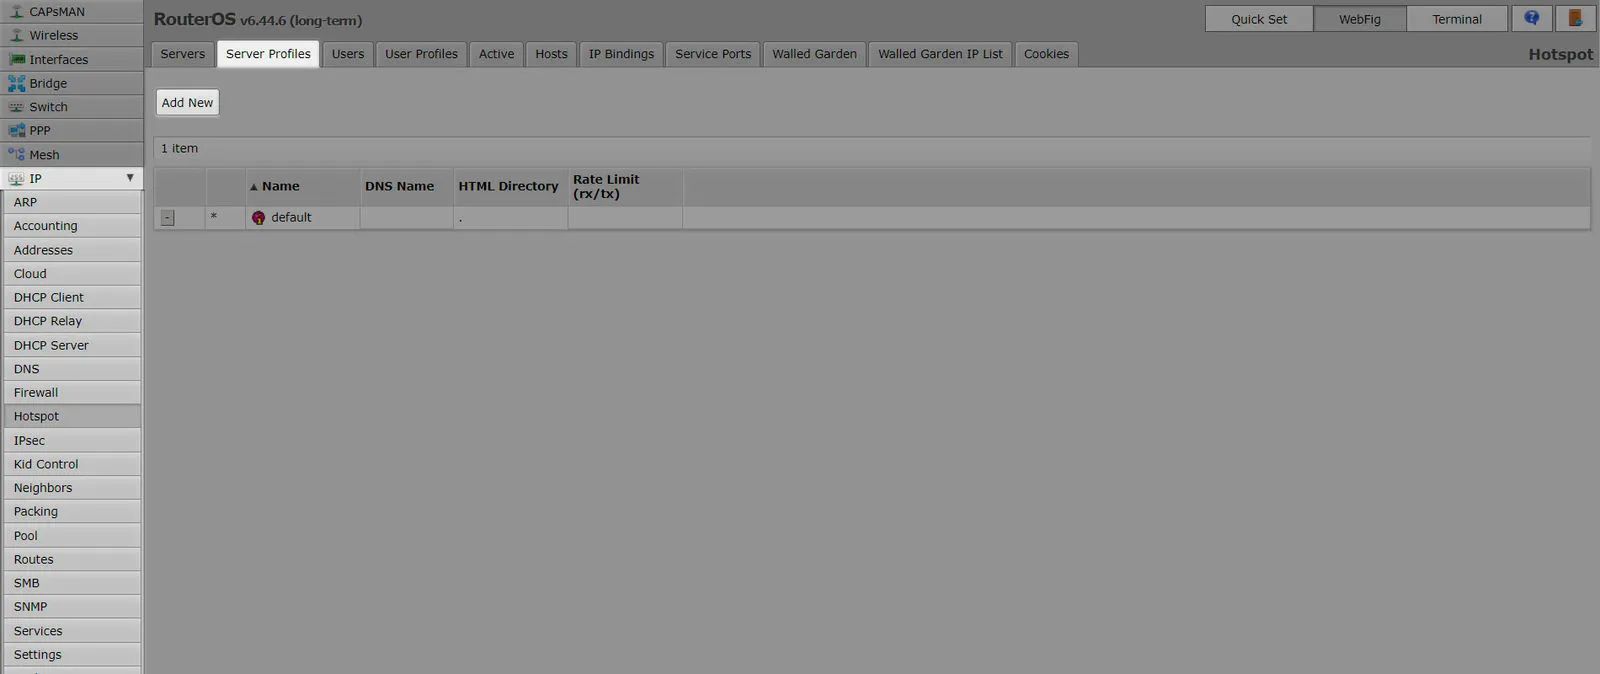
Select section “IP” and subsection “Hotspot” in the menu on the left side of the page.
Select tab “Server profiles” on the top of the page.
Click “default” name.
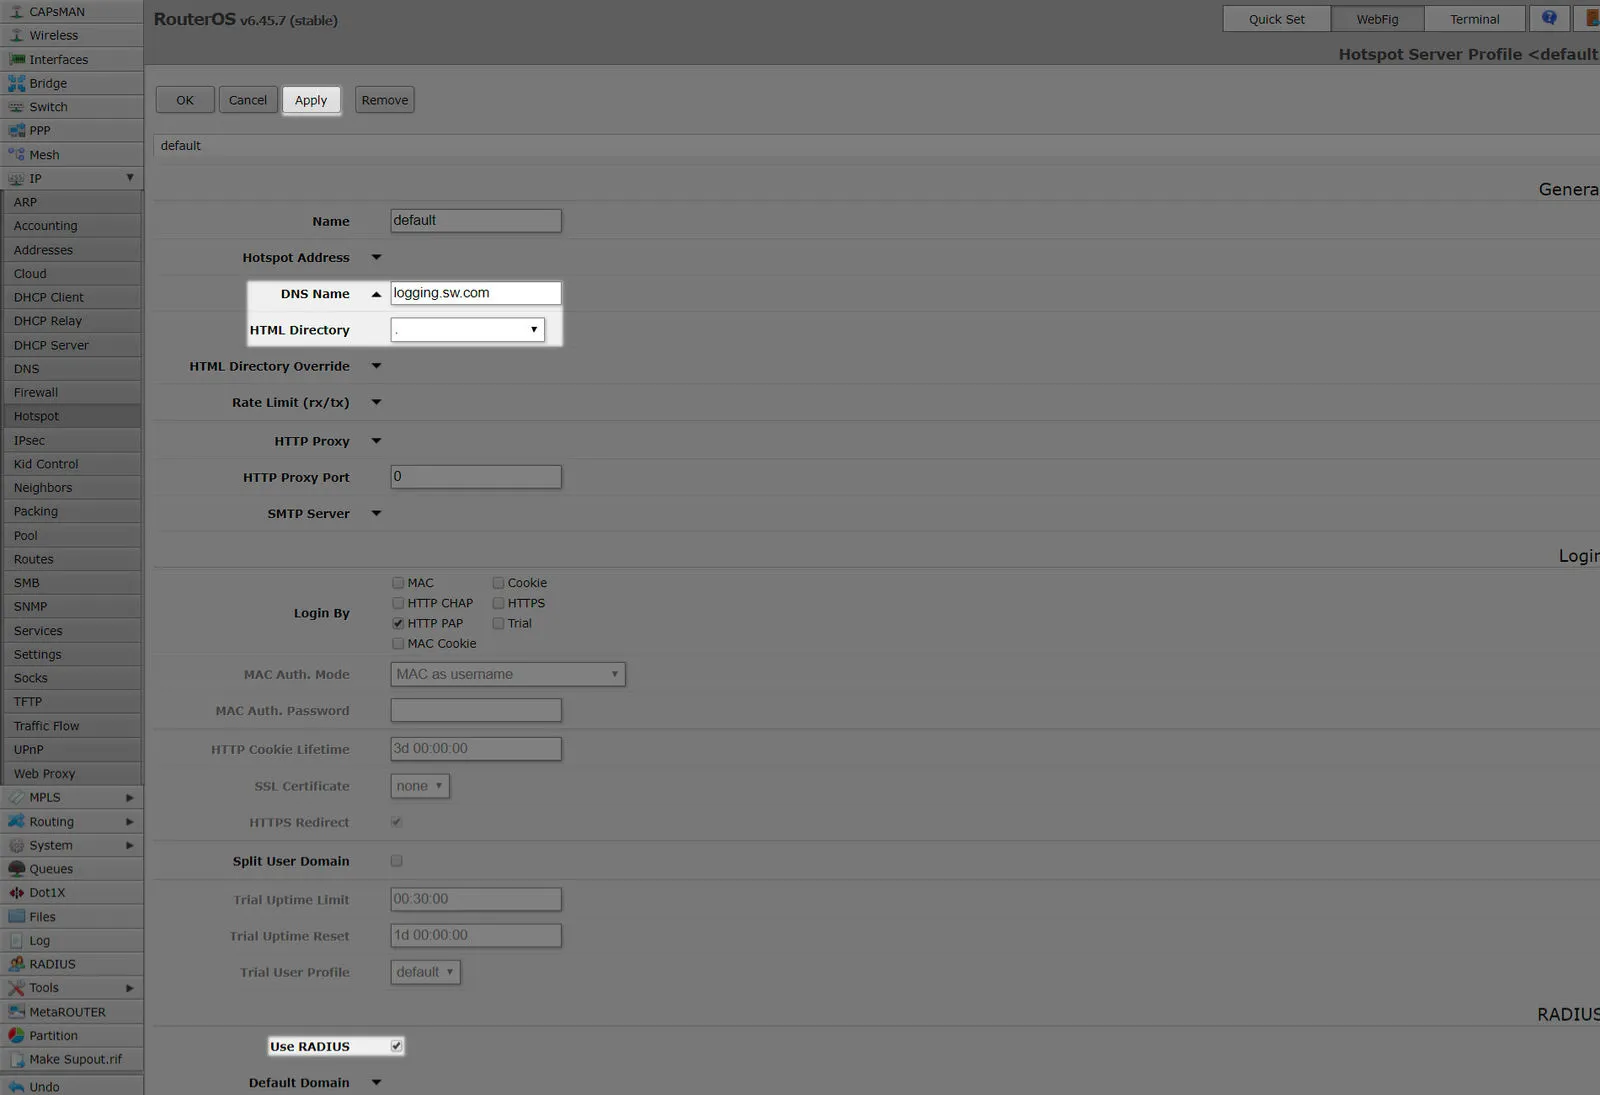
Fill in the form:
| DNS Name | logging.sw.com |
|---|---|
| HTML Directory | . (period) (IMPORTANT: If your Files section contains a “flash” folder, make sure this field says “flash/.” without question marks) |
| Use RADIUS | yes |
| Login By | HTTP PAP |
| Apply |
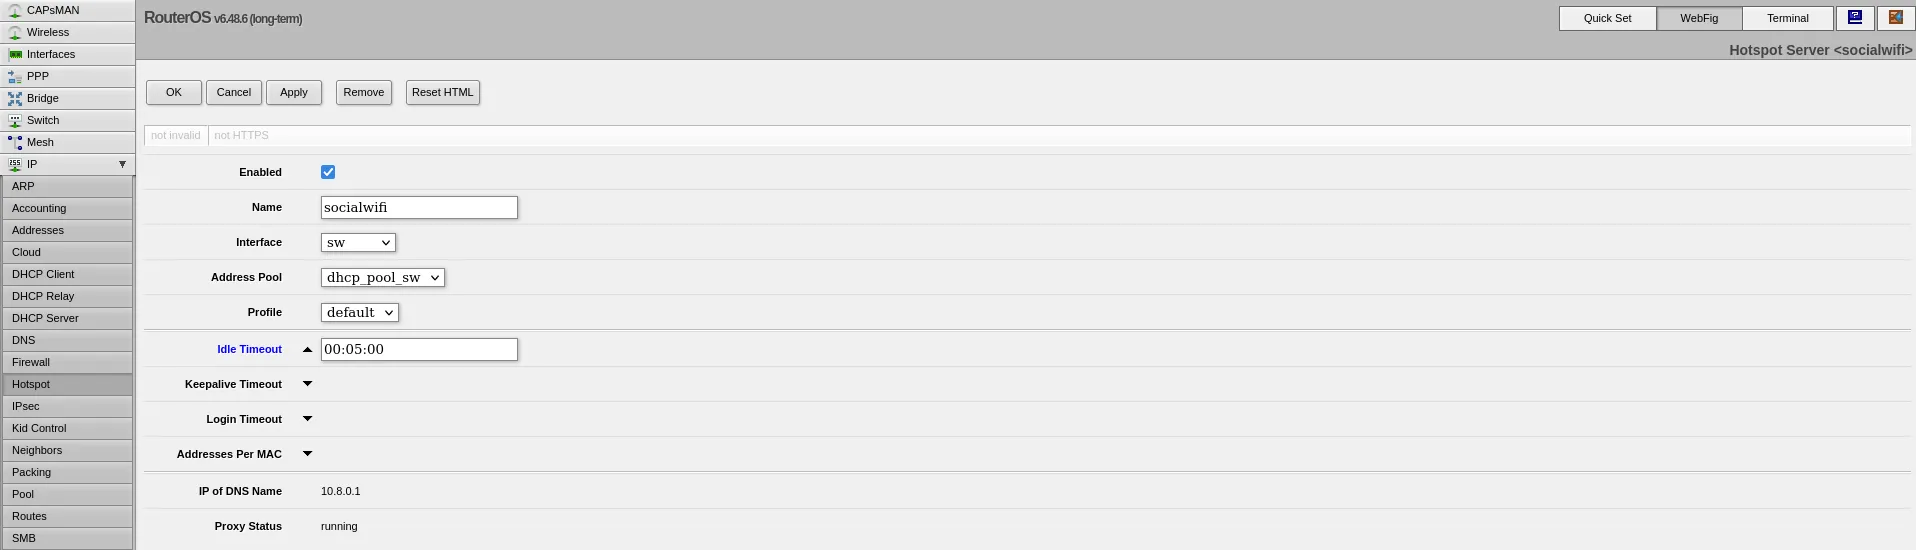
Select section “IP” and subsection “Hotspot” in the menu on the left side of the page.
Click [Add New] button
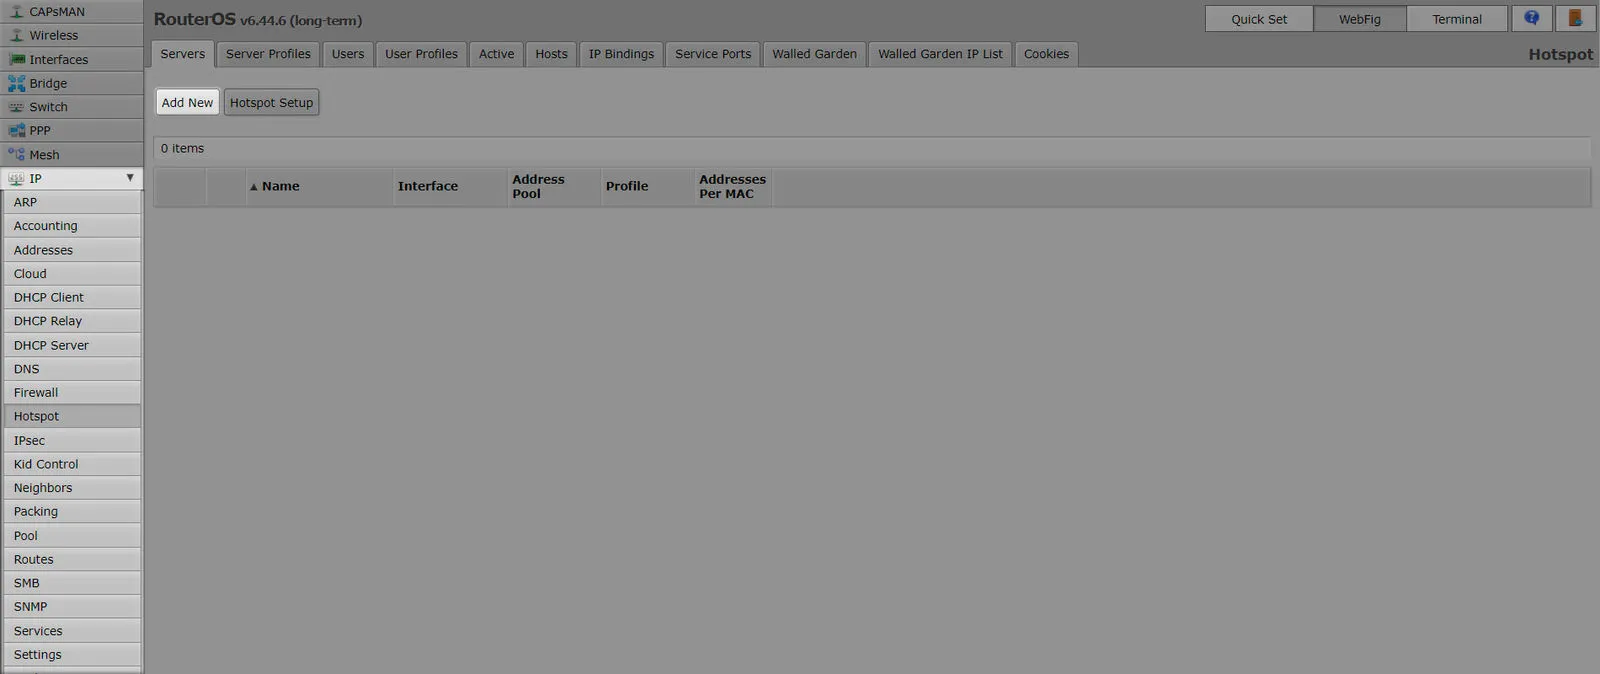
Fill in the form:
| Name | socialwifi |
|---|---|
| Interface | sw |
| Address Pool | dhcp_pool_sw |
| Idle Timeout | 00:05:00 |
| Apply |
Select tab “User profiles” on the top of the page.
Click “default” name.
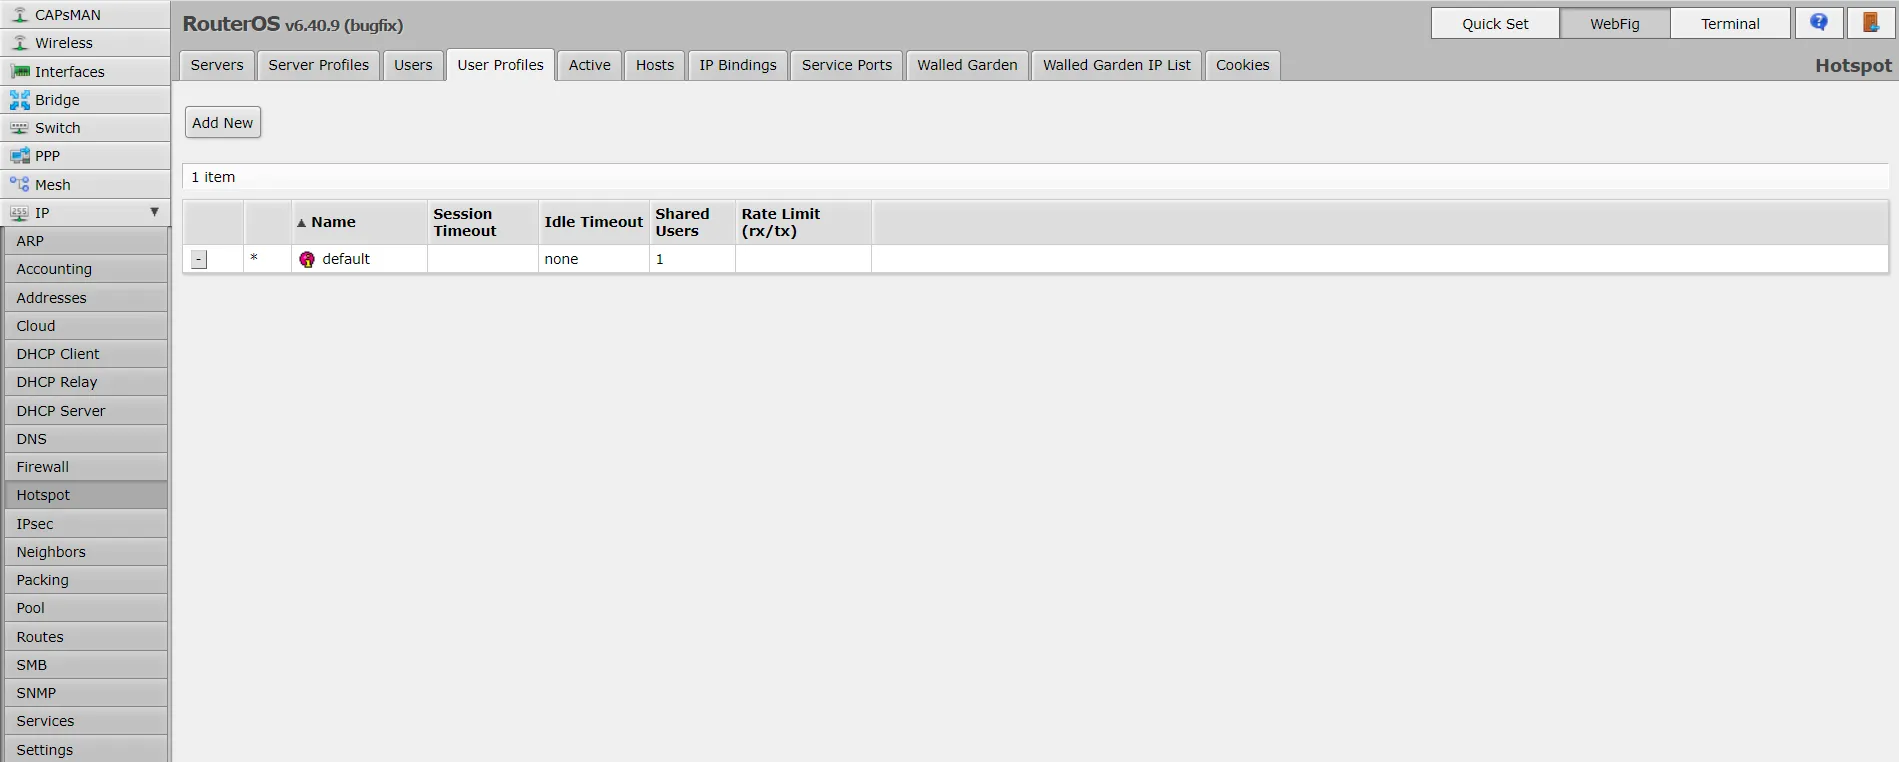
Fill in the form:
| Address Pool | dhcp_pool___sw |
|---|---|
| Keepalive Timeout | 3d 00:00:00 |

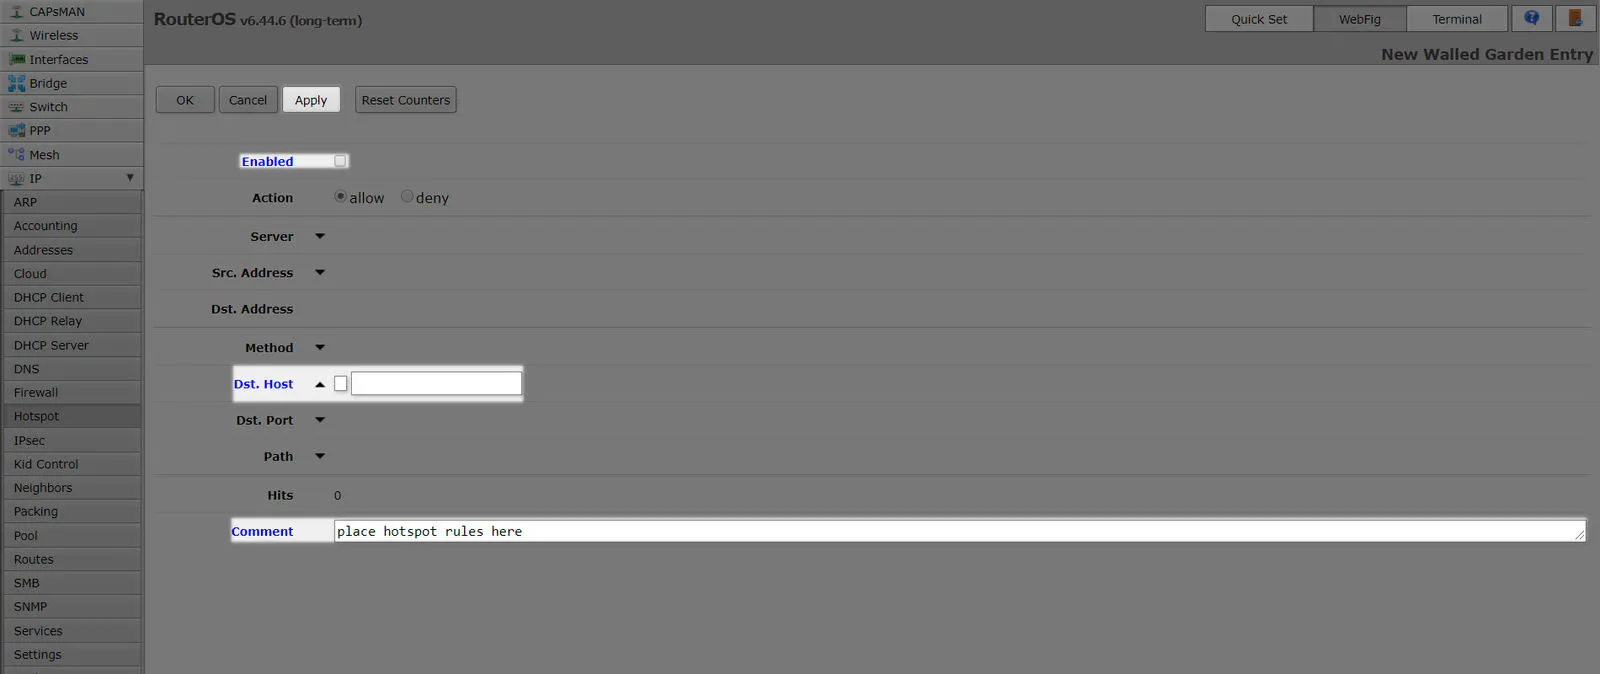
Walled Garden – add a comment
Select section “IP” and subsection “Hotspot” in the menu on the left side of the page.
Select tab “Walled Garden” on the top of the page.
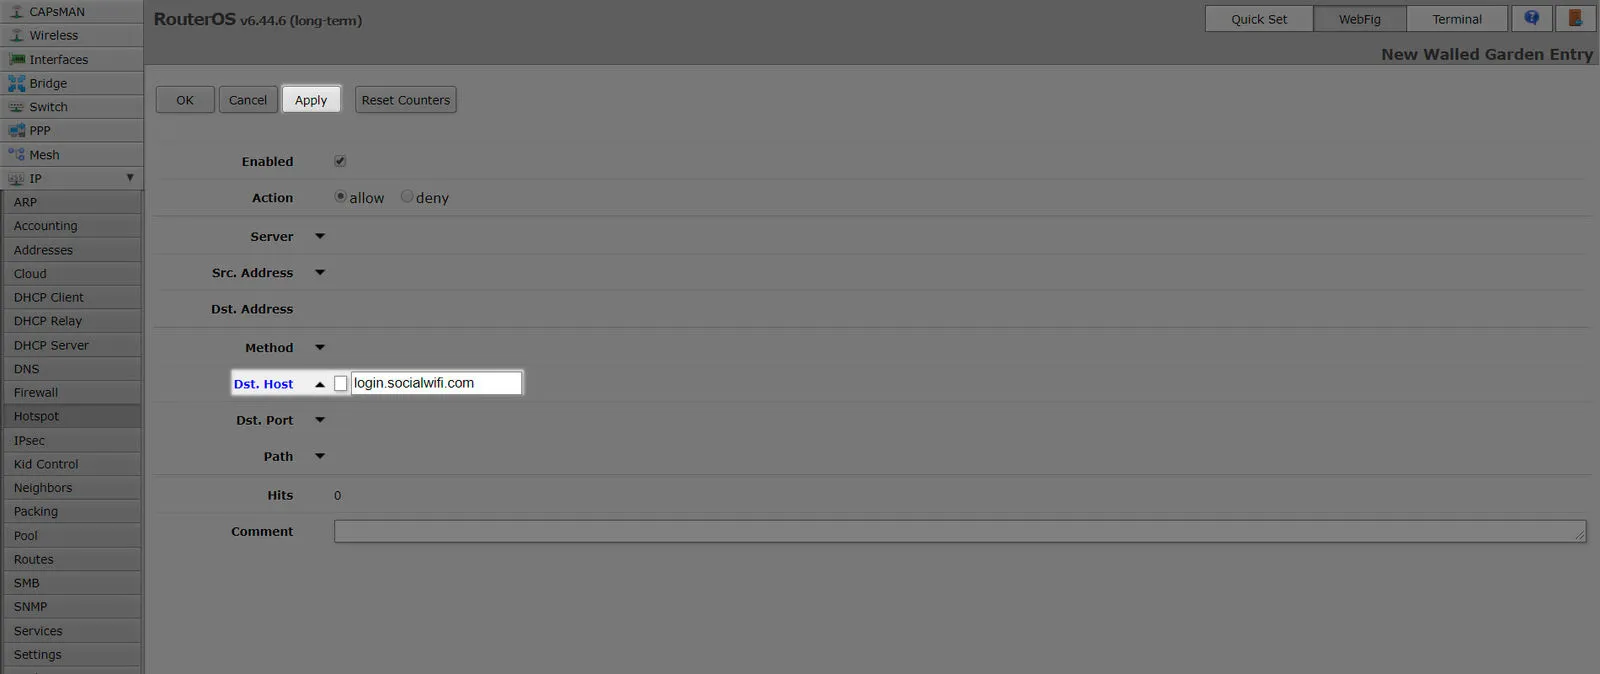
Click [Add New] button.
Uncheck “Enabled”.
Clear the field “Dst. Host”.
Fill in the form:
| Comment | place hotspot rules here |
|---|---|
| Apply |
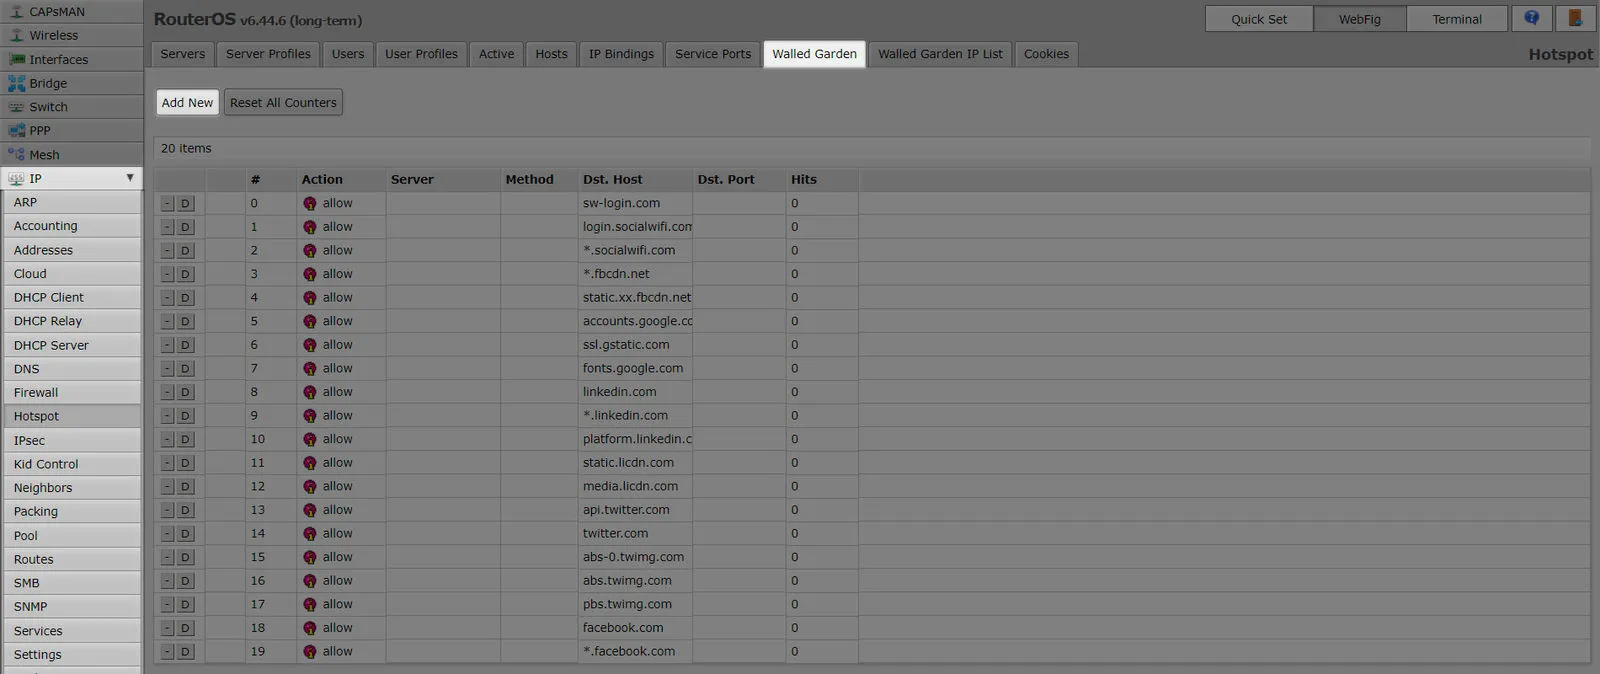
Walled Garden – allow domains
You should be on the page opened in the previous step (12. Walled Garden – add a comment).
Click [Add New] button.
Fill in the form:
| Dst. Host | sw-login.com |
|---|---|
| Apply |
Repeat those steps for each of the addresses below:
Mandatory:
*.socialwifi.comsw-login.com*.youtube.comyoutube-ui.l.google.comytimg.l.google.com*.ytimg.com*.googlevideo.comyt3.ggpht.com*.l.googleusercontent.com*.facebook.comconnect.facebook.net*.fbcdn.netwww.googletagmanager.comwww-googletagmanager.l.google.comwww.googleadservices.compagead.l.doubleclick.netwww.google.*facebook.com*.facebook.com*.fbcdn.netlinkedin.com*.linkedin.com*.l-msedge.net*.dc-msedge.net*.licdn.com*.epsiloncdn.net*.akamai.netwww.linkedin.com.cdn.cloudflare.netx.comapi.x.comapi.x.com.cdn.cloudflare.nettpop-api.x.comtwitter.comapi.twitter.comapi.twitter.com.cdn.cloudflare.net*.twitter.com*.twimg.com*.edgecastcdn.net*.akahost.netpbs.twimg.com.cdn.cloudflare.nettwimg.twitter.map.fastly.net(optional) YouTube widget
How to configure devices to make YouTube widget work?
Add bridge for WiFi
Select section “Bridge” and subsection “Ports” in the menu on the left side of the page.
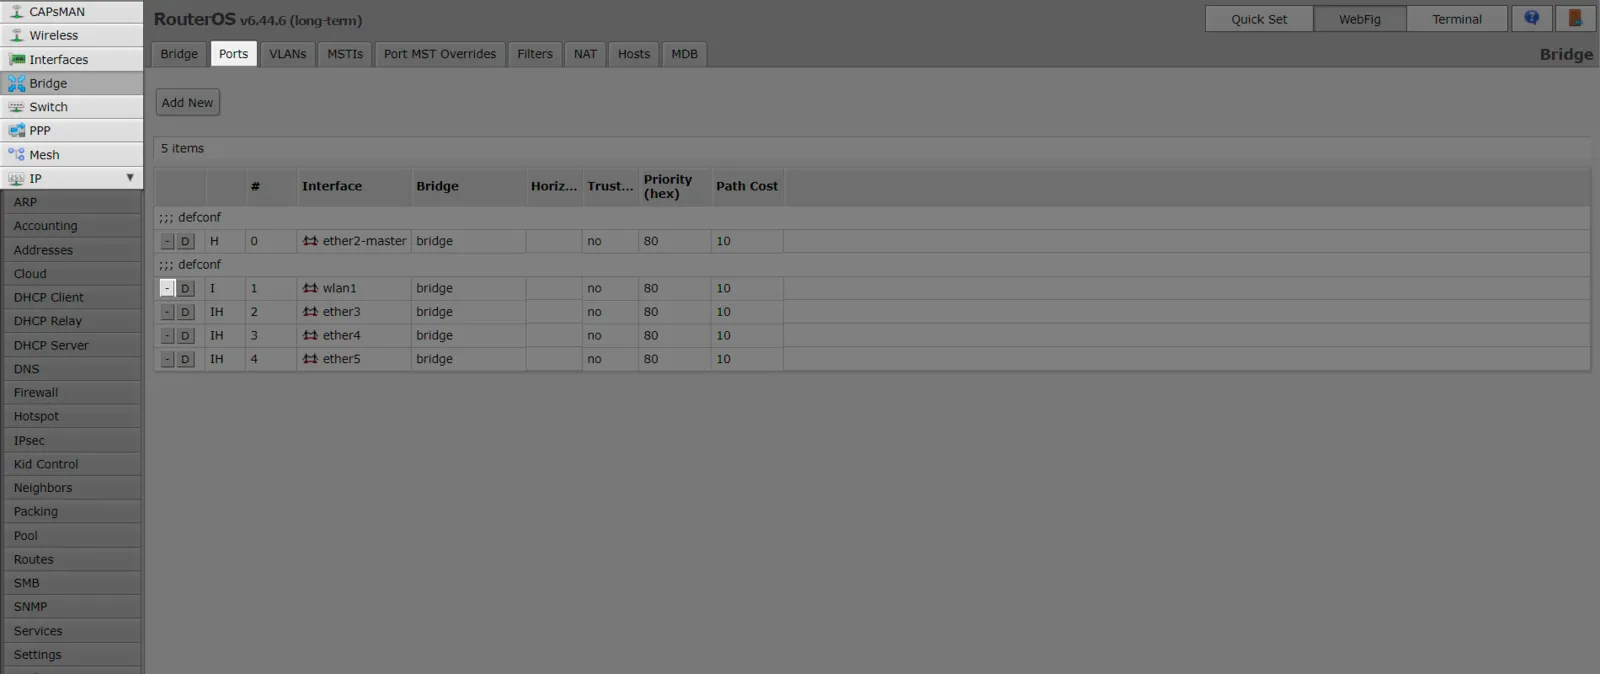
A list will appear. If it already has a bridge for interface called “wlan1”, remove it by clicking [-] button on the left side of it.
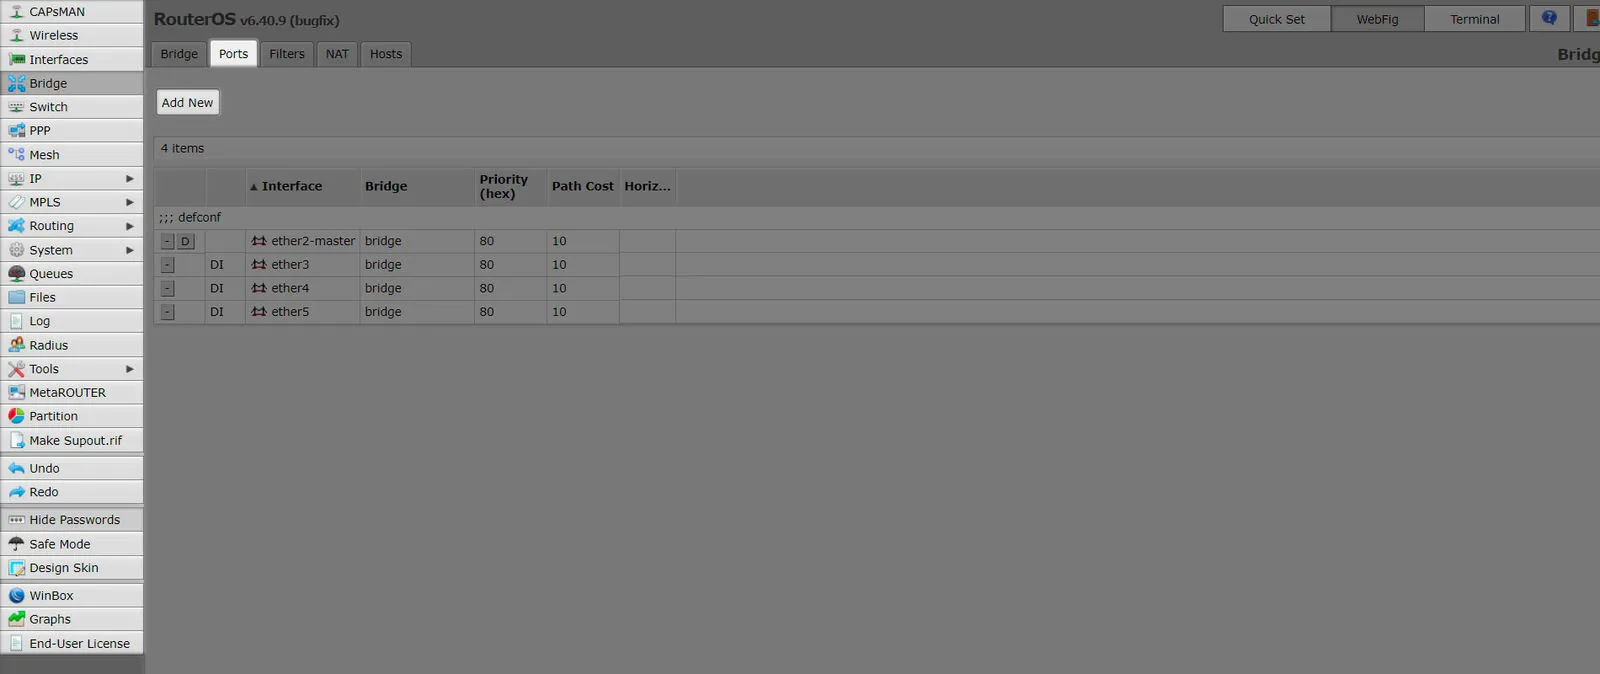
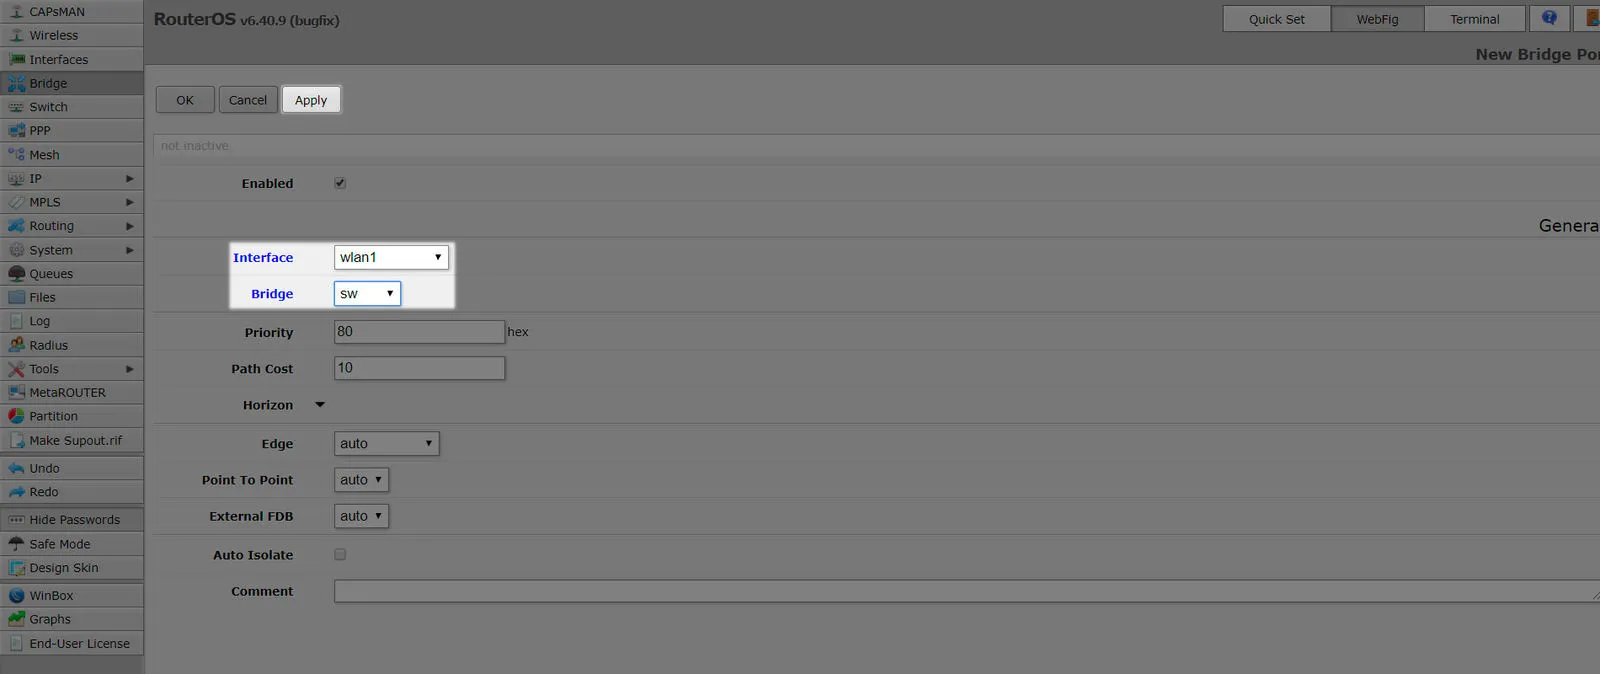
Click [Add New] button.
Fill in the form:
| Interface | wlan1 |
|---|---|
| Bridge | sw |
| Apply |
Set SSID
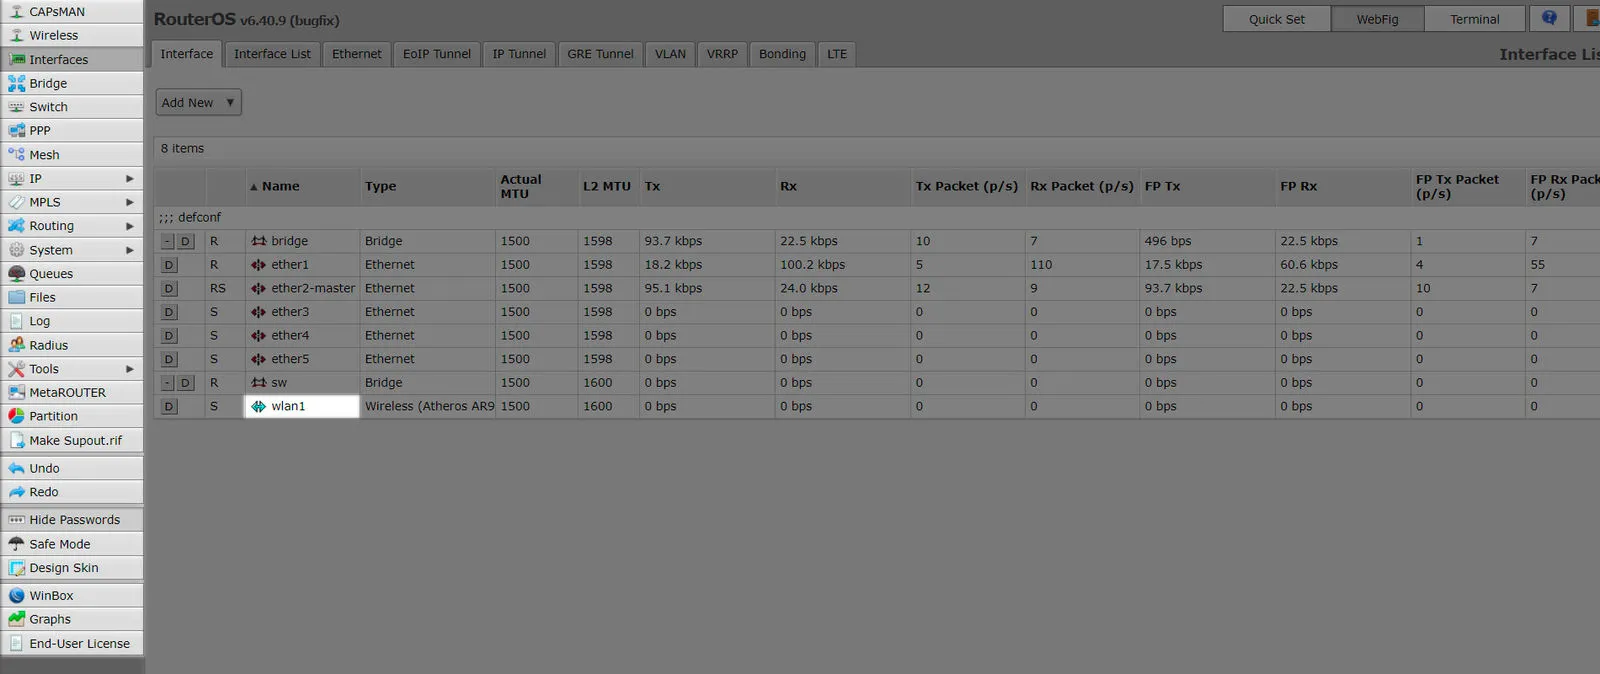
Select section “Interfaces” in the menu on the left side of the page.
Click “wlan1” entry on the list of interfaces.
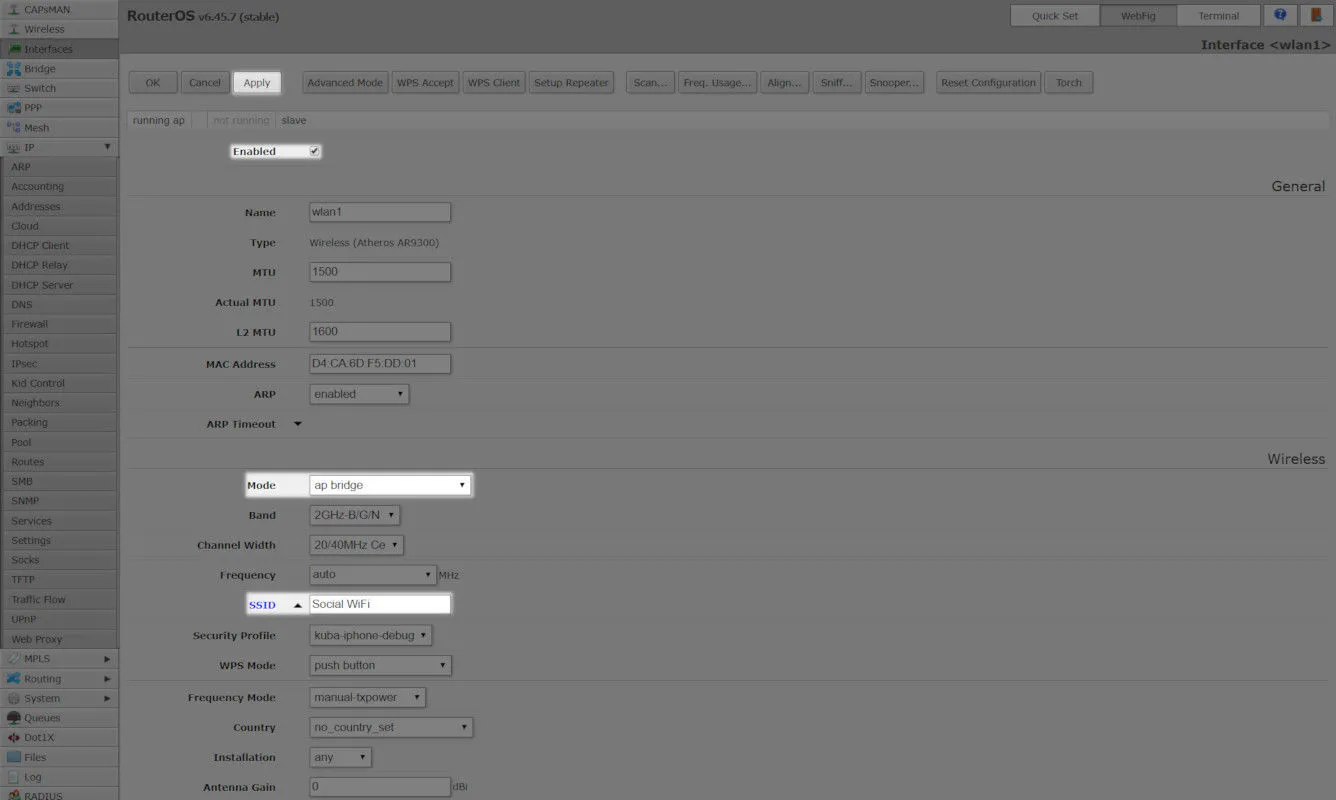
Fill in the form:
| Enabled | yes |
|---|---|
| Mode | ap bridge |
| SSID | Your desired network name |
| Apply |
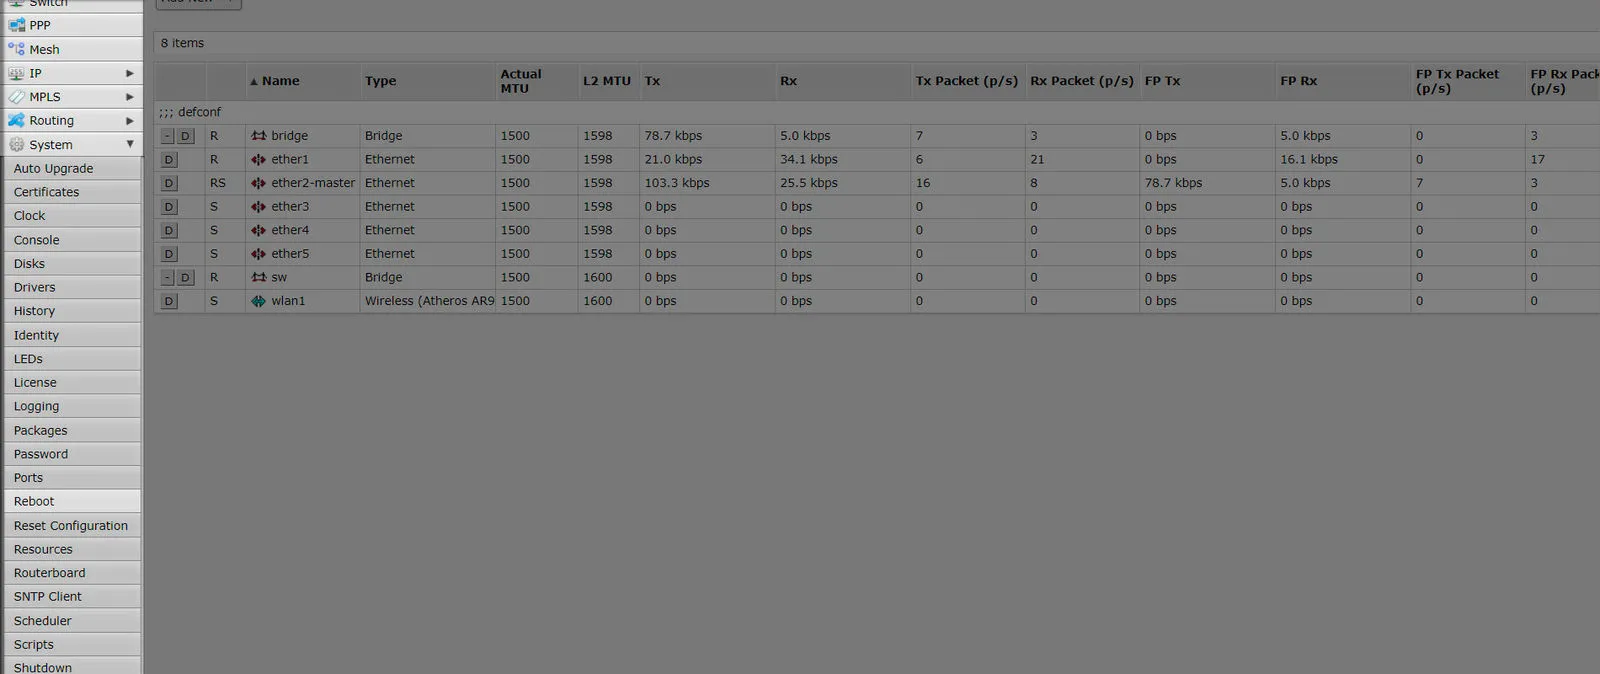
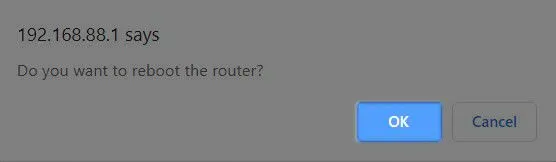
Reboot
Select section “System” and subsection “Reboot” in the menu on the left side of the page.