Cloud Key
Enable SSH on your Controller
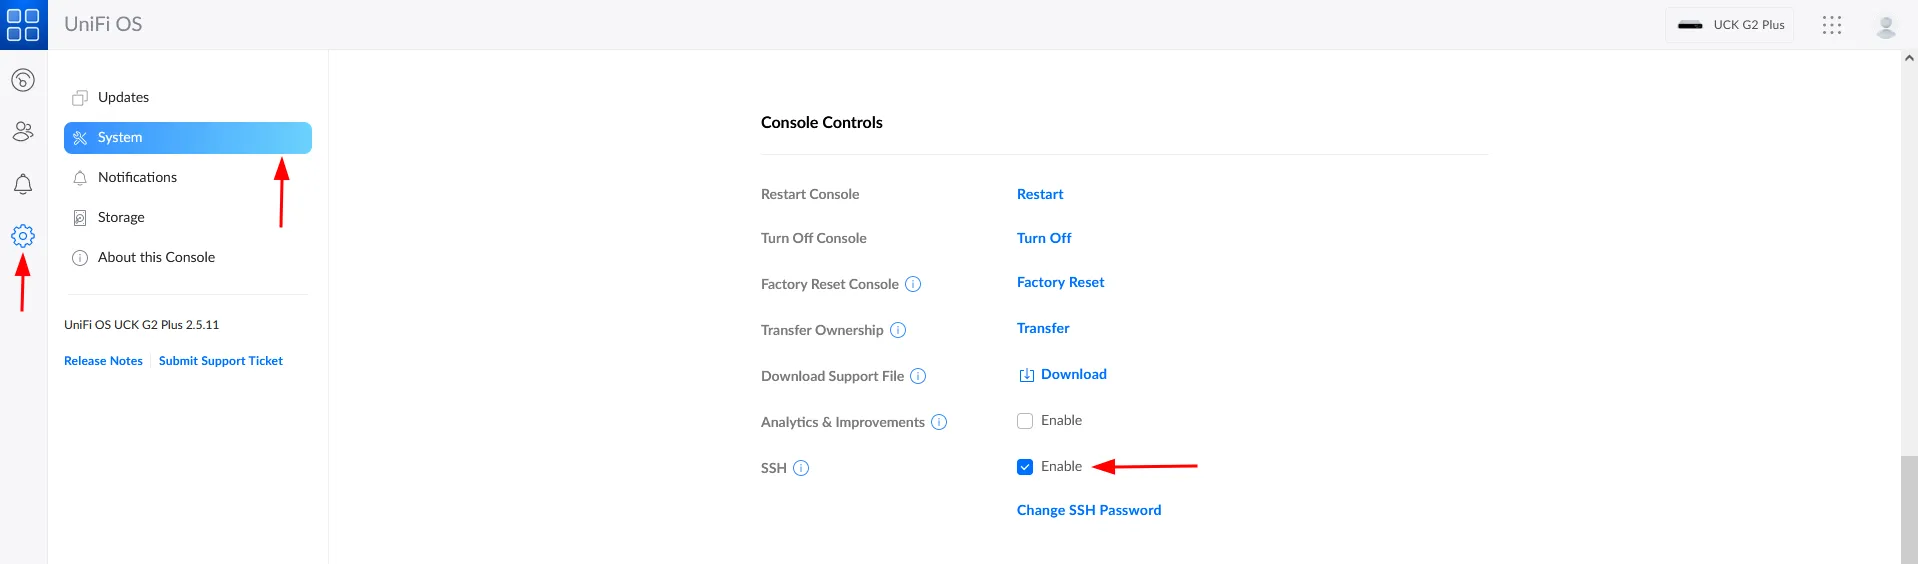
Go to the UniFi OS -> Settings -> System -> Console Controls and set SSH to Enable.
Establish the site identifier (folder name)
If you have only one site on the controller, the identifier will be “default”. It will be later used as a folder name. If you have more than one site the identifier will be a random set of characters. To find the site identifier, check the web interface URL as shown below:
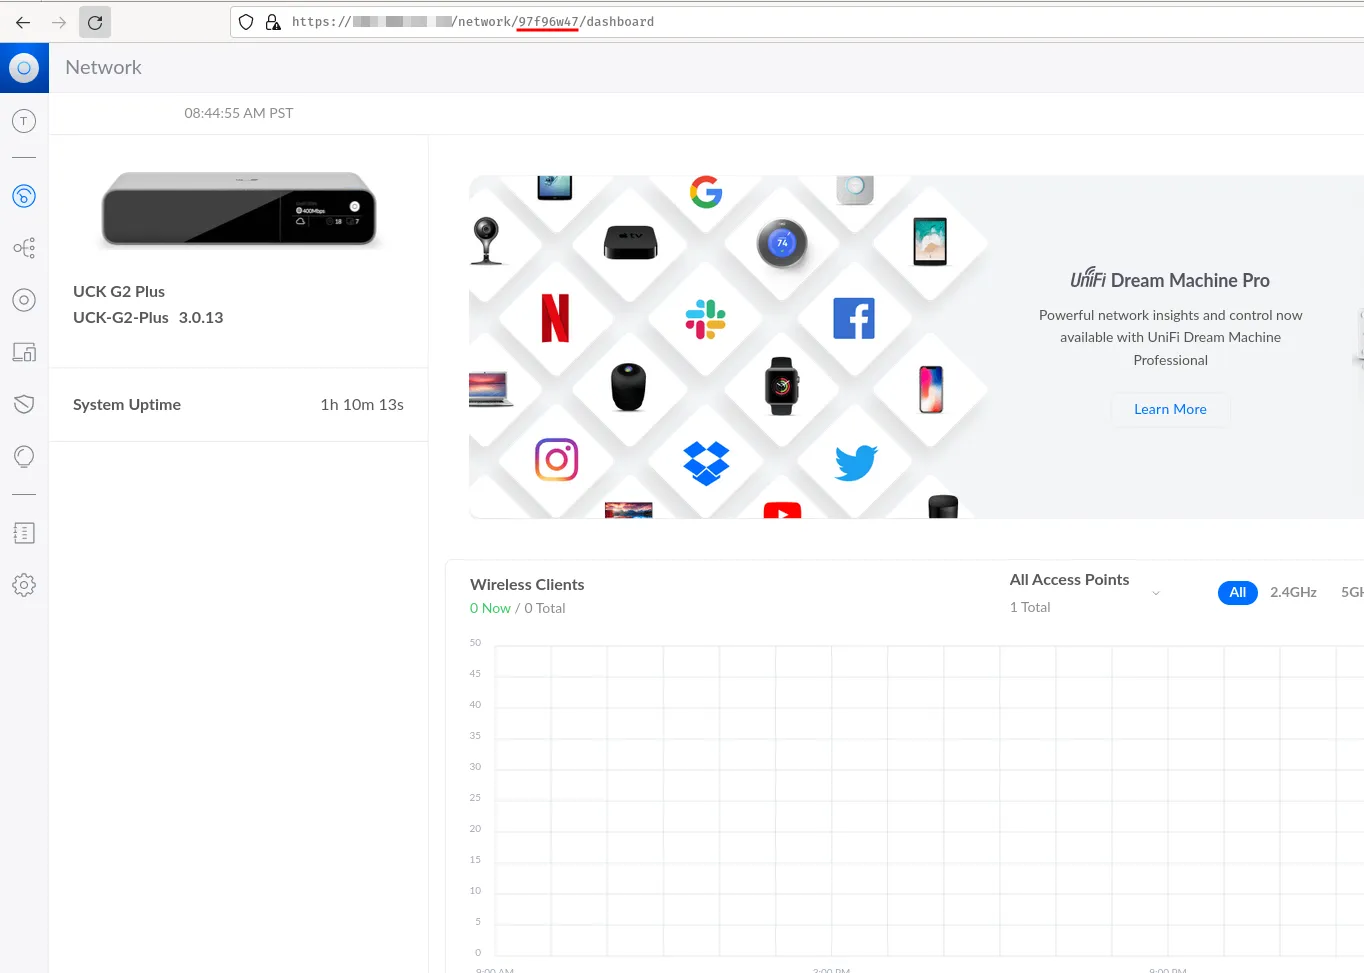
As you can see, after creating the site named “test1” it has “97f96w47” in the url path, which is also the folder name for the site in the controller.
For example, here’s the path to the “default” site:
/srv/unifi/data/sites/default/app-unifi-hotspot-portal
If we want to upload files to the “test1” site, the file path would be:
/srv/unifi/data/sites/97f96w47/app-unifi-hotspot-portal
In this guide, the files will be uploaded to the “default” site.
Download the files
Now, you will need to copy three files on to the controller so that it correctly redirects and authenticates:
- index.html
- auth.html
- config.properties
Download them by clicking here and extract the archive.
Upload files from Windows
To upload the files to Cloud Key Controller on Windows we’ll be using the WinSCP program. If you don’t have it installed yet please do so by clicking on this link and following the instructions. After you run WinSCP you should see a window pop up:
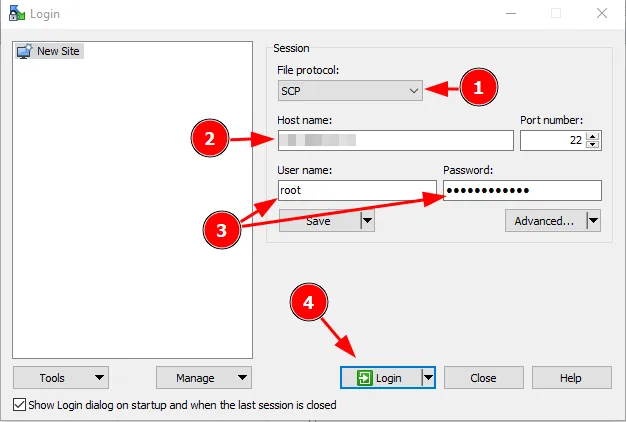
Use the following options:
| File protocol | SCP |
|---|---|
| Host name | (controller’s IP address) |
| Port number | 22 |
| User name | root |
| Password | (the one that you set up while enabling SSH on the controller) |
Press Login.
After logging in, we’ll see two catalogs, on the left - our local catalog, and on the right - Controller’s catalog. We want to transfer previously downloaded files to Controller’s following path (where “default” is the default site name):
/srv/unifi/data/sites/default/app-unifi-hotspot-portal
To access the path we have to change directory to ”/<root>”. We can do so by clicking the box marked below:

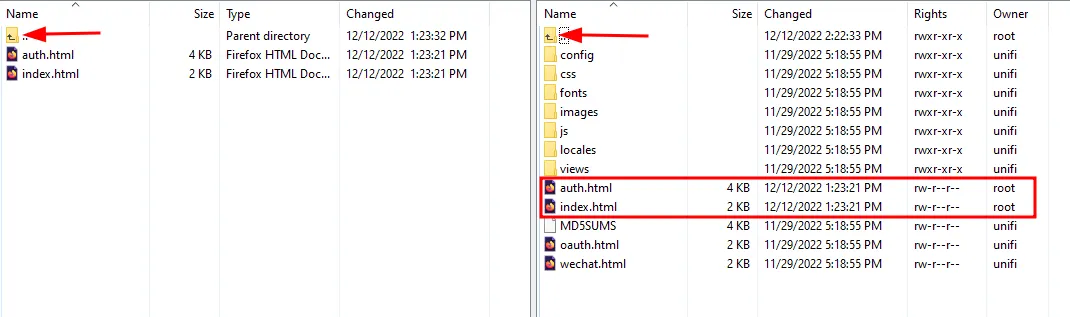
You should see the full list of folders on the right catalog. Go to the previously mentioned path and transfer the files using drag and drop from one folder to another:
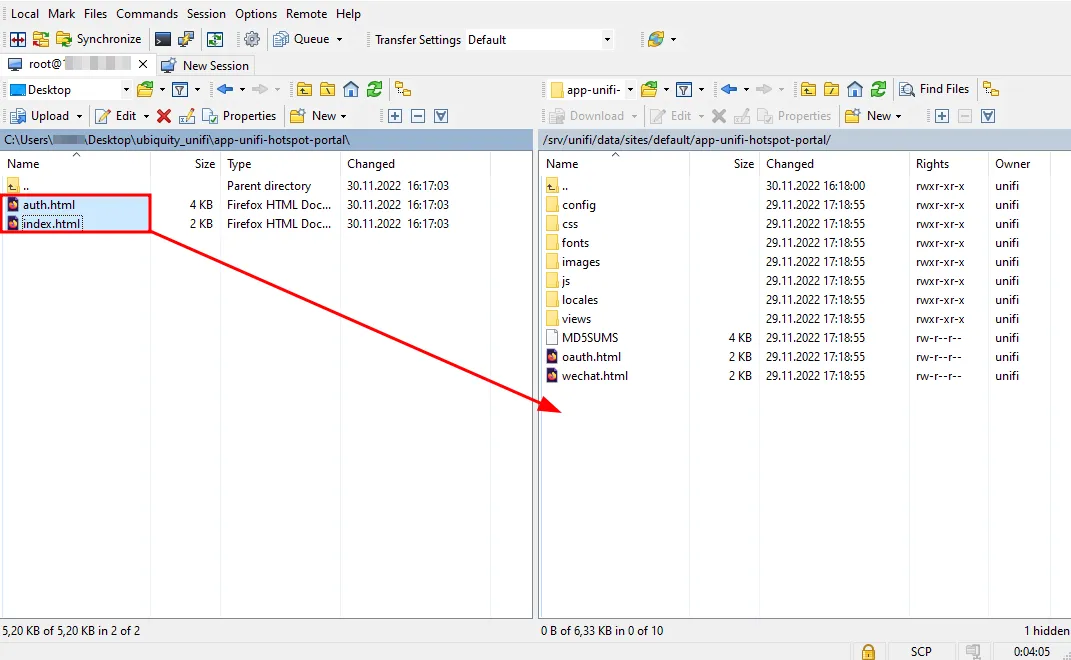
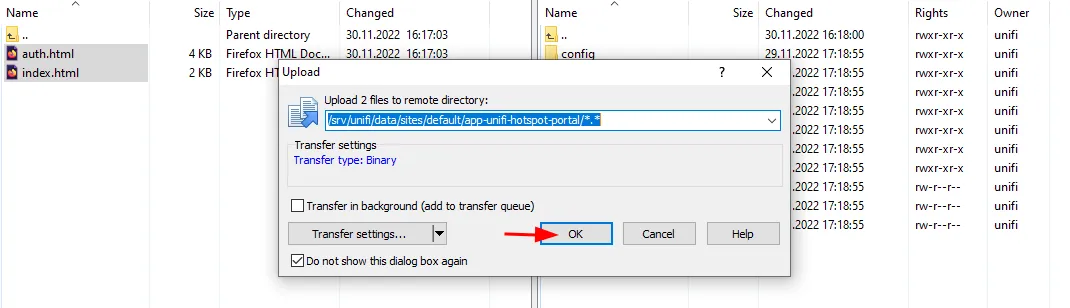
As you can see, the files are uploaded, now go back to the previous directory and copy the last file:


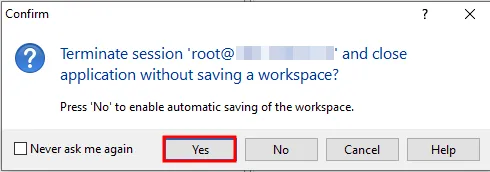
We’re done! Now you can exit WinSCP. You don’t have to save the workspace. After you exit, you might get the prompt pop up. Press Yes.
Upload files from macOS
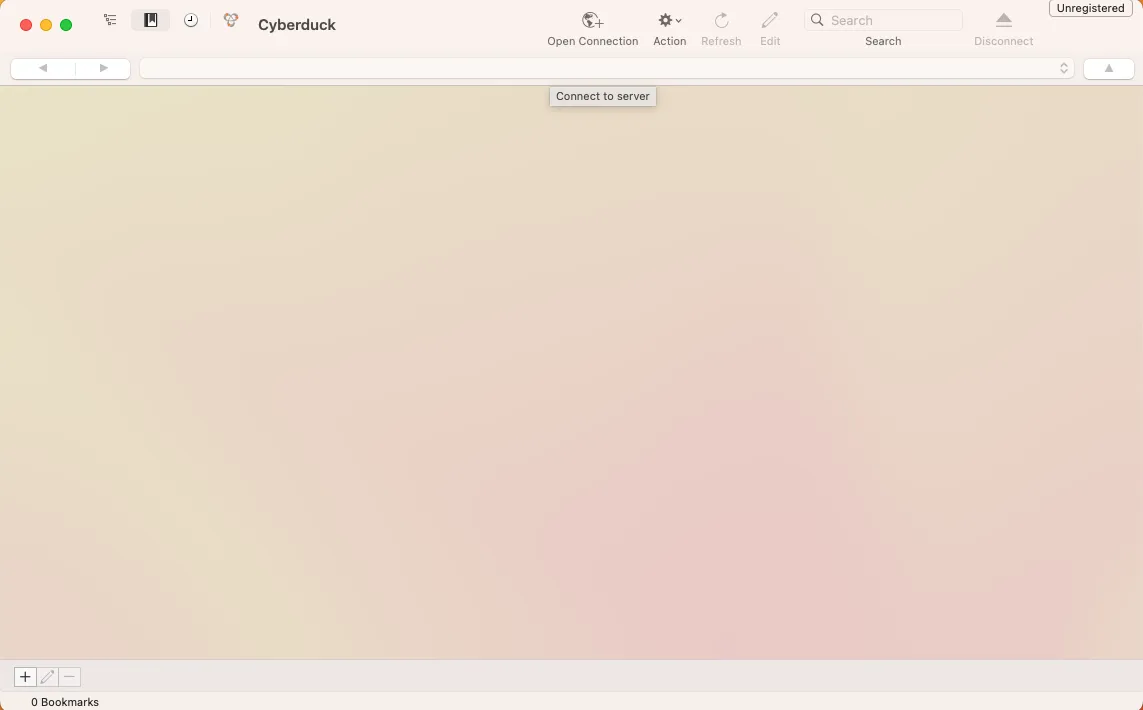
In case of macOS we’ll use Cyberduck. If you don’t have it downloaded, please go to this page.
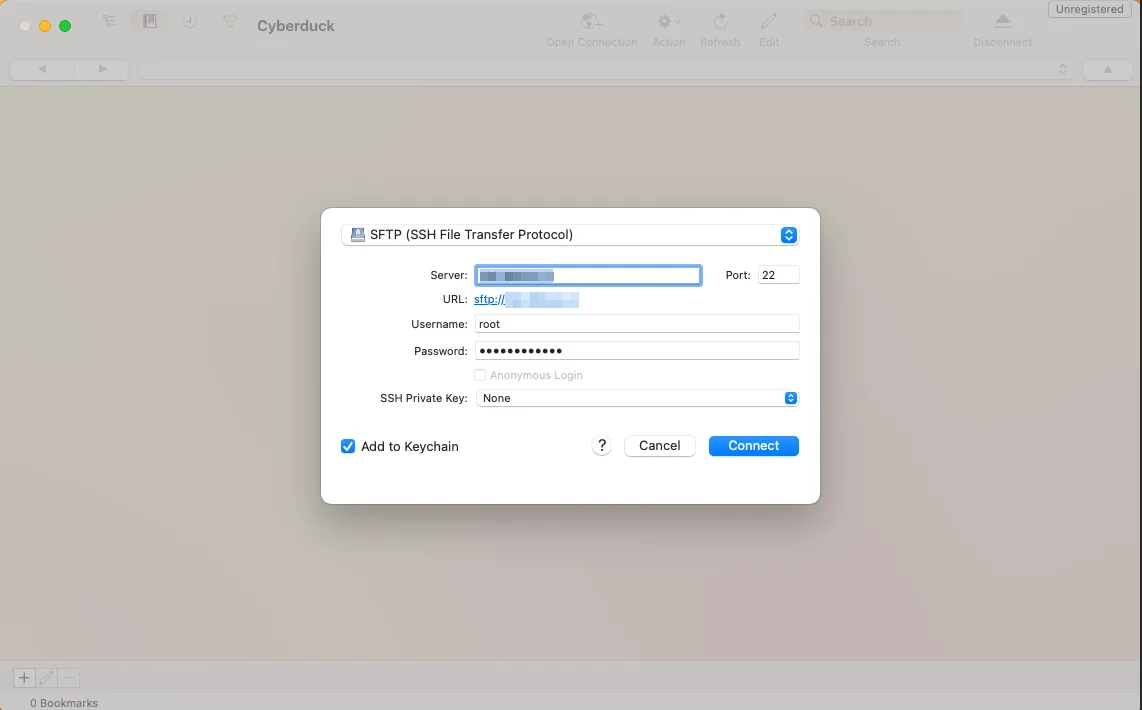
Open Cyberduck and press “Open Connection” button.
In the pop up window set up your connection. Use the following options:
| Protocol (top bar) | SFTP |
|---|---|
| Server | (controller’s IP address) |
| Port number | 22 |
| Username | root |
| Password | (the one that you set up while enabling SSH on the controller) |
Press Connect.
After logging in you will see the file system of the controller. From the top bar pick the ”/” folder.
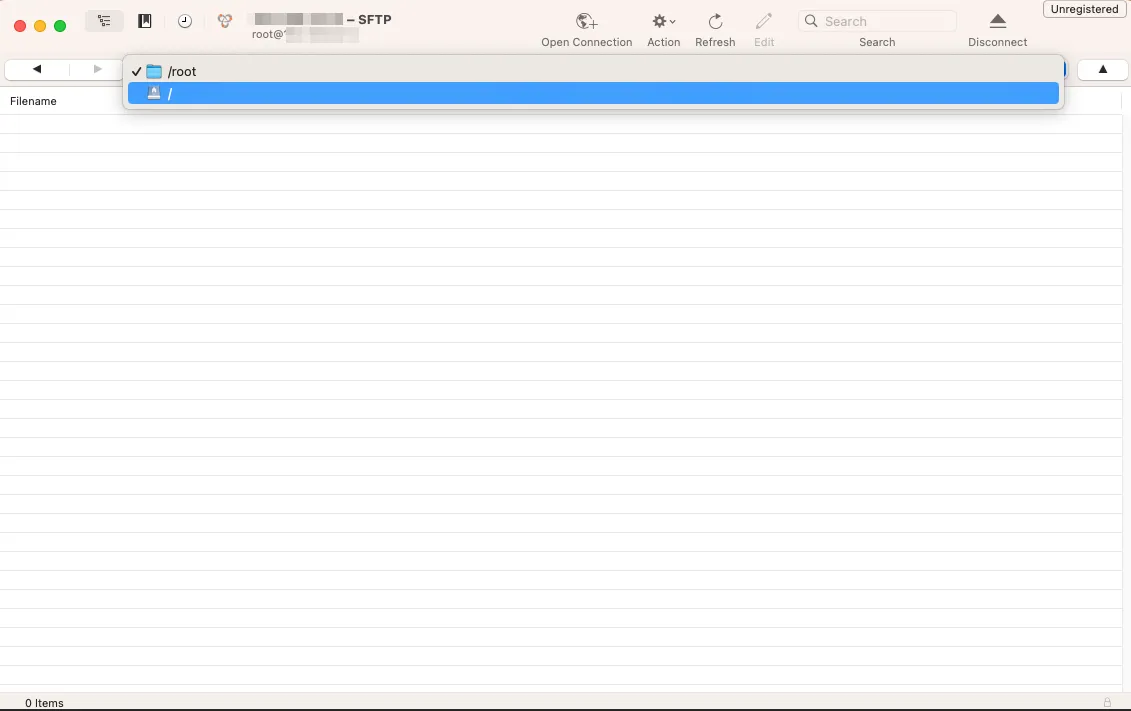
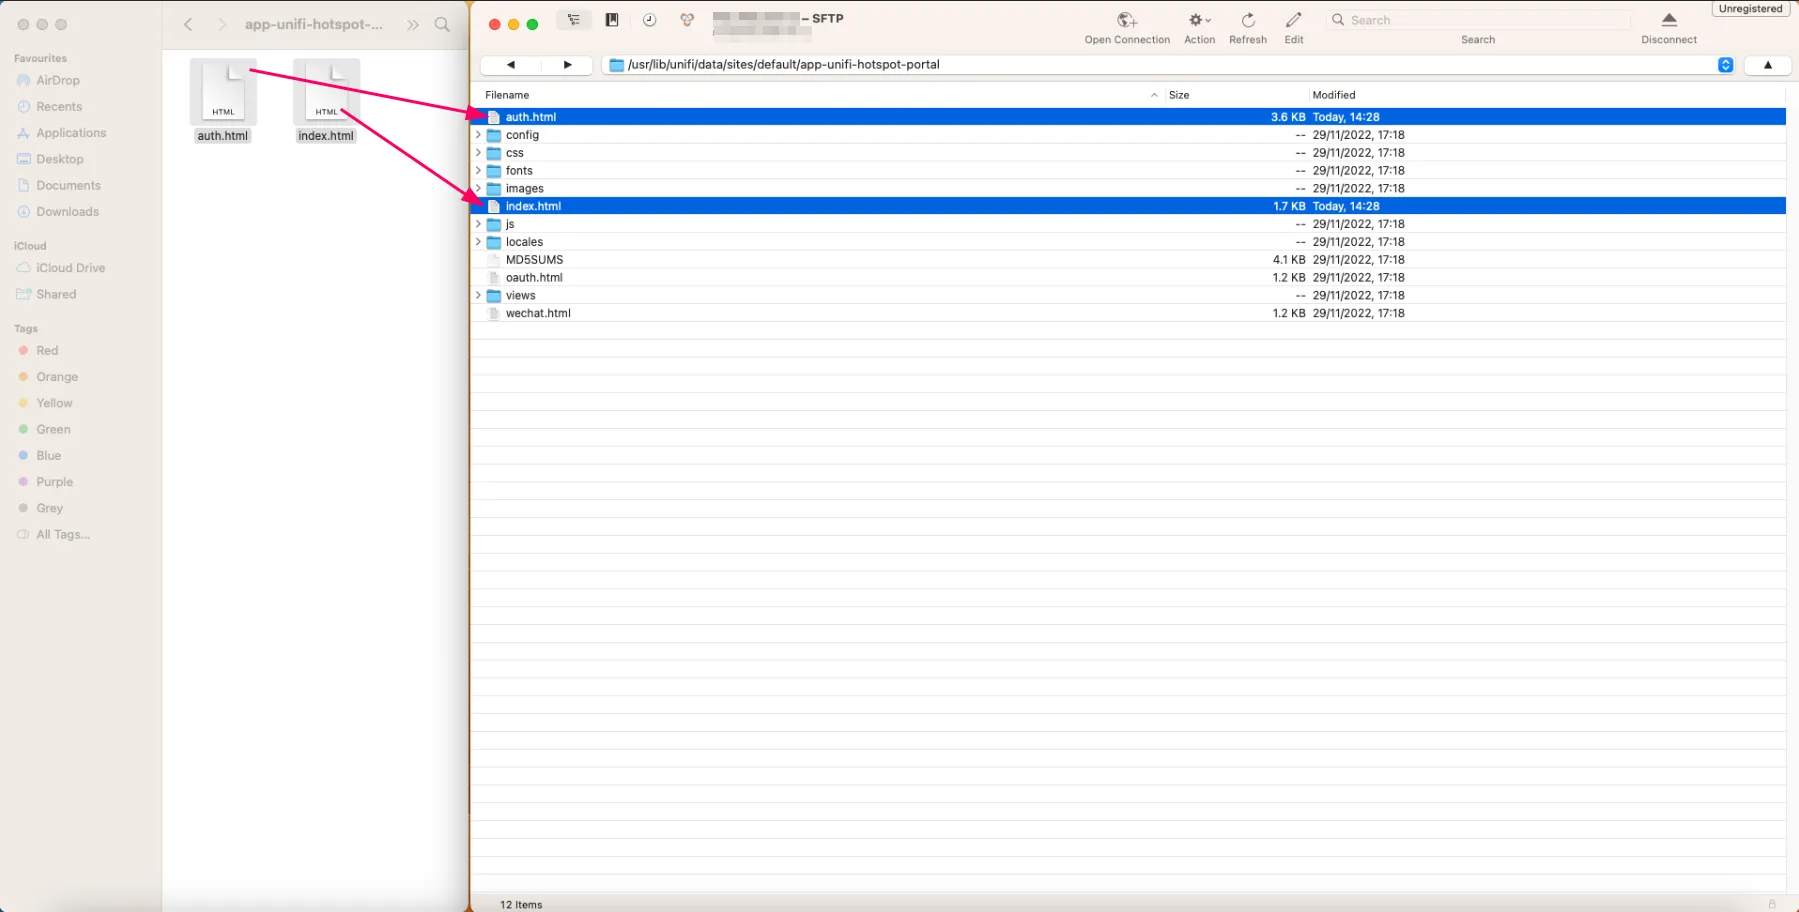
We want to transfer previously downloaded files to Controller’s following path (where “default” is the default site name):
/srv/unifi/data/sites/default/app-unifi-hotspot-portal
Open the “ubiquity_unifi” folder downloaded before on your Mac. Drag and drop them over to the directory.
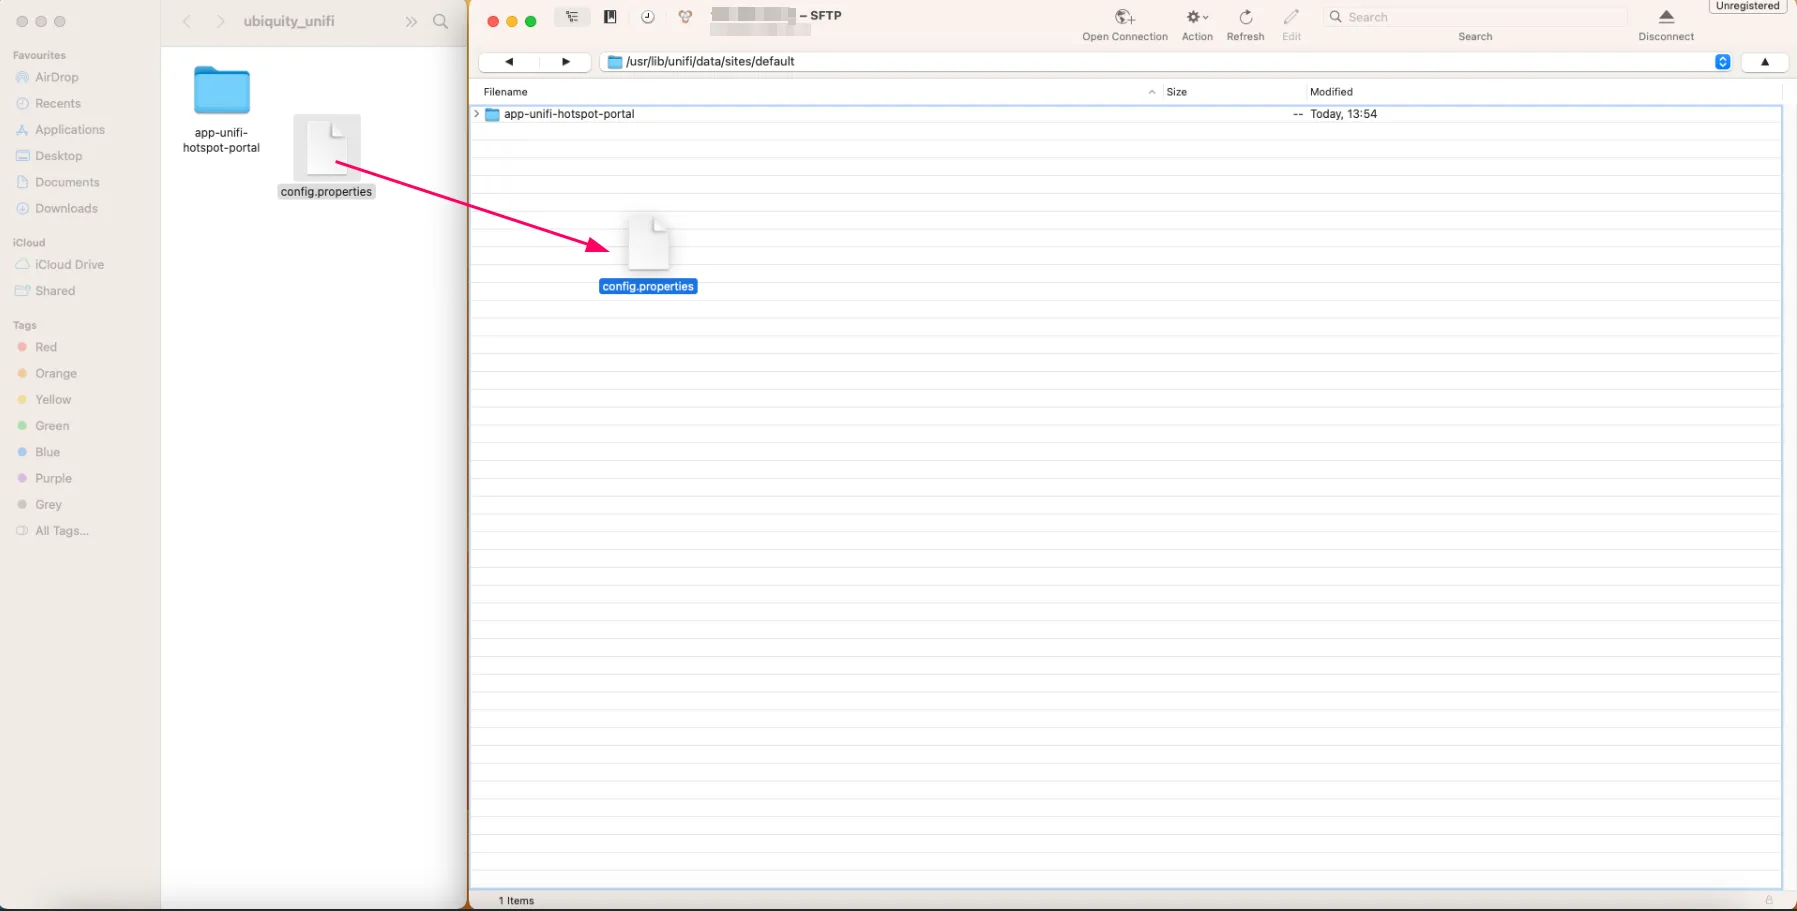
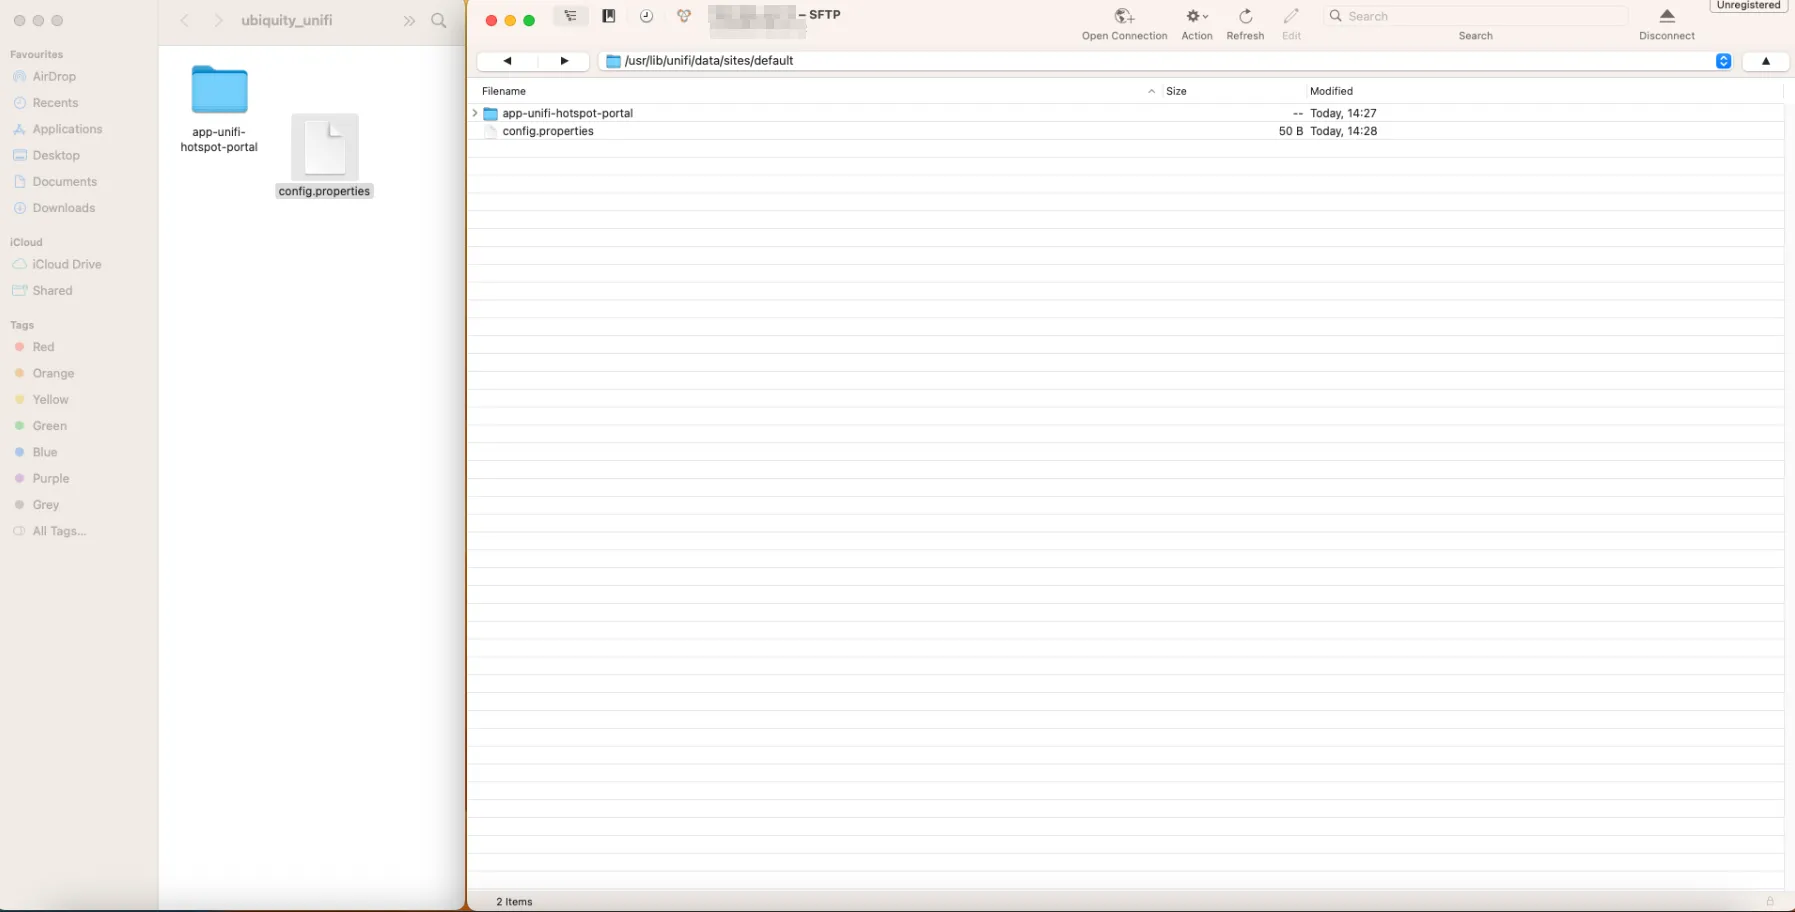
After you moved the “configuration.properties” file, go to the “app-unifi-hotspot-portal” on both folders. Slide the remaining files.
And you’re done. You can close your local folder and the Cloud Key folder.