Legacy interface version
Configuring Wireless Network
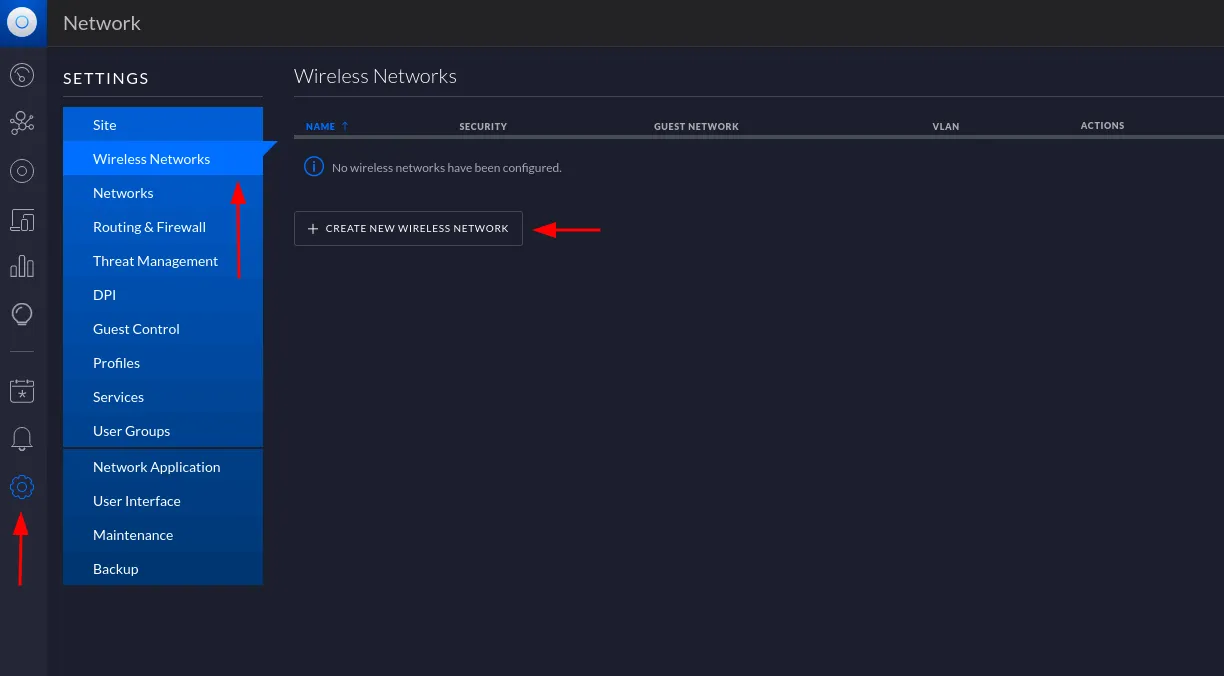
Log in to your UniFi controller and click the Settings gear.
On the menu on the left, under Wireless Networks, click Create New Wireless Network.
Create your netwrok using this configuration:
| - | - |
|---|---|
| Name/SSID | Your chosen network name |
| Enabled | Enabled |
| Security | Open |
| Guest Policy | Enabled |
| Network | Default |
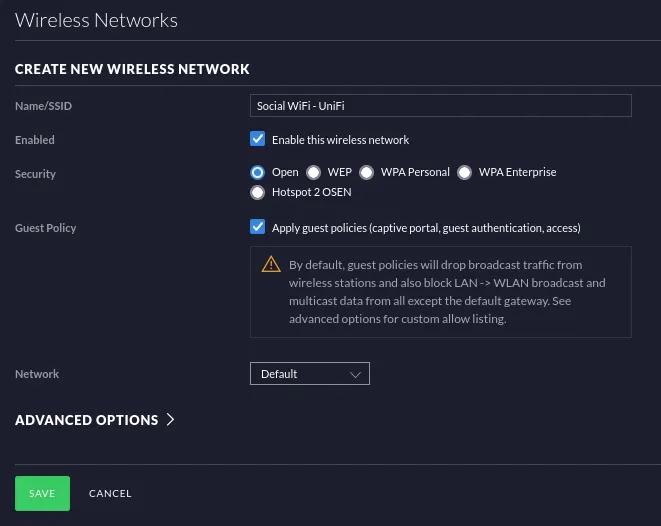
Click Save to apply.
Configuring Guest Control
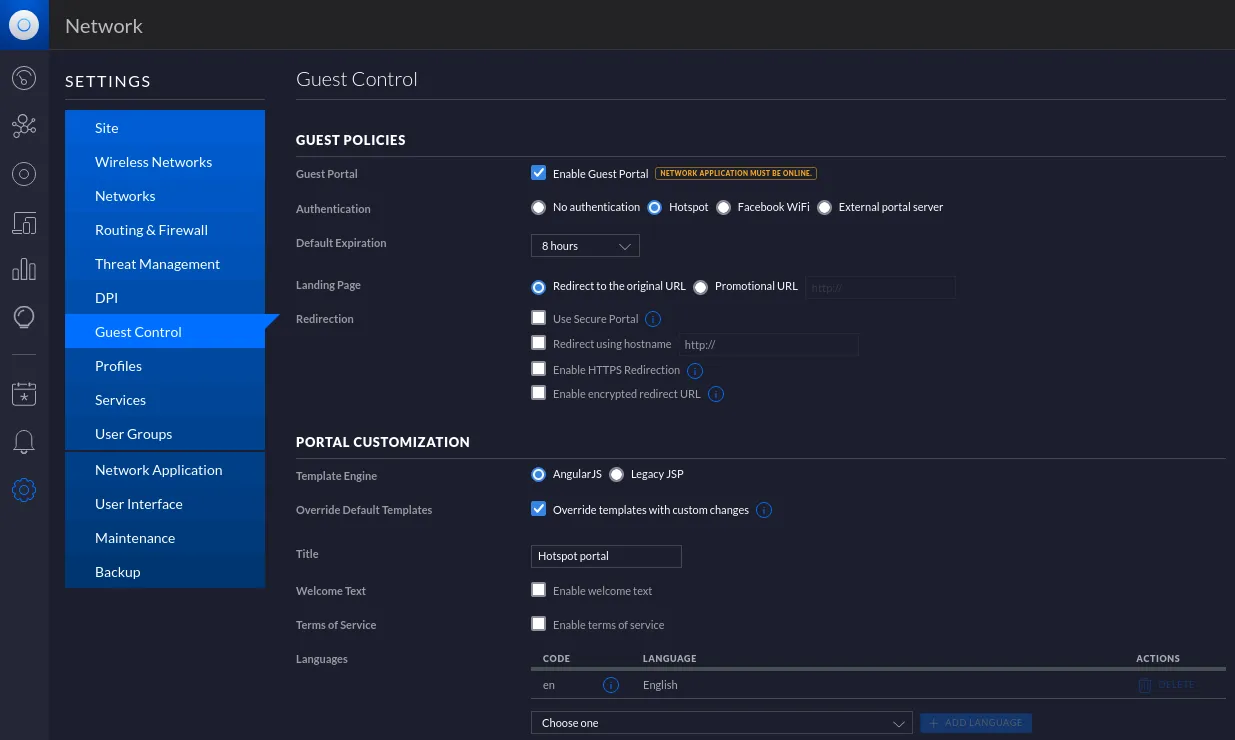
Next, go to Guest Control and configure it as such:
Under the Guest Policies header:
| - | - |
|---|---|
| Guest Portal | Enabled |
| Authentication | Hotspot |
| Landing Page | Redirect to the original URL |
| Use Secure Portal | Disabled |
| Redirect using hostname | Disabled |
| Enable HTTPS Redirection | Disabled |
| Enable encrypted redirect URL | Disabled (option available since Controller version 5.10.12) |
Under the Portal Customization header:
| - | - |
|---|---|
| Template Engine | AngularJS |
| Override Default Templates | Enabled |
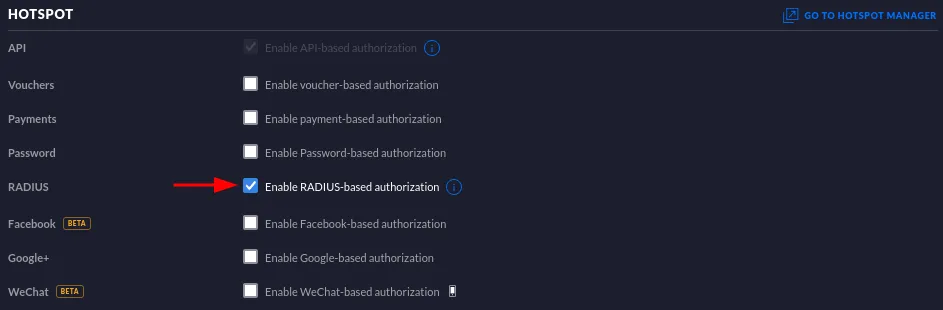
Scroll down and under the Hotspot header and Enable RADIUS-based authentication.
Make sure that’s the only checked box.
Under the RADIUS header in the “Profile” section press Create new RADIUS profile.
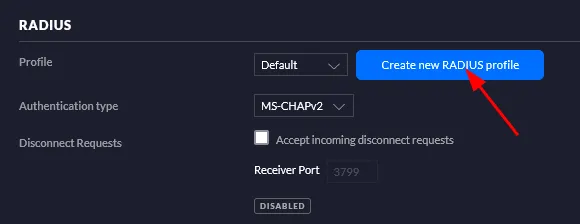
You should get a pop up window. Configure as such:
| IP Address | 35.205.62.147 |
|---|---|
| Port | 31812 |
| Password/Shared Secret | Radius Secret available in Access Points tab of the Social WiFi Panel |
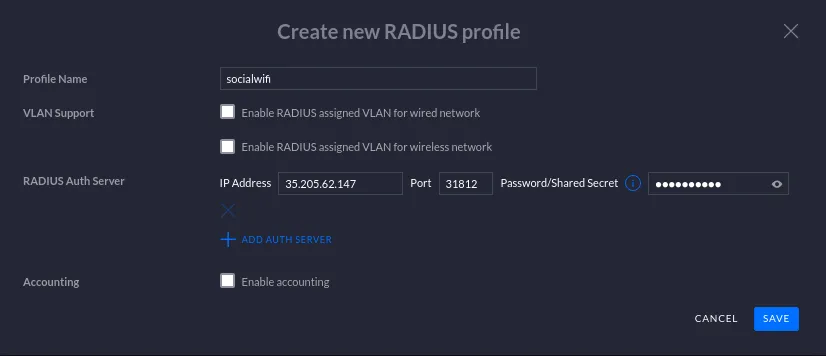
Click Save to continue.
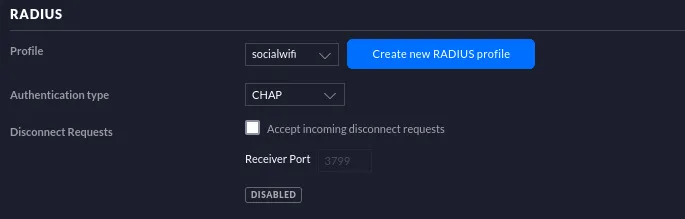
Go to the RADIUS tab again and apply the new profile:
| Profile | socialwifi |
|---|---|
| Authentication type | CHAP |
| Disconnect Requests | Unchecked |
Now, scroll down to the Access Control → Pre-Authorization header enter the following URLs:
Mandatory:
socialwifi.comsw-login.comFacebook login:
facebook.comfbcdn.netFacebook remarketing pixel:
connect.facebook.netwww.facebook.comGoogle remarketing tag:
www.googletagmanager.comwww.googleadservices.comgoogleads.g.doubleclick.netYoutube widget on login pages:
youtube.comytimg.comyt3.ggpht.comgooglevideo.comX (Twitter):
twitter.comapi.twitter.comx.comapi.x.comtwimg.comLinkedIn:
linkedin.comlicdn.com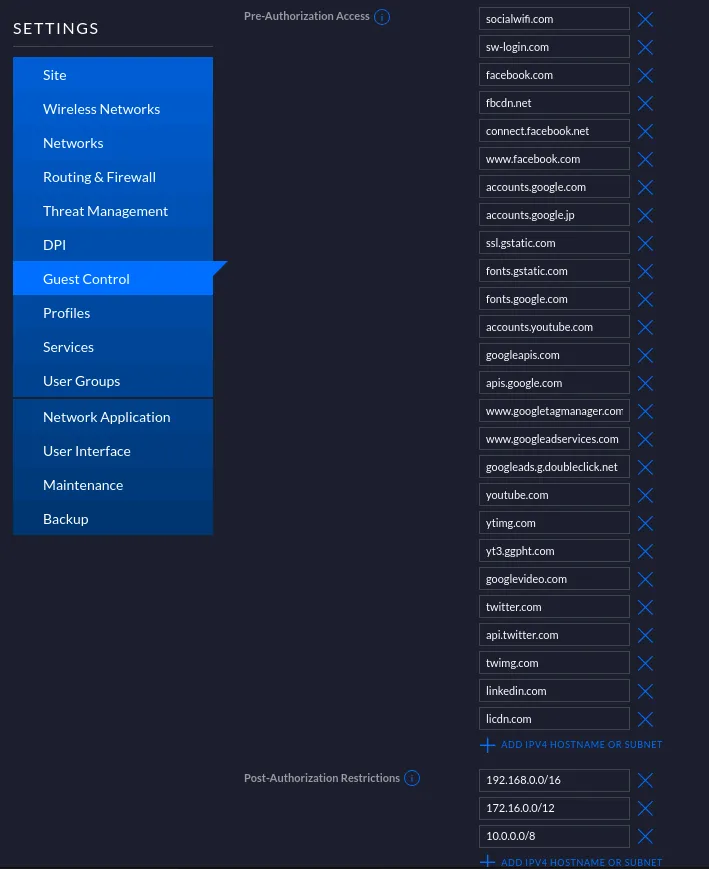
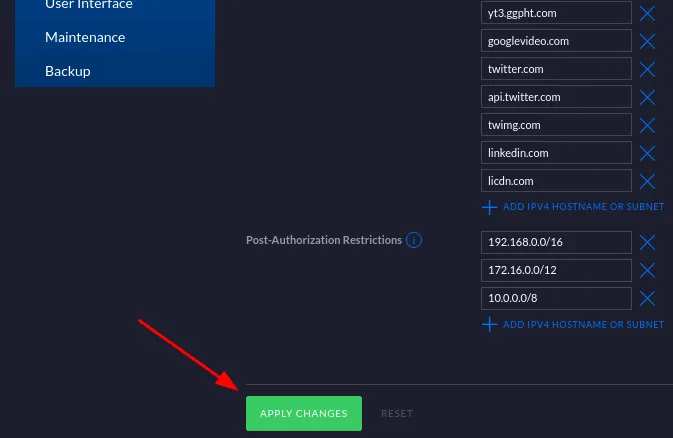
These IP ranges in “Post-Authorization Restrictions” section are subject to change depending on the social network setup.
Remember to click Apply Changes!
Adding the APs to Social WiFi Panel
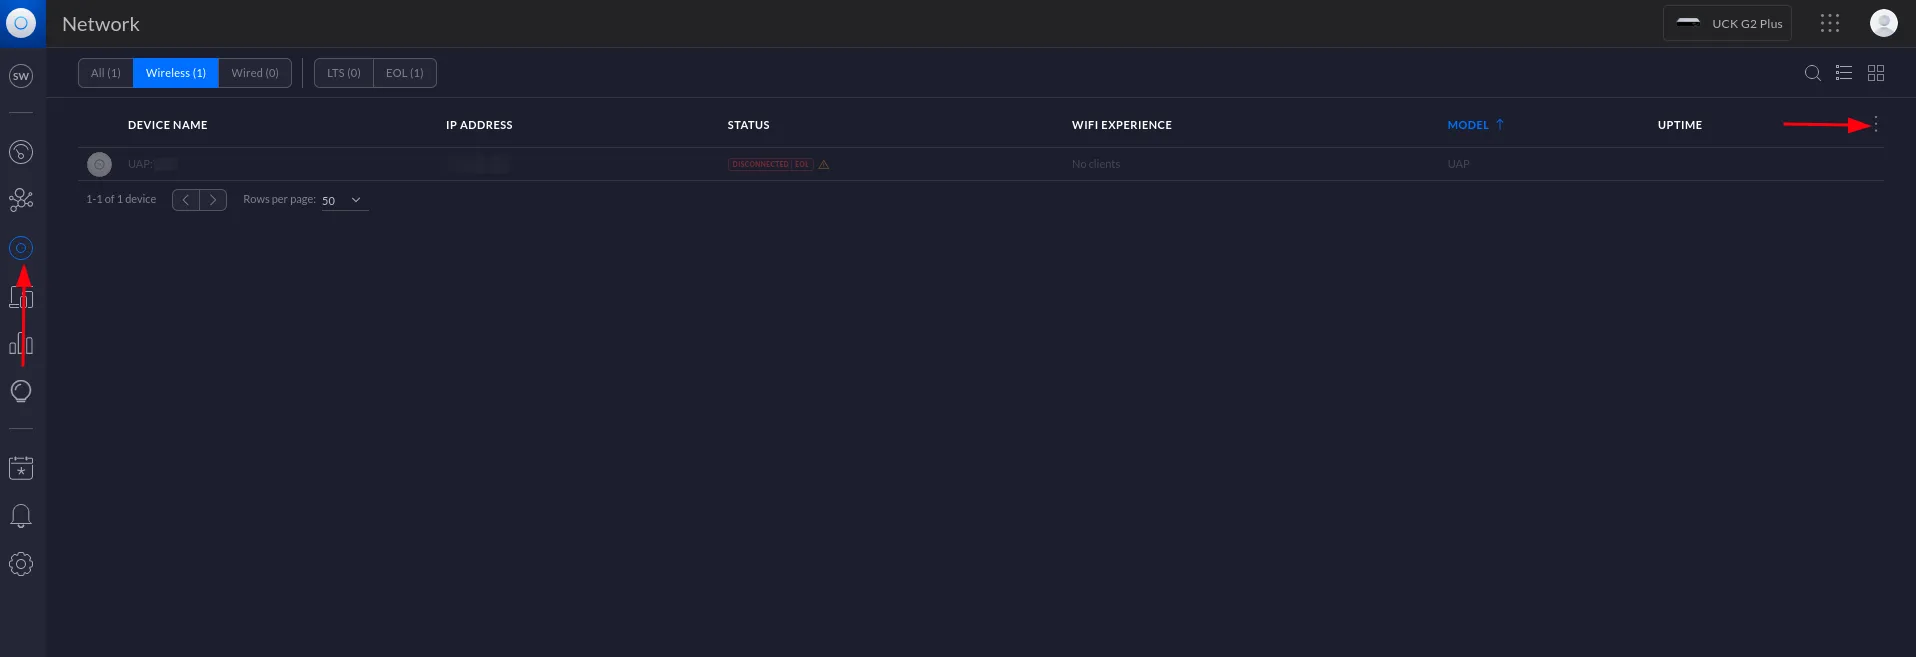
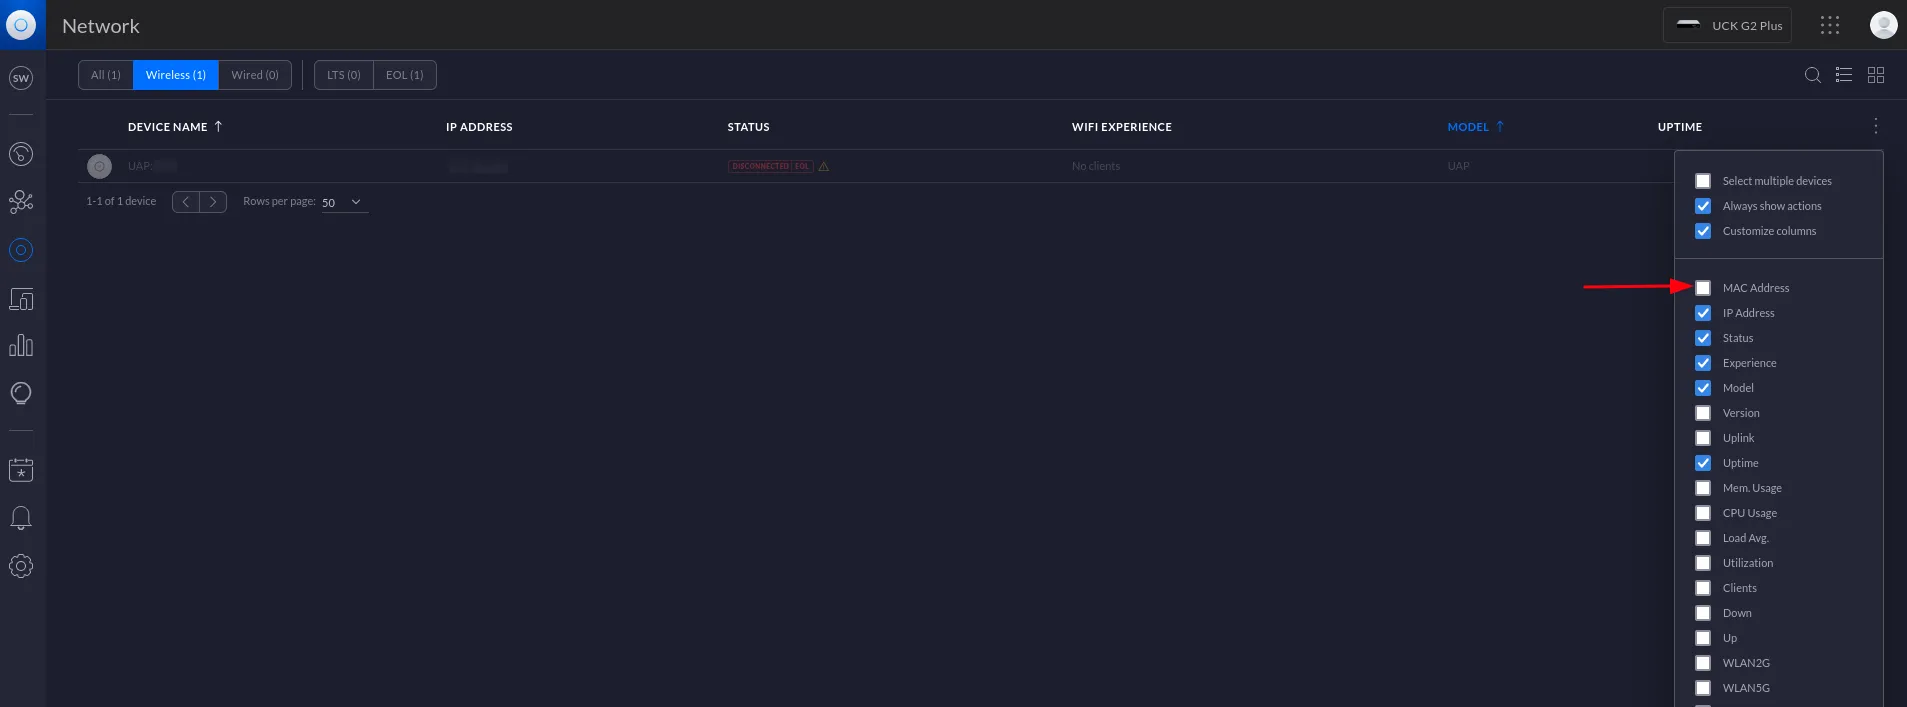
You need to find the Mac Addresses of all your Access Points and add them to the panel. Most of the time they’re hidden, so you have to turn displaying it on. To do so, go to Devices and check the “Mac Address box”.
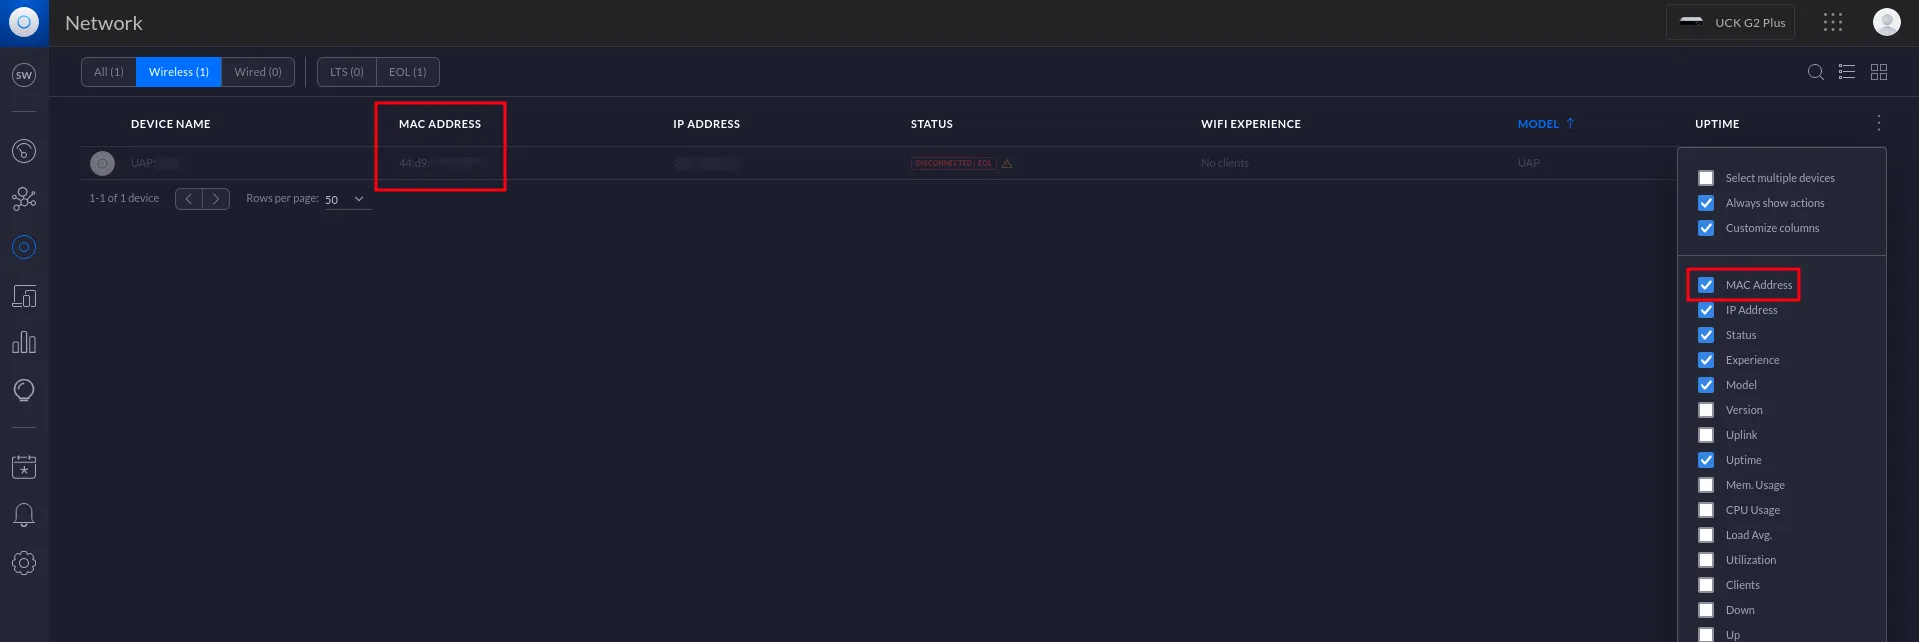
As you can see the the Mac Address is now shown. If you have more than one Access Point - the other addresses will be visible too.
In order to add a device to Social WiFi platform:
- Access your account in the Social WiFi Panel.
- Choose the correct venue to which you would like to add the device.
- In the “Access Points” tab, press “Add” (upper right corner), paste the MAC address you copied into the form (adding a name is optional) and click “Create”.
Upload hotspot files to the controller
The last part is uploading hotspot files to your controller. To do so, click the controller type below and follow the instructions.
Cloud Key (Cloud Key Gen2, Cloud Key Gen2 Plus)
Dream Machine (Dream Machine, Dream Machine Pro, Dream Machine SE)
Software Controller (UniFi Network Application)
![]()