Add additional APs to MikroTik
While configuring your MikroTik router with Social WiFi, you might have decided to use additional Access Points to make it easier for your customers to connect to your WiFi network.
1) Complete the configuration as described in the MikroTik Installation Guide.
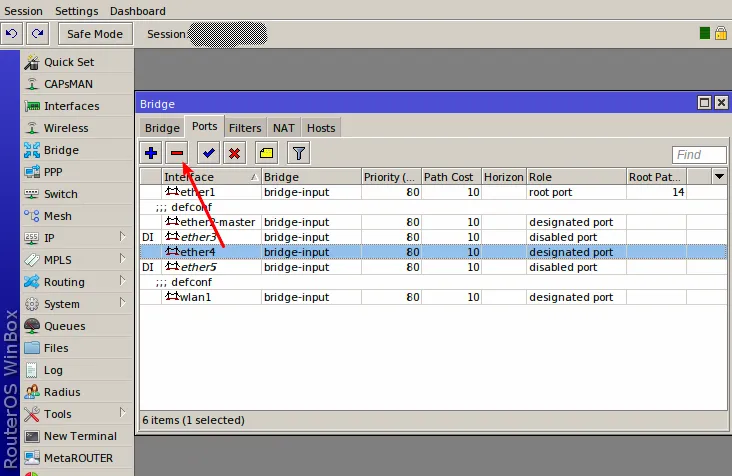
2) Go to Bridge → Ports
3) Select your chosen ports and press “Remove”
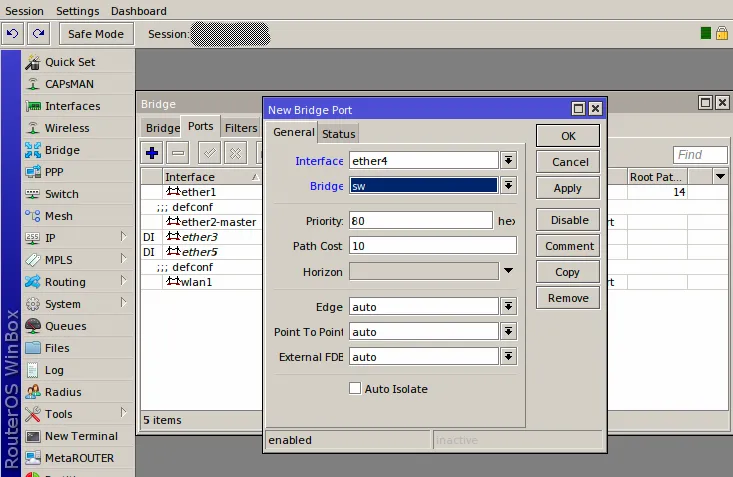
4) Press “Add”
| Interface | Your chosen port |
| Bridge | sw |
| OK |
5) Connect your Access Point to the newly configured port
Repeat the process for all ports you would like to connect your APs to.
If your setup is not working after following the instructions, please contact Social WiFi support at support@socialwifi.com.