Juniper Mist
Social WiFi configuration
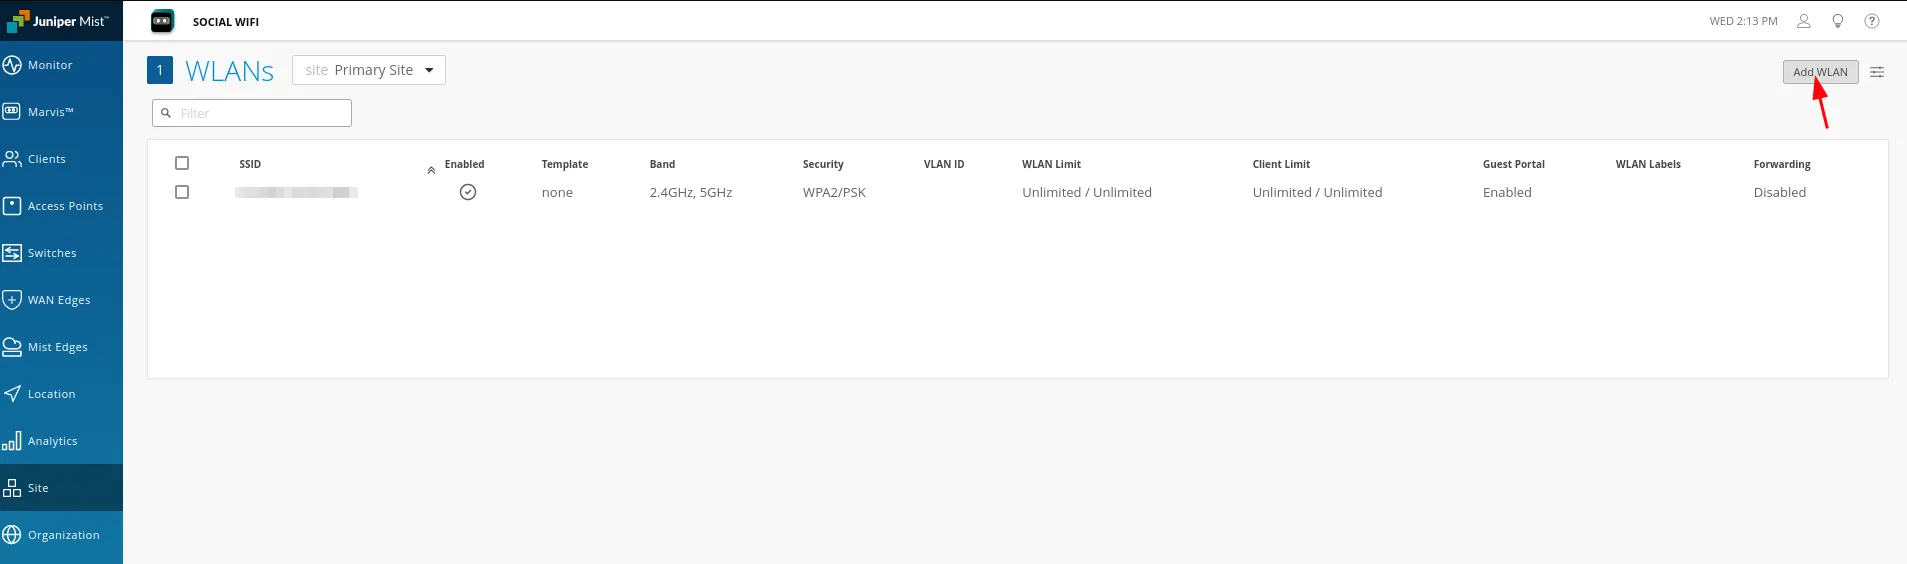
Go to Site -> Wireless -> WLANs and create a new wireless network by clicking on Add WLAN in the top right corner.
Set your SSID name and in the “Security” tab select Open Access. In the “Guest Portal” tab, configure as follows:
| Forward to external portal | Enabled |
| Portal URL | https://login.socialwifi.com |
Allowed Hostnames (copy and paste):
socialwifi.com,sw-login.com,facebook.com,fbcdn.net,connect.facebook.net,www.facebook.com,www.googletagmanager.com,www.googleadservices.com,googleads.g.doubleclick.net,youtube.com,ytimg.com,yt3.ggpht.com,googlevideo.com,twitter.com,api.twitter.com,x.com,api.x.com,twimg.com,linkedin.com,licdn.com,whatsapp.net,whatsapp.com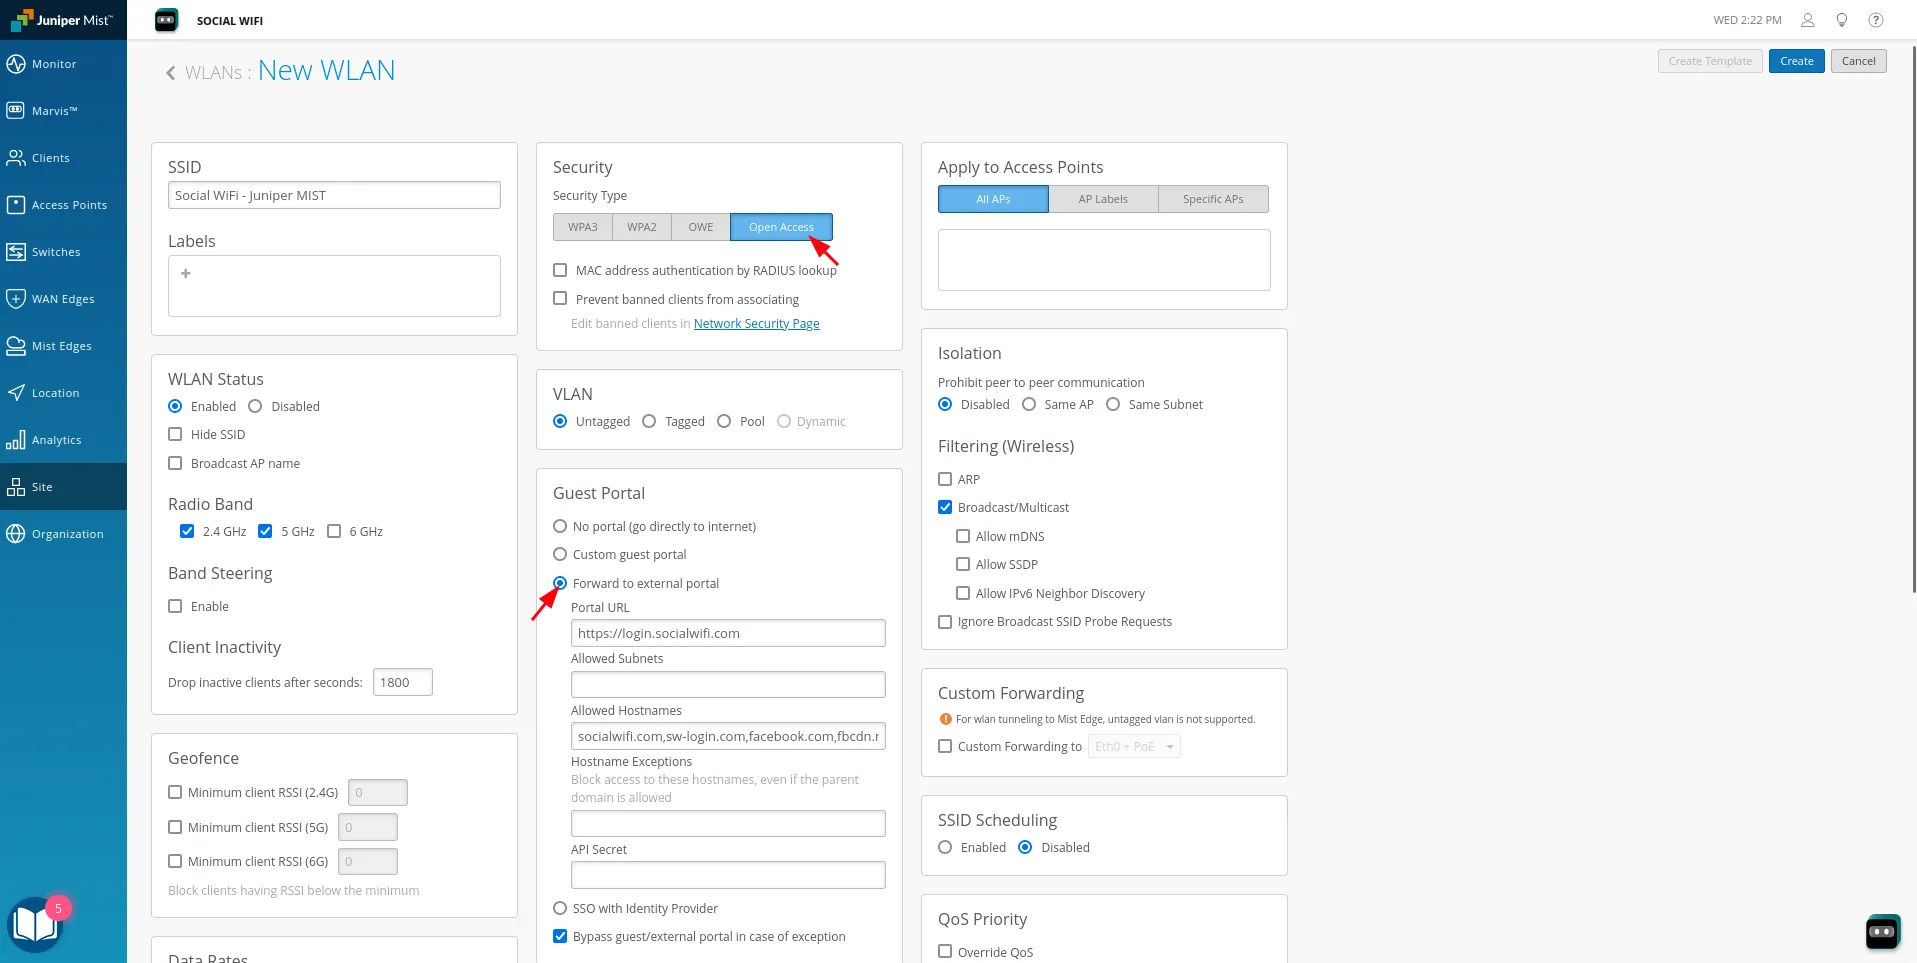
Click Create on the top right of the page. You will return to the “WLANs” section.

Go back to the SSID you’ve created and copy the “API Secret”.

Adding the integration to the panel
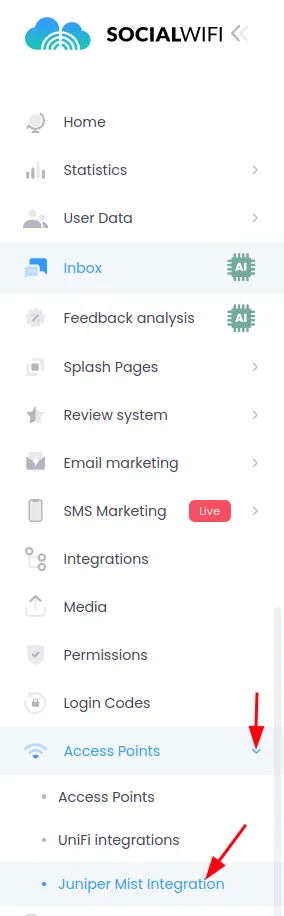
After you’ve copied the “API Secret”, go to the Social WiFi Panel and navigate to the Access Points -> Juniper Mist Integration from the menu on the left.
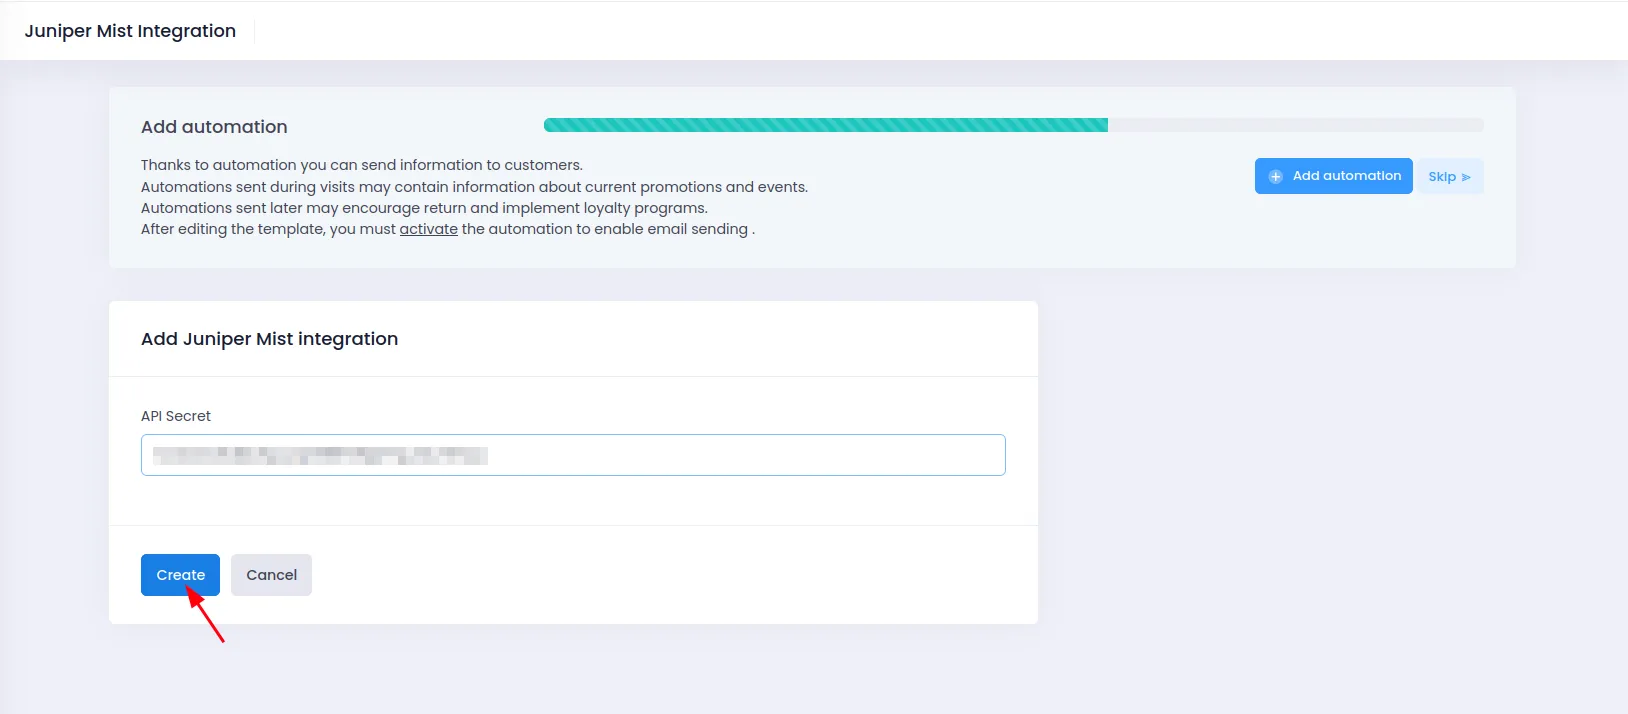
Now, click on Add Juniper Mist integration.
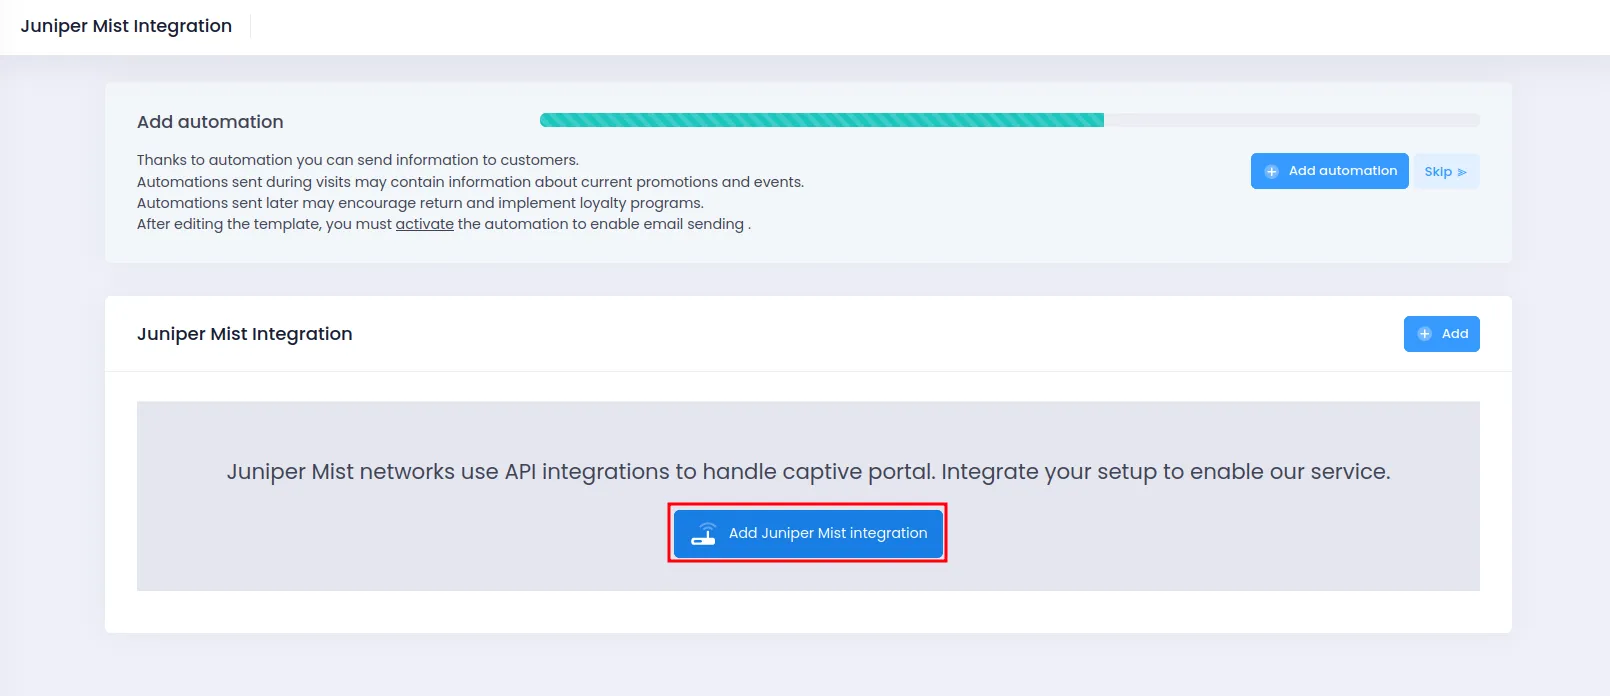
Paste your “API Secret” here and click Create.
Adding Access Points to the Social WiFi panel
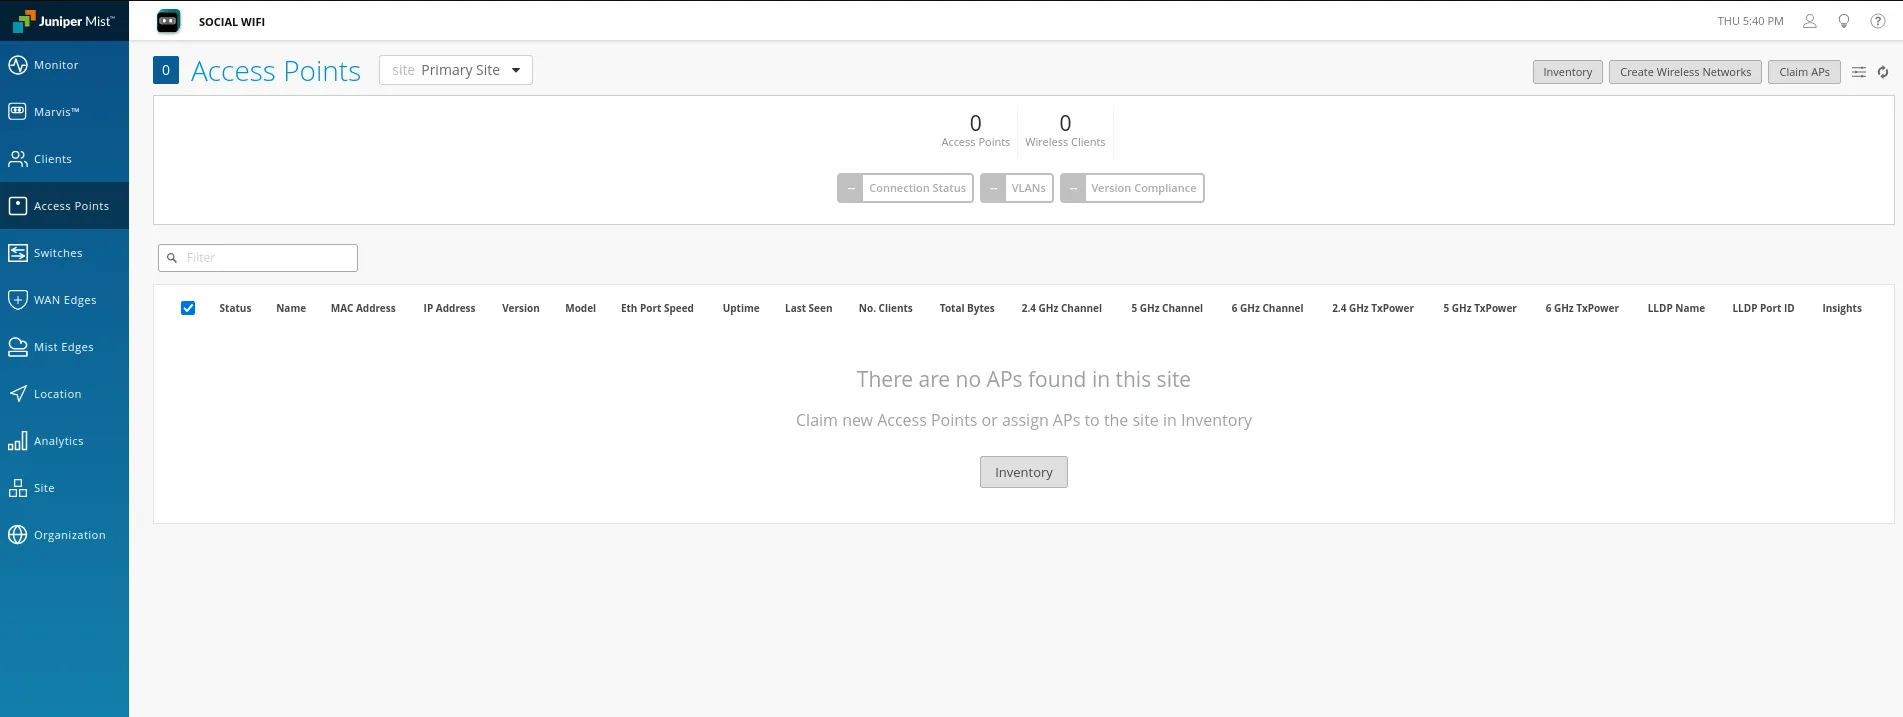
The next step is to add the access points to the Social WiFi panel. You can do this by copying and pasting all the MAC addresses from the “Access Points” tab in the menu on the left of your Mist panel.
The MAC addresses will be under the third column”MAC Address” for all of your Mist managed Access Points.
Now, switch to Social WiFi Panel, go to Access Points tab, click the Add button and paste the MAC addresses of all of your Access Points controlled by the Mist controller. Click Create.

Test the solution
Connect with the WiFi network. You should see a login page. Go through the login process and, once finished, you should have internet access. You should see first connections and authorizations in the Social WiFi Panel’s statistics section.