Login button options
Obviously, the most important part of Social WiFi is the ability to for users to log into WiFi easily. We offer different login methods and different ways that these can be displayed.
Let’s look at the two styles that you have. First, you need to navigate within your Venue to Splash Pages and Login Pages on the left side column.
Login Bundle
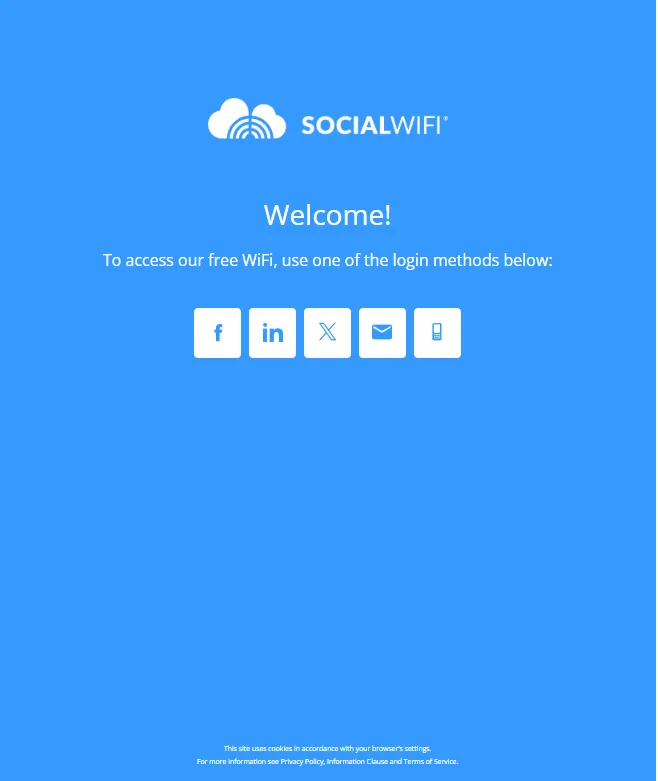
In the example above, you can see that we have all 5 login options set up as what we call Login Bundle. You can select the bundle from the right side of the drag-and-drop creator under the Login Widgets section. Simply click and drag the widget to the place on the login page that you wish them to sit. We recommend placing them in a One Cell table row option.
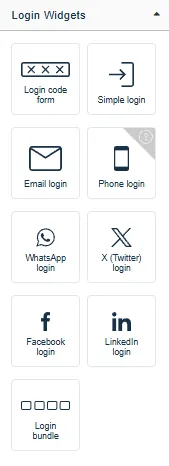
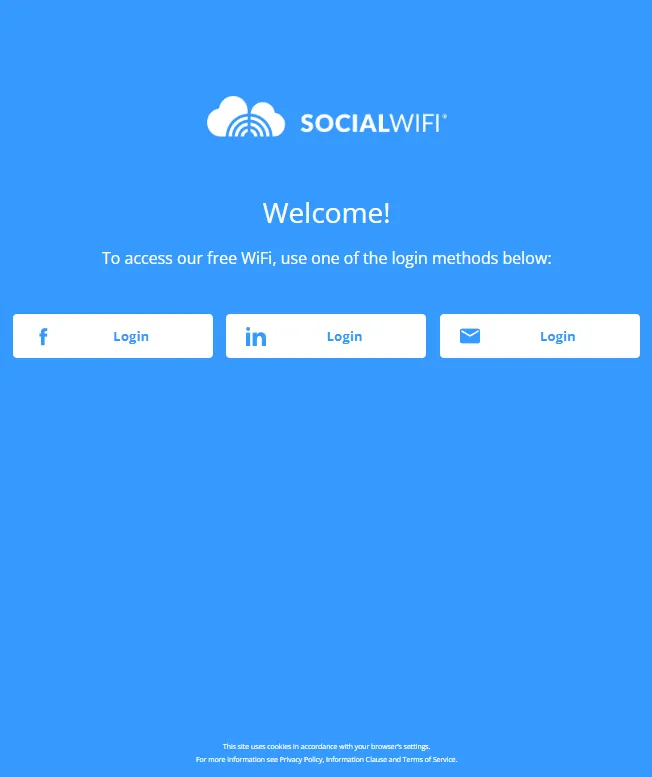
By clicking on any of the login options within the bundle, you will see that you get additional options on the right-side editor. Here you can tick on and off which login options you want setting up. You can also toggle the Email login options and preview this.

You can see in the above image that we have set this up with just Facebook, LinkedIn and Email login.
Individual Buttons
In this example, you can see that we have larger buttons. These are placed individually by dragging the specific Login button from the Login Widgets section.
In order to place the widgets side by side, you should consider how many you want to be placed horizontal to each other and first insert a Table Row with the relevant number of columns. In the example you see, we have chosen the maximum of 3, but you can choose one or two also.
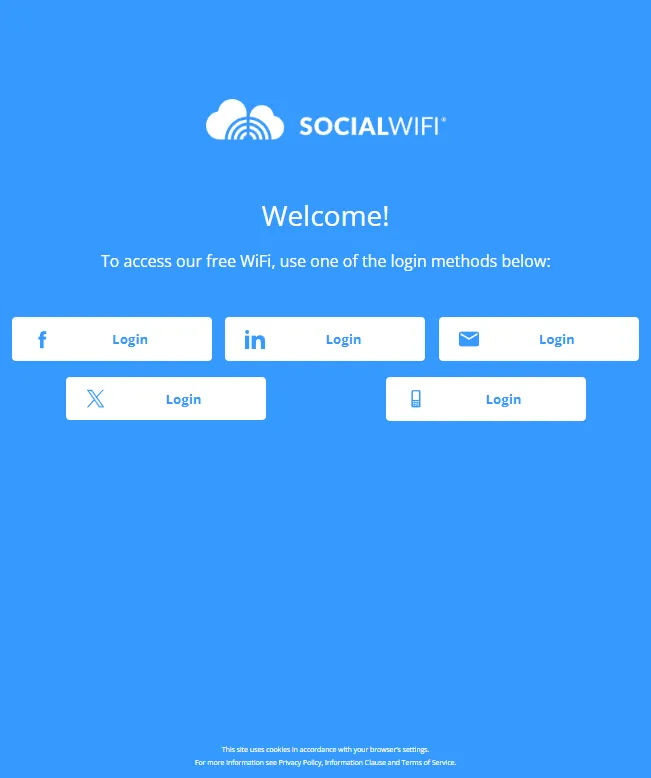
As you can see in the above example, you can add multiple rows of Login buttons.