Use Amazon SES to send your emails
Amazon Simple Email Service (SES) is a great tool for sending email communication – it’s both effective and affordable. Once verified, you’ll be able to send emails for around 1USD per 10,000! With this tutorial, you’ll learn how to set up Amazon SES.
Creating an Amazon Web Services (AWS) account
To start, head to the login page of AWS.
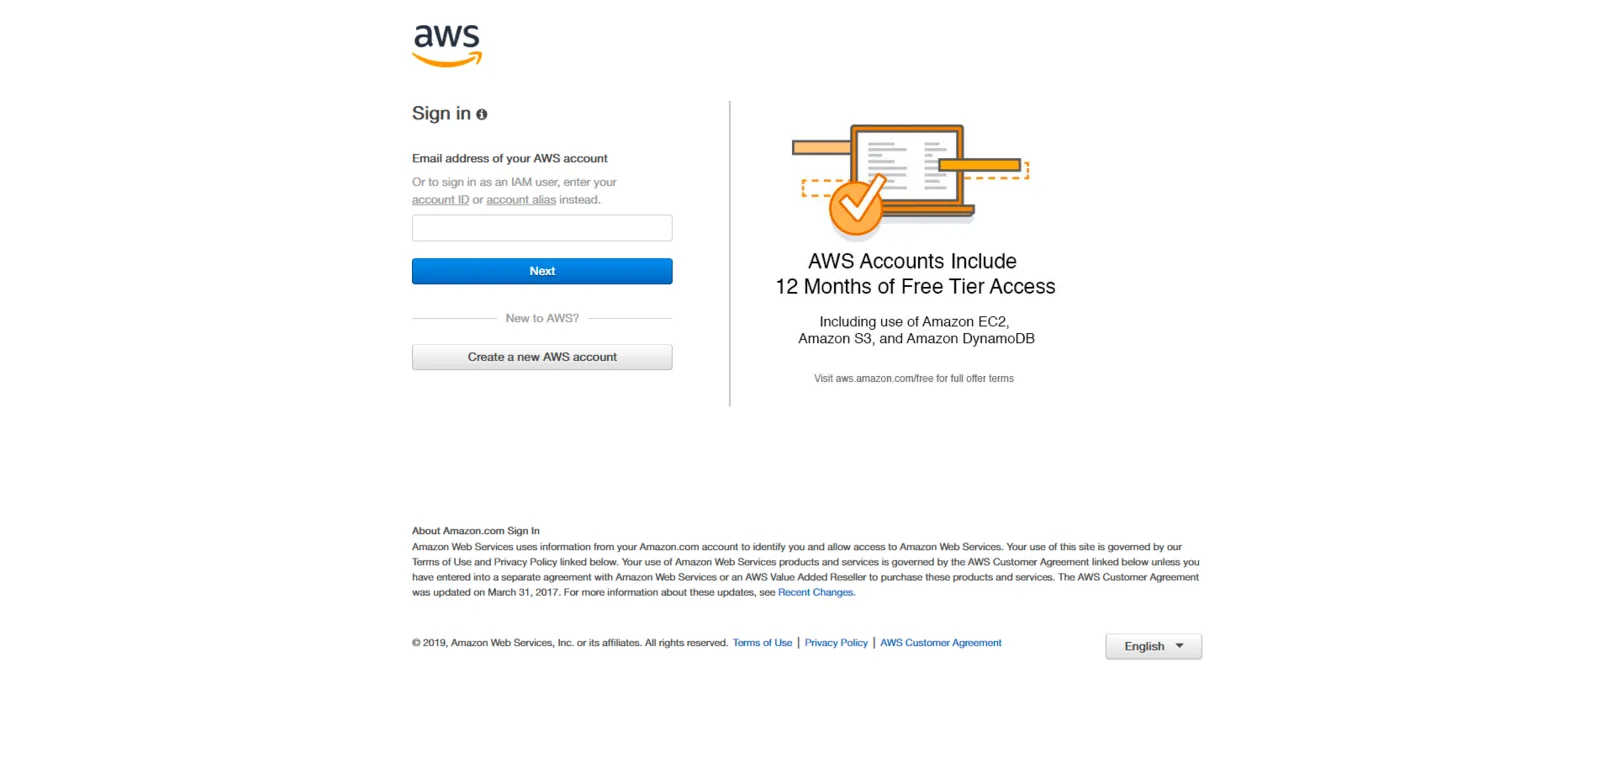
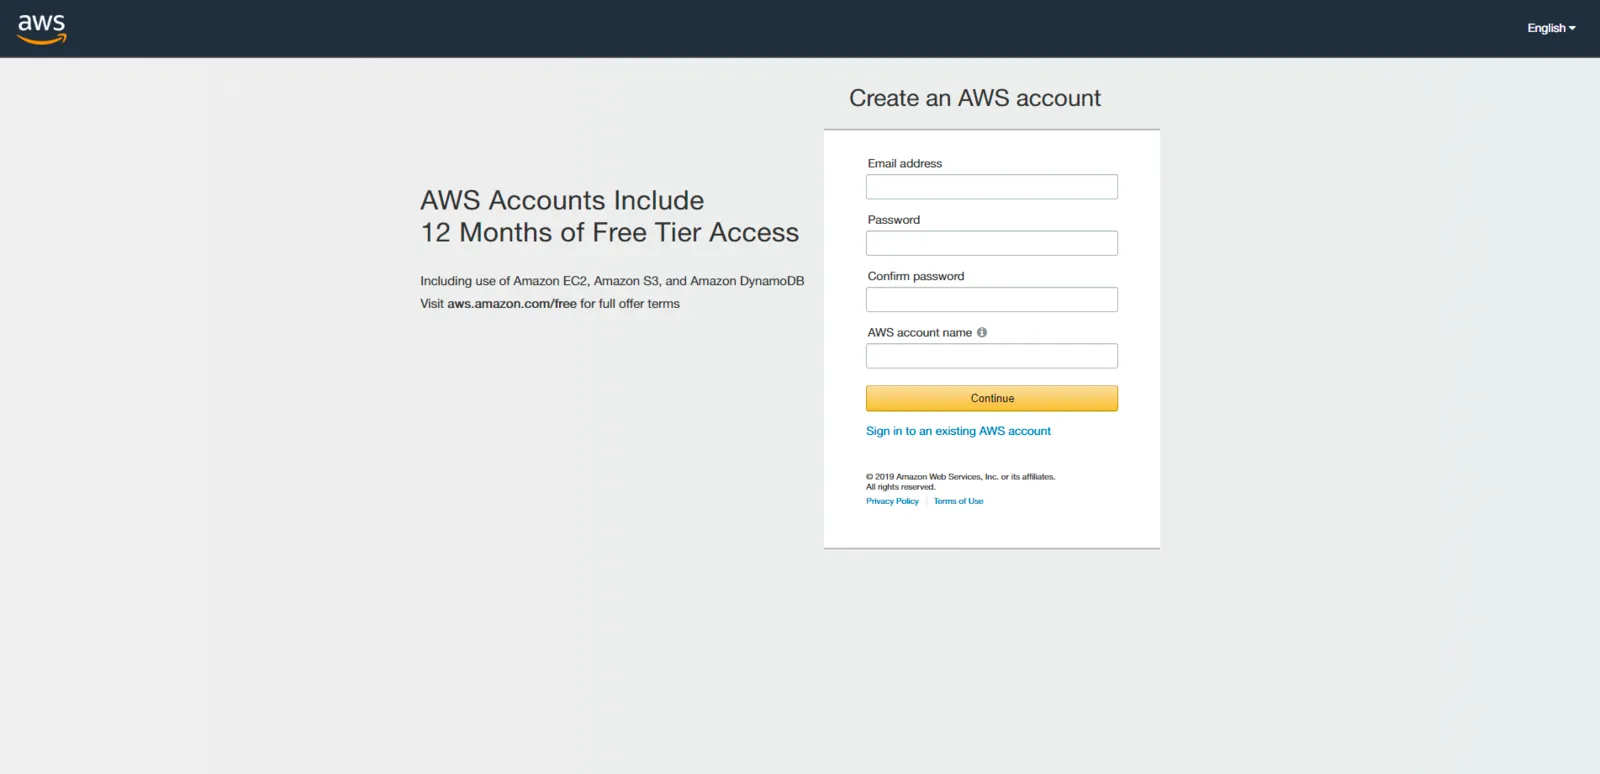
Click on Create a new AWS account and you’ll be taken to a registration form where you’ll need to put in your email address, create a password and a name for your account (your company name is suggested).
In the next step, you’ll be asked to fill out your contact information.
Afterwards, billing details will be required.
The next step is a confirmation of your identity – you’re going to need a phone number for this one.
After putting in the code received via SMS, a popup should appear.
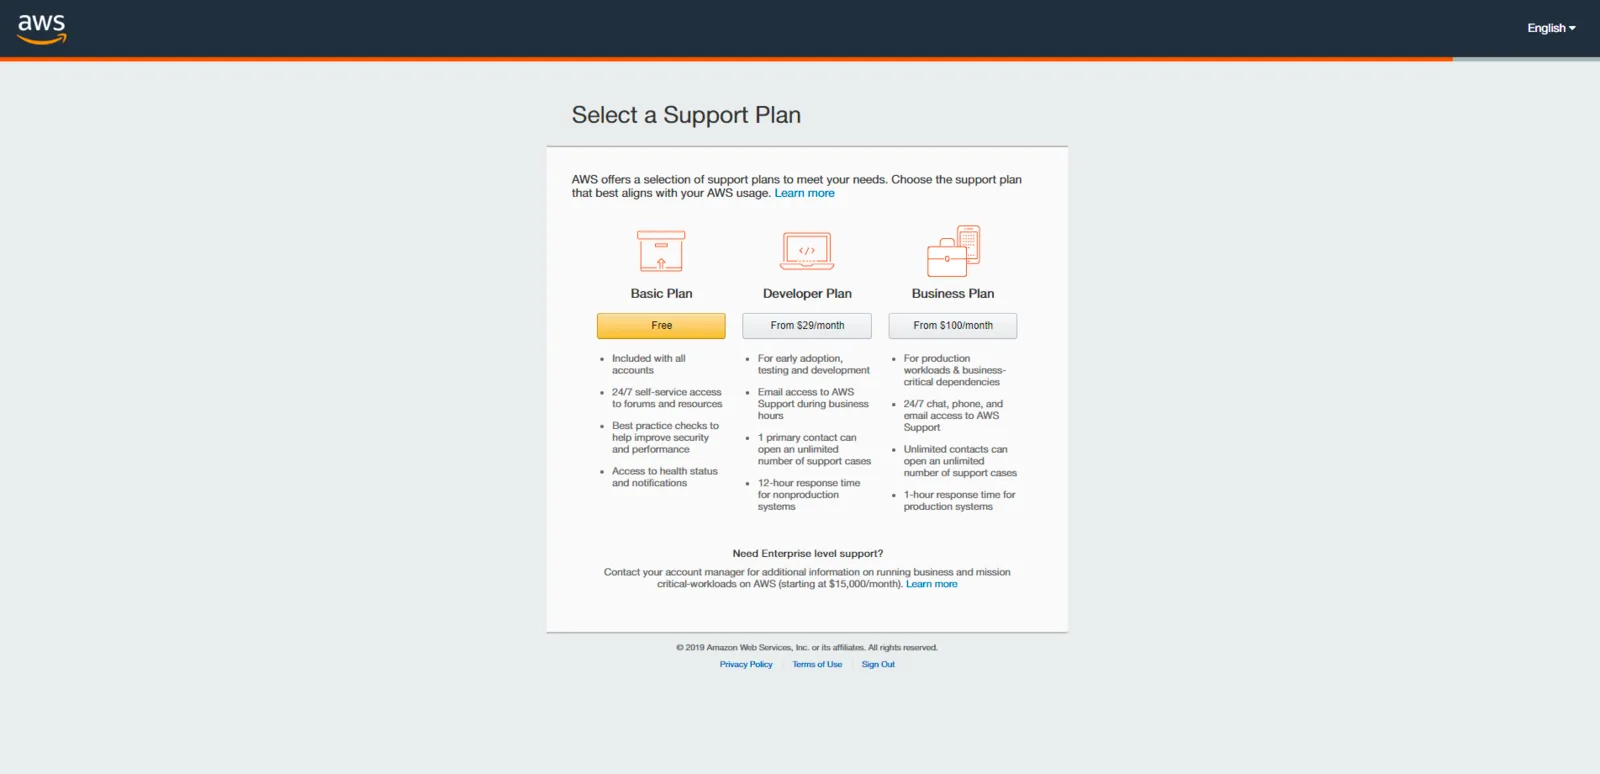
Once the popup is closed, the next window should be selecting your payment plan. For the sole purpose of sending emails with Amazon SES, the free plan will suffice.
And your account is set – select the option to sign in to proceed to the console.
Setting up Amazon Simple Email Service (SES)
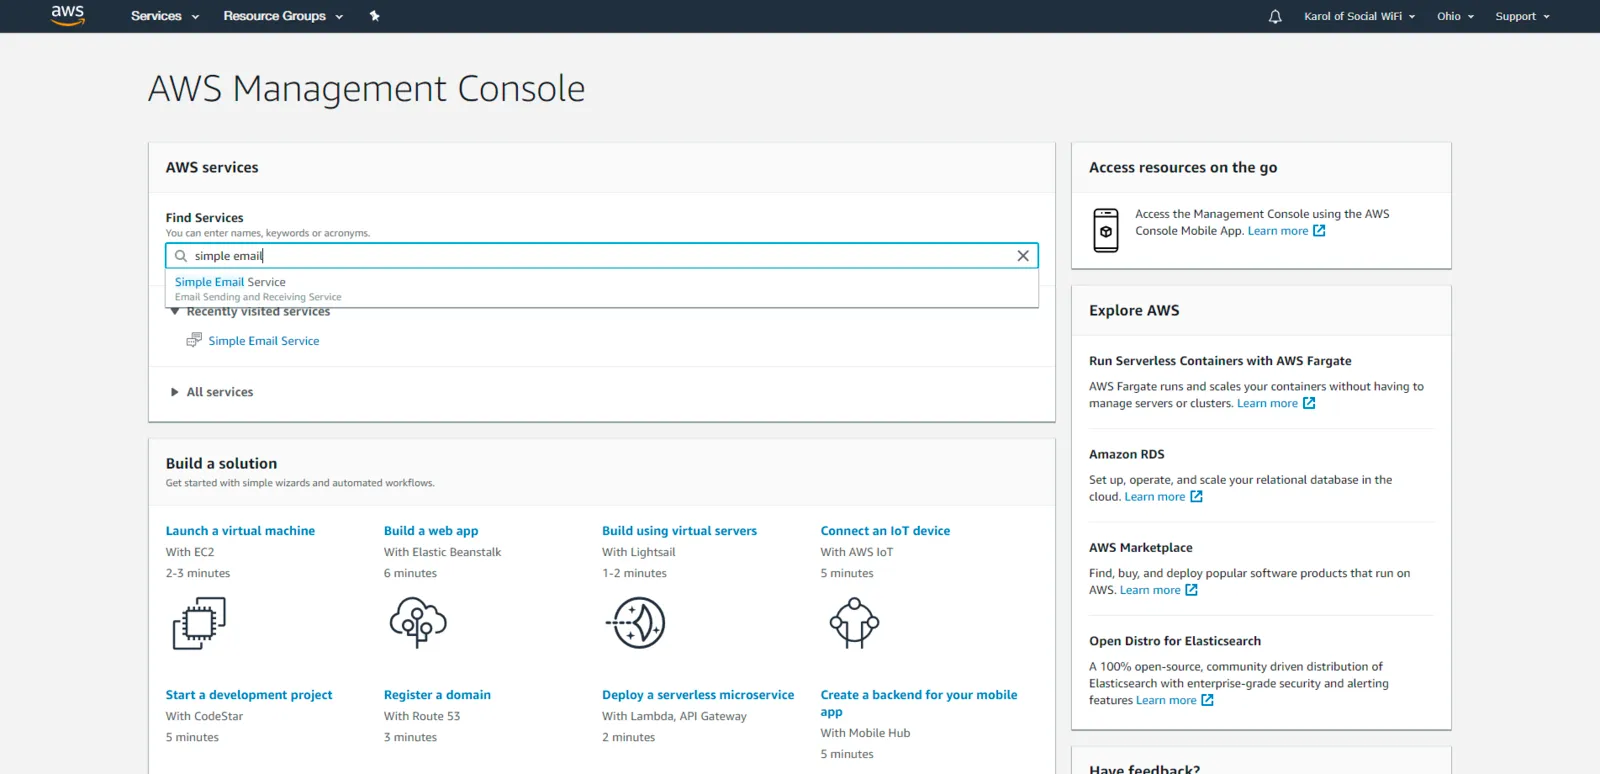
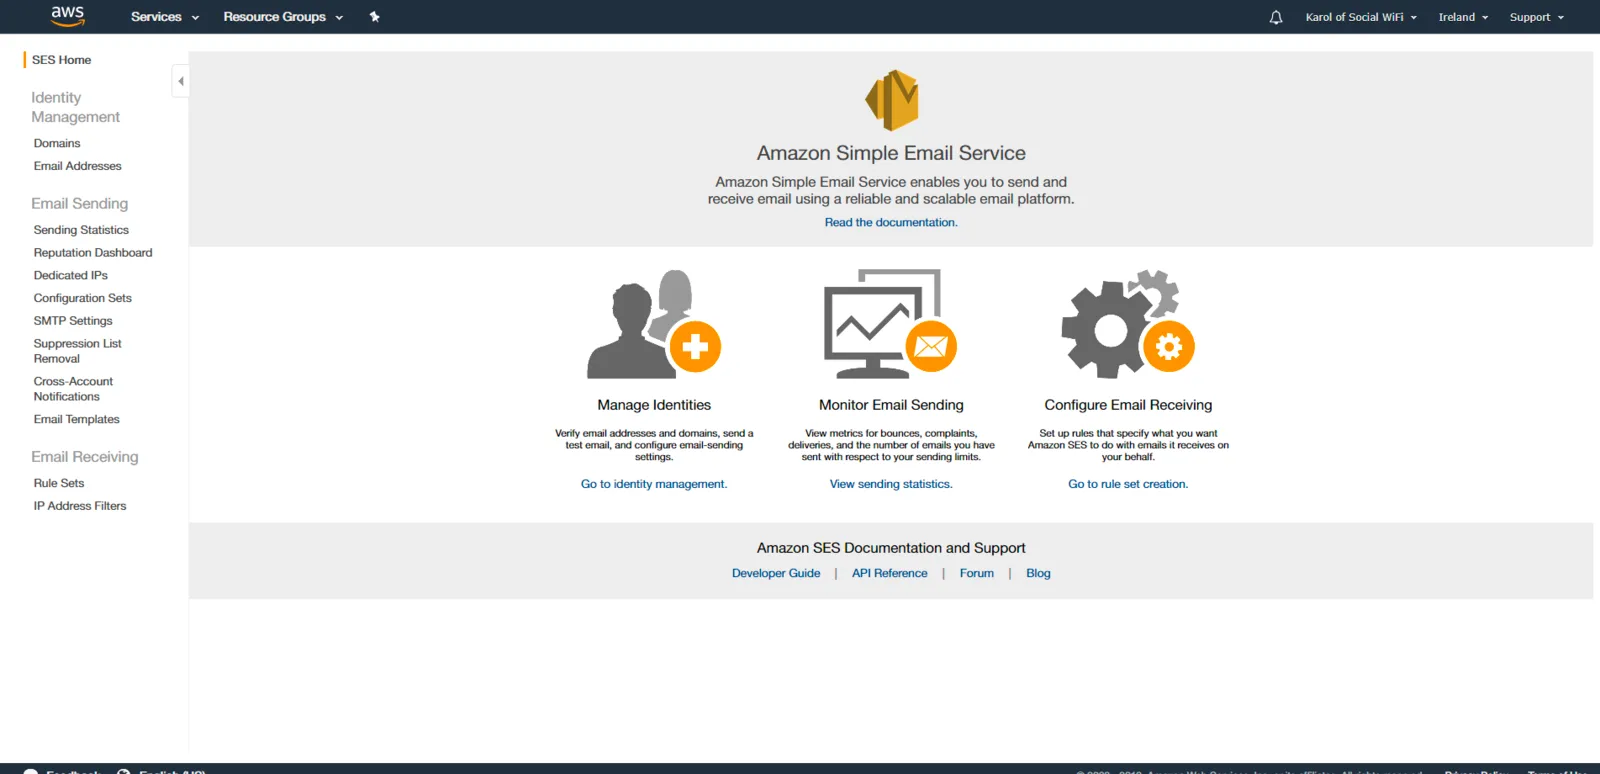
Once you’re in the console, search for Simple Email Service and select the first result.
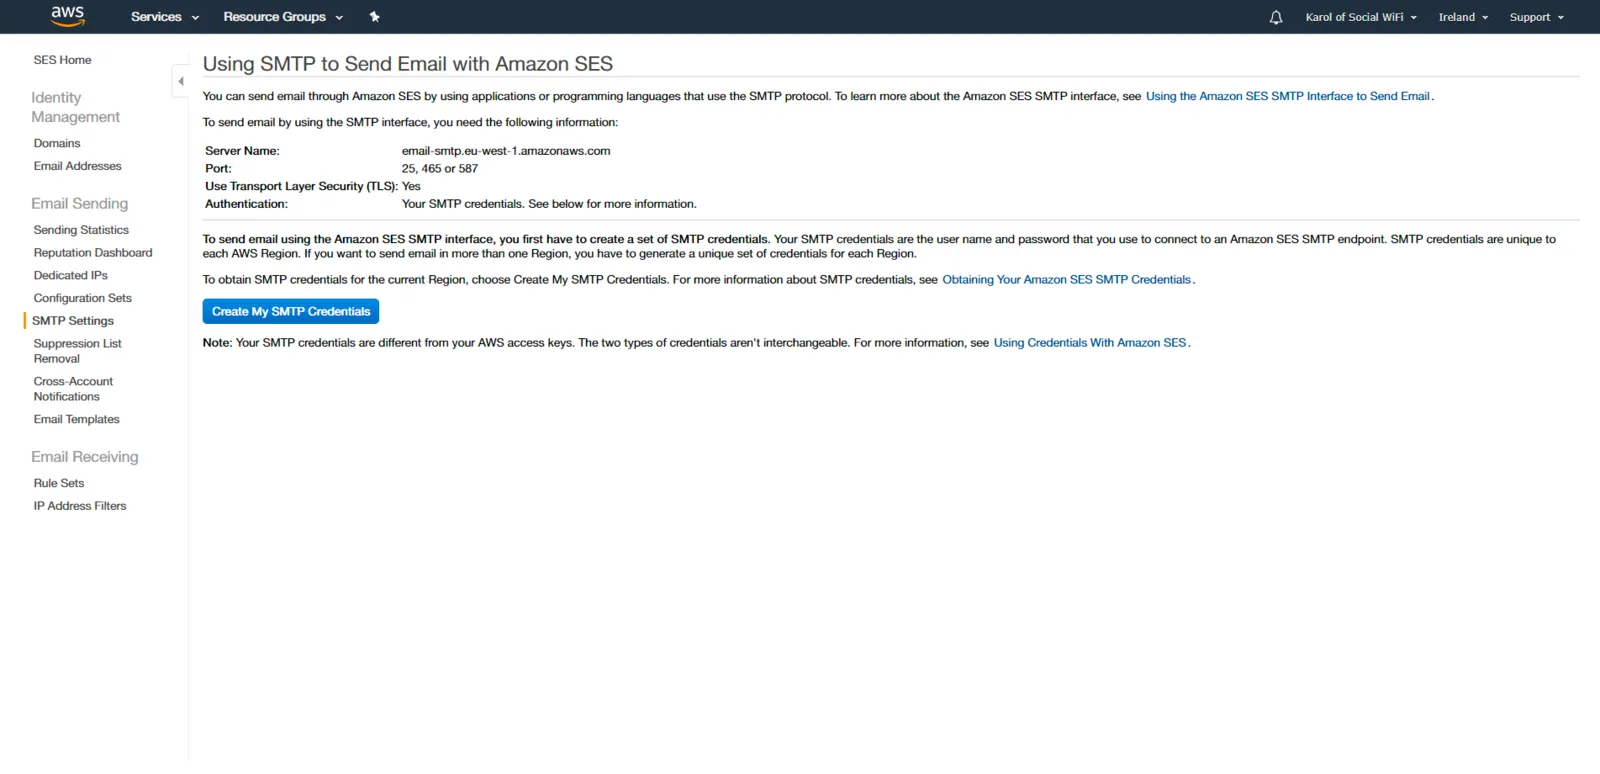
Once there, you’ll see a menu window. On the left hand side, select SMTP Settings.
In there, select Create My SMTP Credentials.
For the IAM User Name, either go with the one automatically generated, or use something that will help you realise for which venue this SMTP setup is going to be used.
\
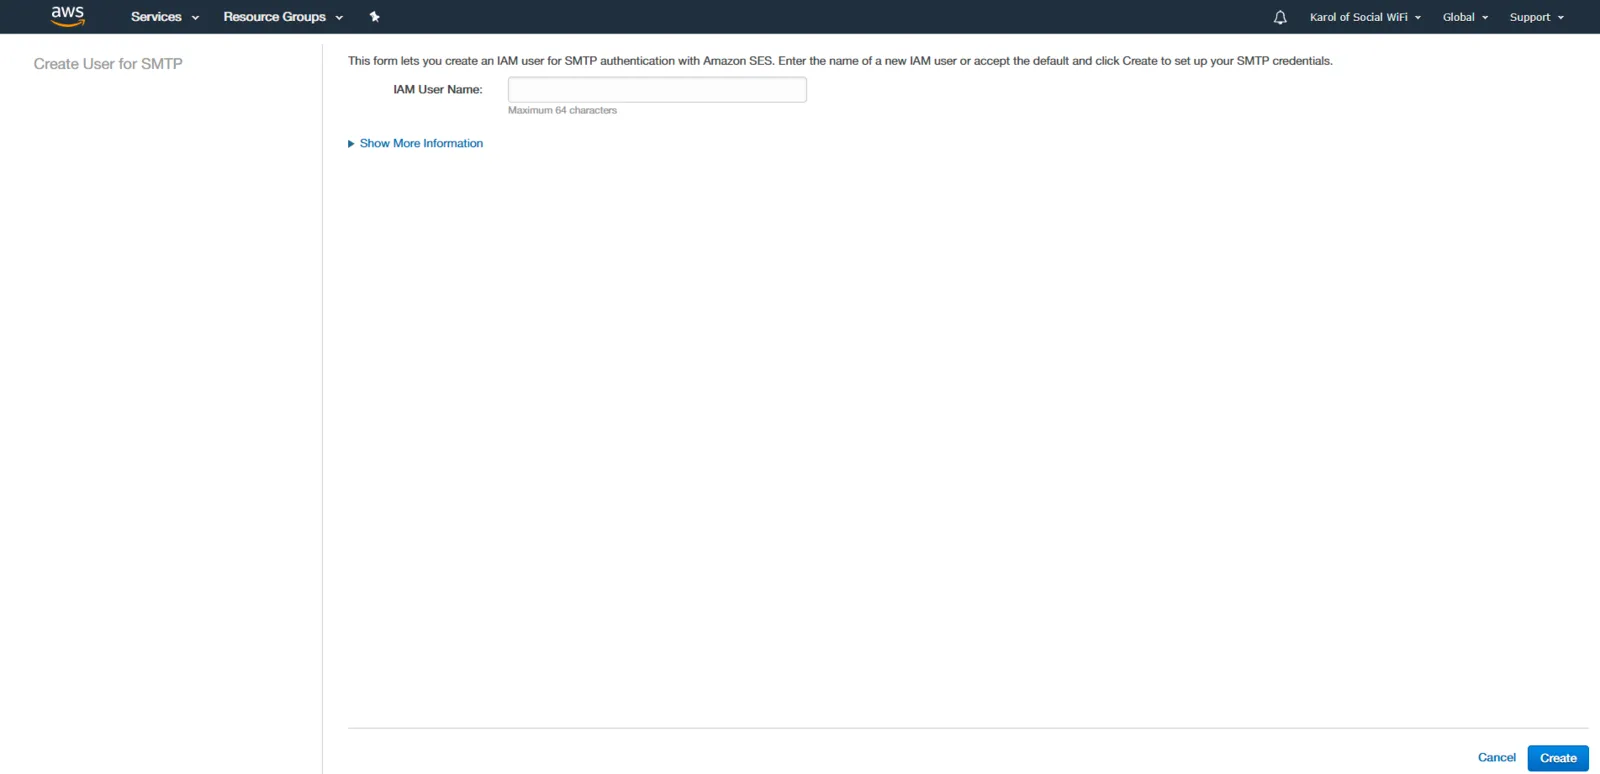
Now download your credentials and keep them safely on your PC.
These credentials are going to be used in the Social WiFi Panel to connect Amazon SES as the SMTP provider.
Getting full access by exiting sandbox mode
For Amazon to unlock the full capacity of SES, you’re going to need to send them a form. We do provide a template**.**
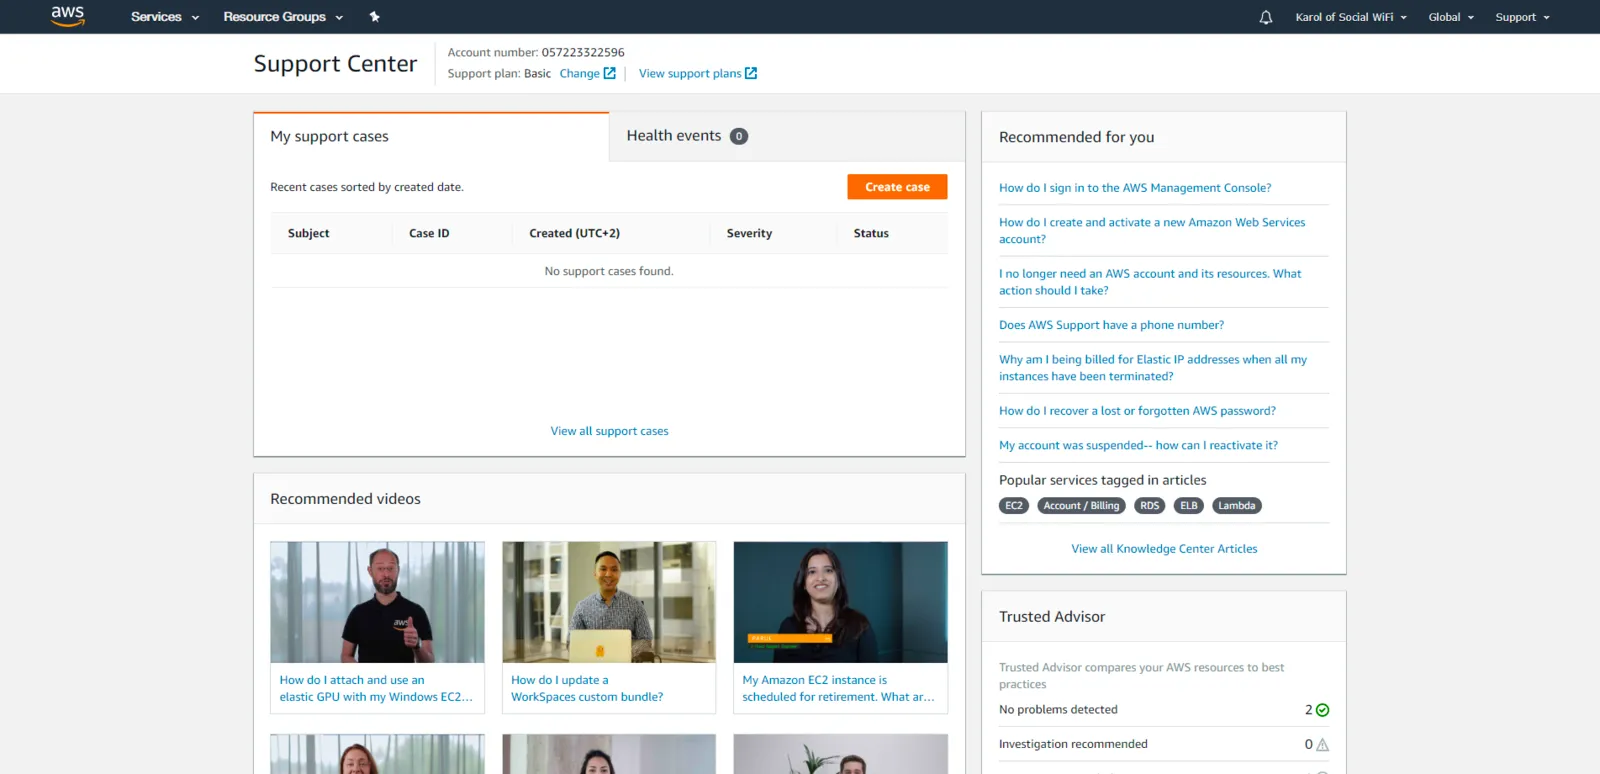
In the top right hand corner, select Support and pick Support Center from the drop-down list. Once there, click the Create case button.
To help you out with the form, here are our suggestions.
- Select box: Service limit increase
- Limit type: SES Sending Limits
- Mail type: Marketing
- Website URL: your business website
- My email-sending complies with AWS Service Terms and AUP: Yes
- I only send to recipients who have specifically requested my mail: Yes
I have a process to handle bounces and complains: Yes
Region: your selected region
Case description:
We’d like to start using Amazon SES to deliver email communication to our customers who have opted in to receive it via our WiFi captive portal. Opting in is not mandatory and we have all necessary mechanics in place to provide an option to opt out and remove personal data from the system entirely.
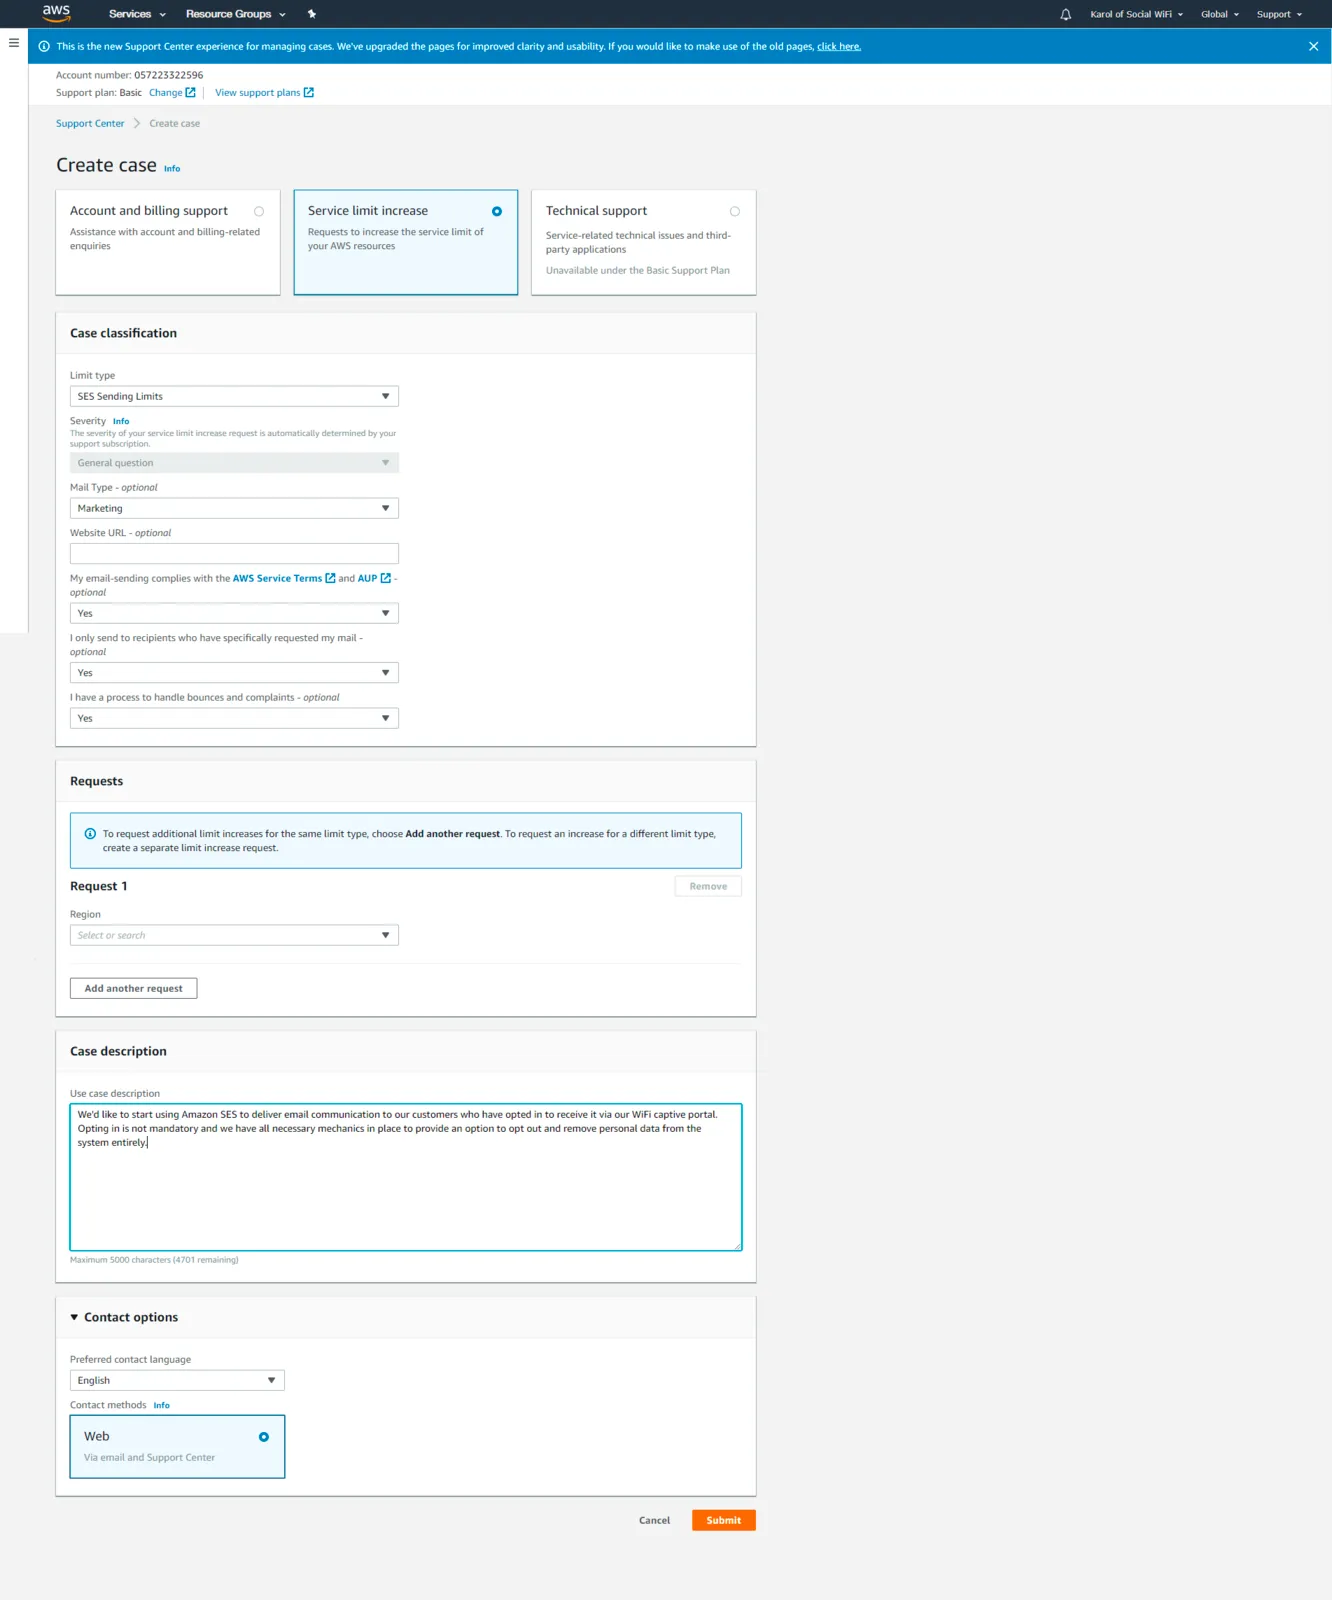
After filling the form, click Submit. It will take up to 3 days to have your limits lifted.
Setting up the SMTP in Social WiFi Panel
The last step! Once your account is out of the sandbox mode, you can go to Social WiFi Panel go to Settings section of Mailing category on the right menu.
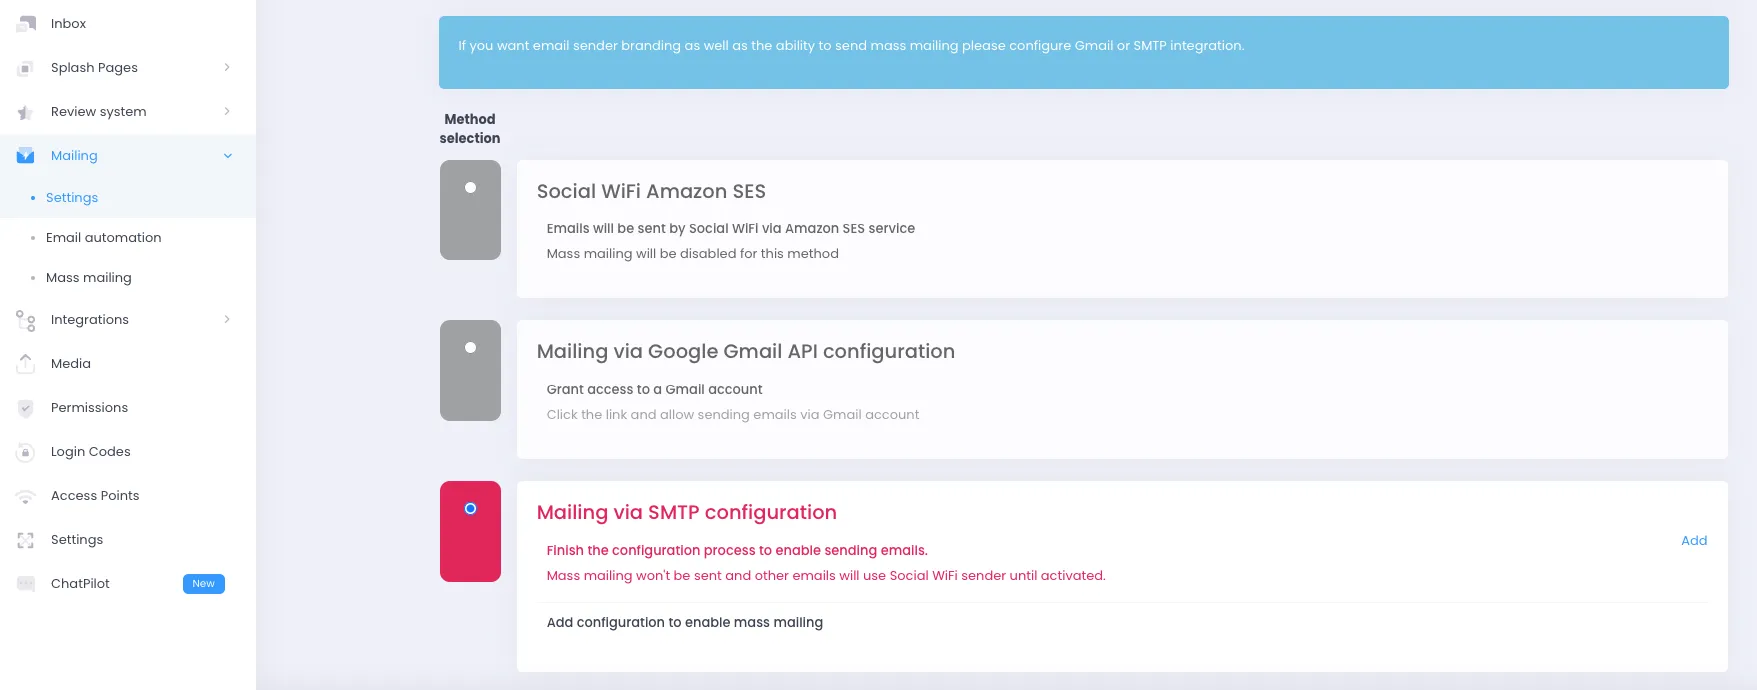
Complete the fields as below
| Sender email | your email address verified in Amazon SES – see how to verify your address here |
| Sender name | this is the name that will be displayed to the recipients |
| Server host | depending on your chosen region for Amazon SES; available to copy and paste from Amazon SES, SMTP Settings tab (Server Name) |
| Port | 587 |
| Account username | your username from SMTP Credentials generated in step 2 |
| Account password | your password from SMTP Credentials generated in step 2 |
| Use STARTTLS | Yes |
Click Create and then Send test email. An email should arrive to your inbox – once you click the link in it, all communication will be sent via your newly established SMTP server!