FortiAP
RADIUS Server
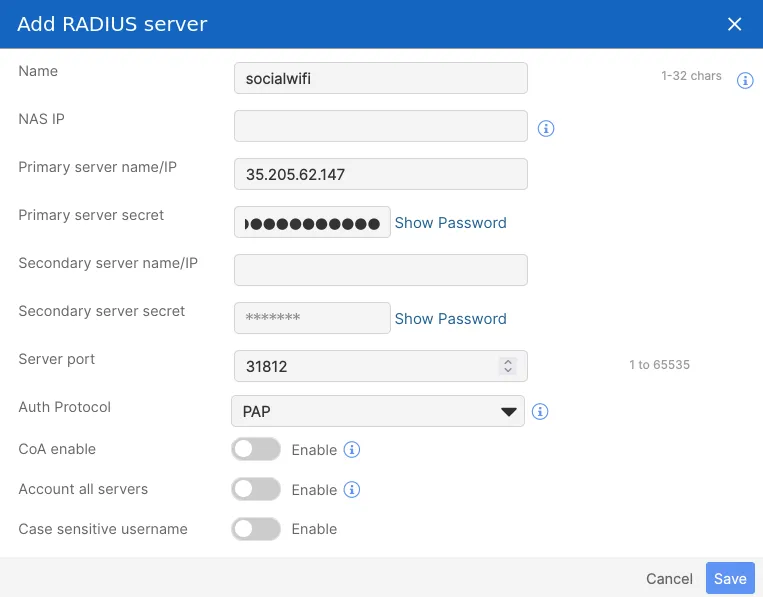
First, go to Wireless->Configuration->My RADIUS Server->Add RADIUS server. Add two servers as follows:

| Name | socialwifi |
|---|---|
| NAS IP | Leave empty |
| Primary server name/IP | 35.205.62.147 |
| Primary server secret | Radius Secret is available in Access Points tab of the Social WiFi Panel |
| Secondary server name/IP | Leave empty |
| Secondary server secret | Leave empty |
| Server Port | 31812 |
| Auth Protocol | PAP |
| CoA enable | Leave unchecked |
| Account all servers | Leave unchecked |
| Case sensitive username | Leave unchecked |
press Save.
Add an accounting server changing just the Name and Server port section.
| Name | swaccount |
|---|---|
| Server port | 31813 |
press Save.

Add SSID
As you’ve created two RADIUS servers, please go to Wireless->Confiugration->SSIDs, and add a new SSID by clicking “+Add SSID”.
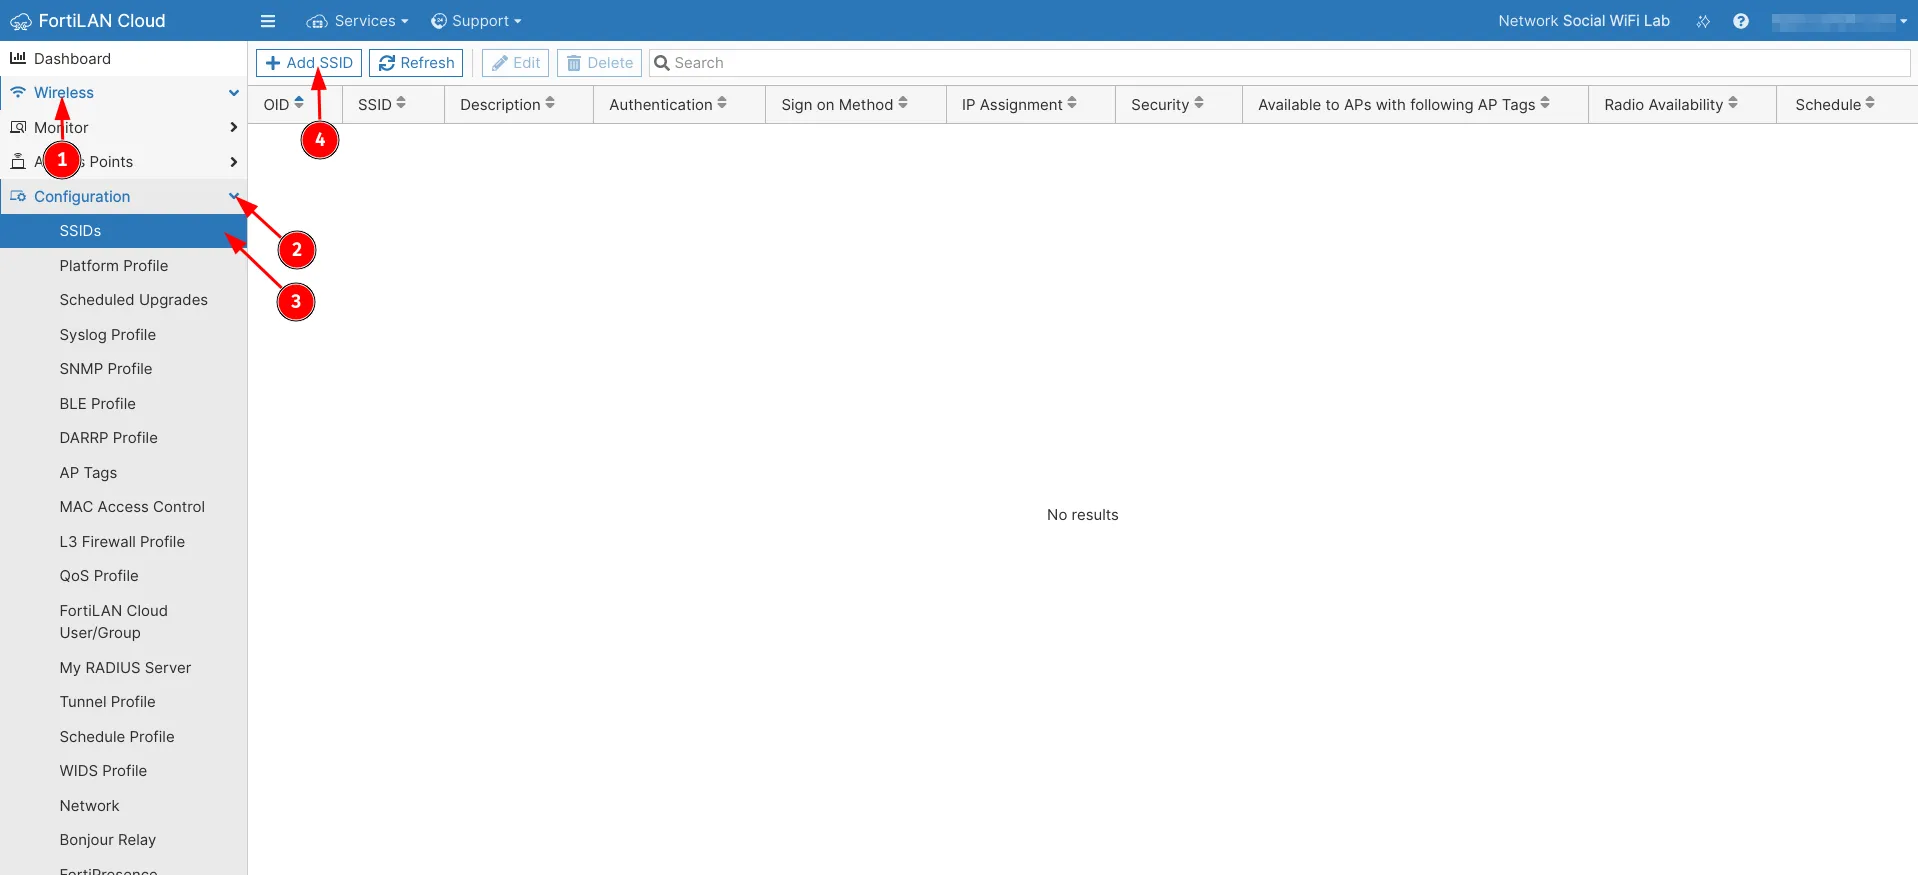
Configure as follows:
| SSID | Social WiFi |
|---|---|
| Description | Leave empty |
| Enabled | Checked |
| Broadcast SSID | Checked |
| MAC Access Control | Leave unchecked |
| Mesh Link | Leave unchecked |
| Authentication | Open |
| OWE Transition | Leave unchecked |
| Captive Portal | My Captive Portal |
| Captive Portal URL | https://login.socialwifi.com/ |
| Redirect URL | Specific URL - https://login.socialwifi.com/redirect/ |
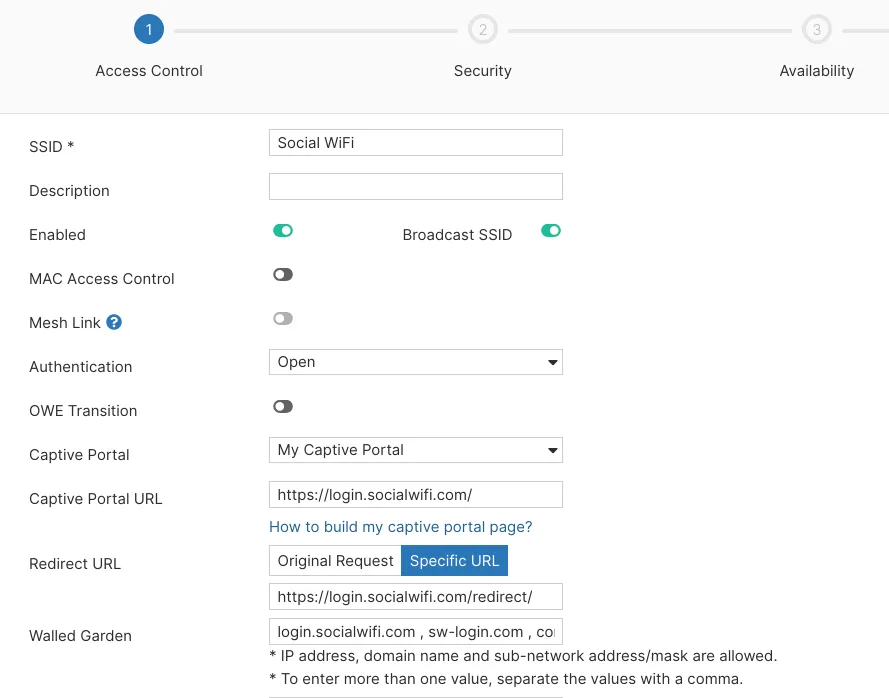
Walled Garden:
To add the Walled Garden domains, please copy and paste below into the Walled Garden section.
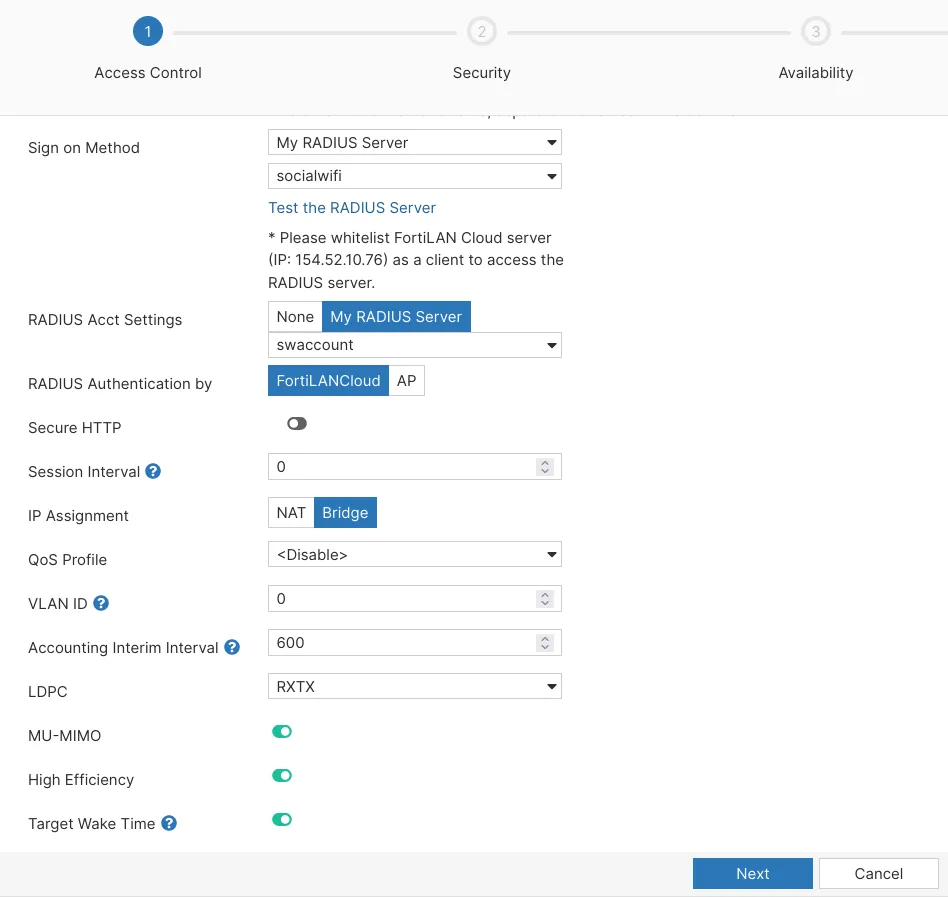
login.socialwifi.com , sw-login.com , connect.facebook.net , www.facebook.com , www.googletagmanager.com , www.googleadservices.com , googleads.g.doubleclick.net , www.facebook.com , facebook.com , static.xx.fbcdn.net , external-frt3-2.xx.fbcdn.net , twitter.com , api.twitter.com , x.com , api.x.com , pbs.twimg.com , abs-0.twimg.com , abs.twimg.com , www.linkedin.com , static-exp1.licdn.com , media-exp1.licdn.com , static.licdn.comScroll down, configure the RADIUS settings and press Next on the bottom of the page:
| Sign on Method | My RADIUS Server, socialwifi |
|---|---|
| RADIUS Acct Settings | My RADIUS Server, swaccount |
| RADIUS Authentication by | FortiLANCloud |
| Secure HTTP | Leave unchecked |
| Session Interval | 0 (default) |
| IP Assignment | Bridge |
| QoS Profile | Leave empty (default) |
| VLAN ID | 0 (default) |
| Accounting Interim Interval | 600 (default) |
| LDPC | RXTX (default) |
| MU-MIMO | Checked (default) |
| High Efficiency | Checked (default) |
| Target Wake Time | Checked (default) |
Press Next on the bottom of the page.
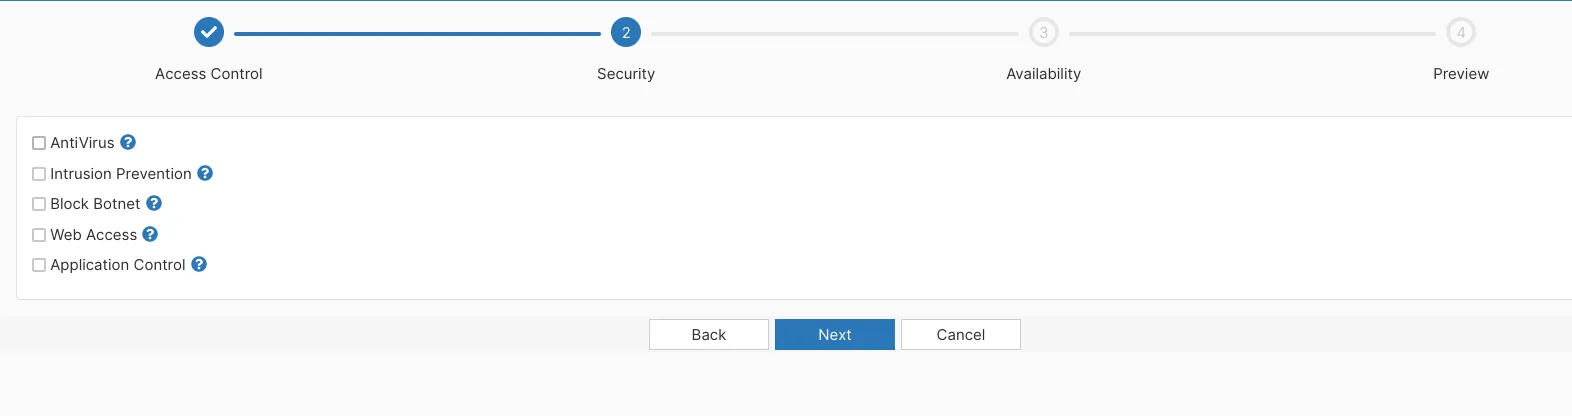
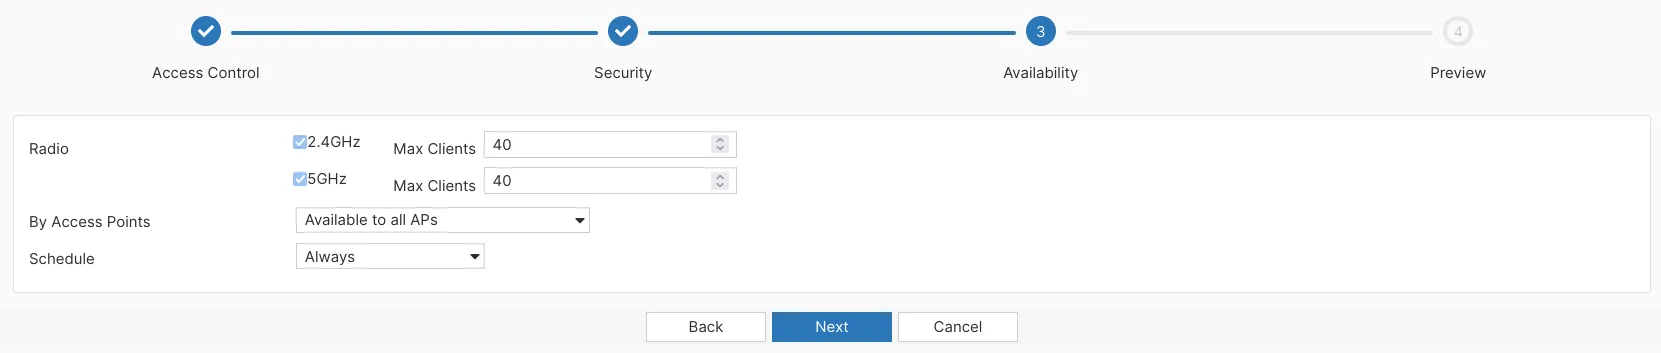
After clicking Next, you will see three more steps at the top of the page. They aren’t necessary, but if you need them, feel free to configure them as you wish.
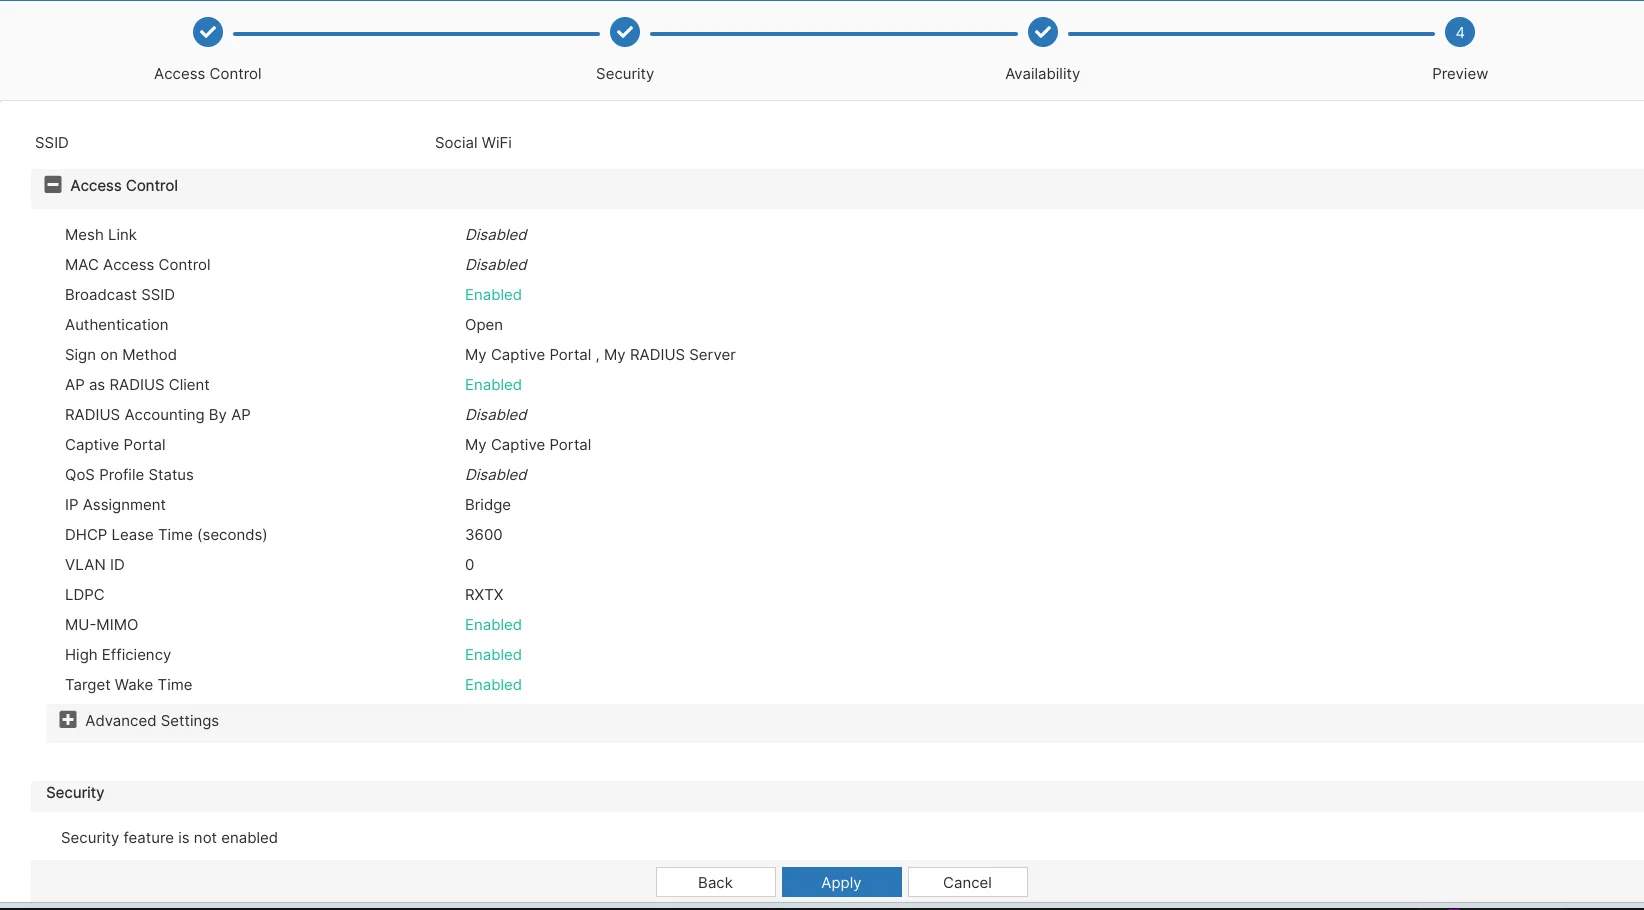
Now, after you press Apply, your new WiFi network should be up.
Adding the APs to Social WiFi Panel
In order to add a device to Social WiFi platform:
- Access your account in the Social WiFi Panel.
- Choose the correct venue to which you would like to add the device.
- In the “Access Points” tab, press “Add” (upper right corner), paste the MAC address you copied into the form (adding a name is optional) and click “Create”.
Test the solution
Connect with the WiFi network. You should see a login page. Go through the login process and, once finished, you should have internet access. You should see first connections and authorisations in the Social WiFi Panel’s statistics section.