Creating your first venue
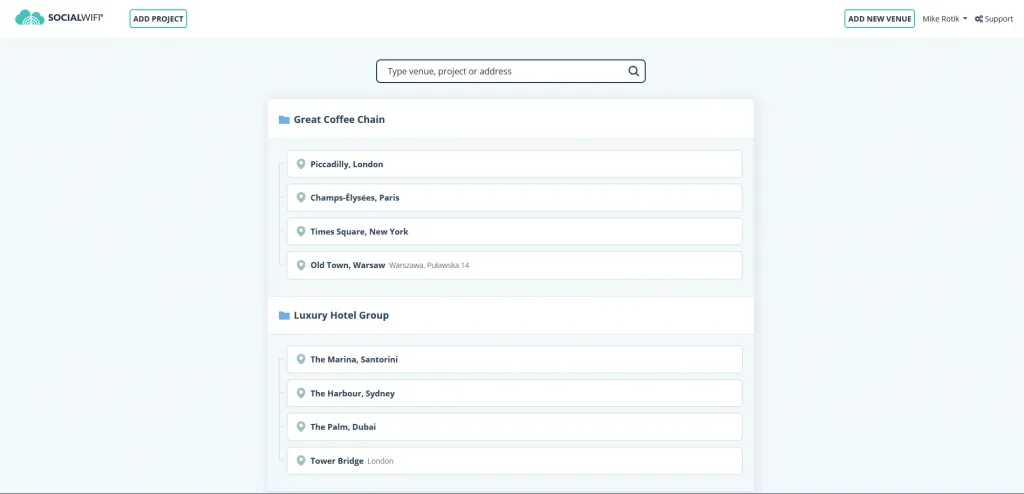
You need to enter the Project that you wish to add the venue to. Once a venue is added, it is impossible to delete it from a Project, so make sure you go into the correct Project. In the screen below, we have two Projects; Great Coffee Chain and Luxury Hotel Group.
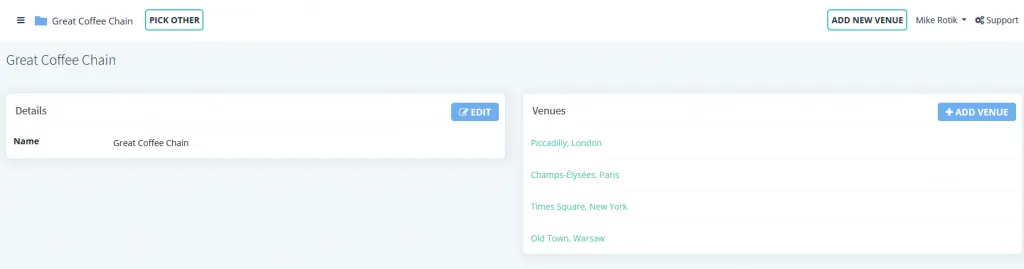
In the top right corner of the subsequent page, you will need to click ADD NEW VENUE.
You will now enter the new venue setup wizard, which you can see below. In this guide we will take you through all the steps, but we have a separate article on the Styling Setup, which is the 5th step of the process.
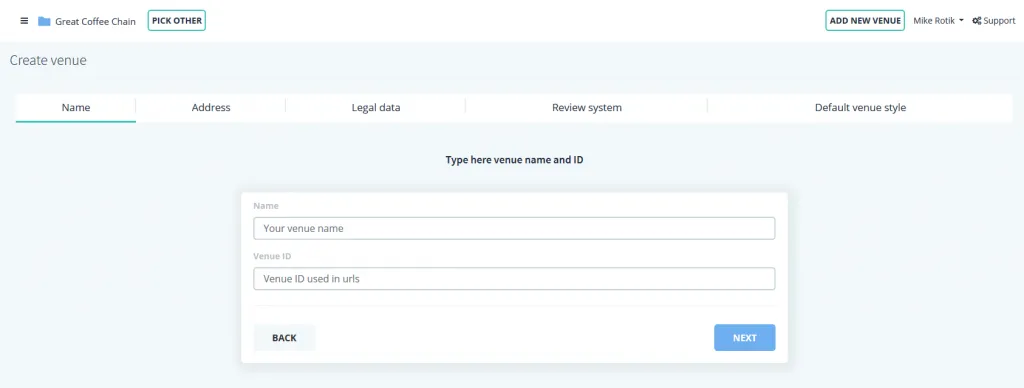
In the Name tab of the wizard, give the venue the name that you wish it to be identified as. The Venue ID is automatically populated at this stage, but you can manually adjust it. Whilst you can edit the Venue name in the future, the Venue ID cannot.
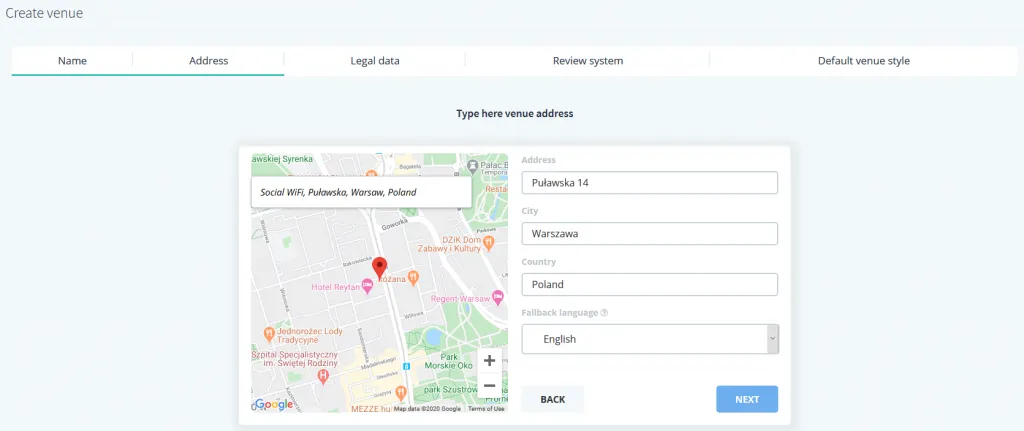
On the Address tab, you can use the Google search function to find your business. Just type in your name and select your business from the drop-down list. You can leave this section blank if you prefer and just click NEXT.
The Fallback Language is set at default to English, but you can adjust this if you prefer. As English is the most commonly spoke second language, we recommend not changing this.
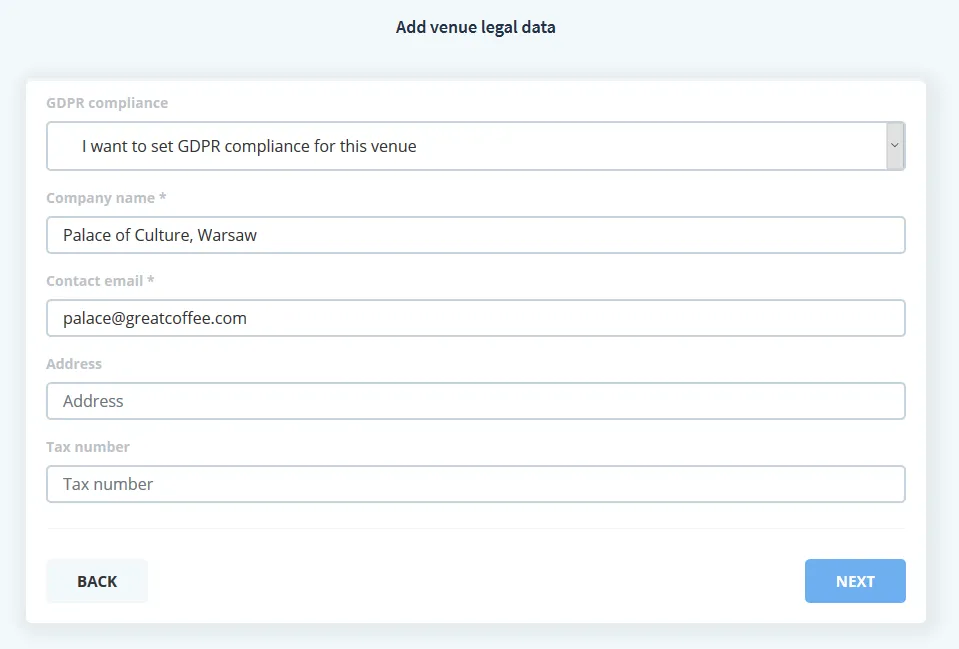
The Legal Data tab is important for setting GDPR and Data Protection policy information. The data that you put here, will be displayed to Users so that they can contact you about the use of their personal data. If you do not believe GDPR to be relevant to your business, you can select this preference on the drop-down box.
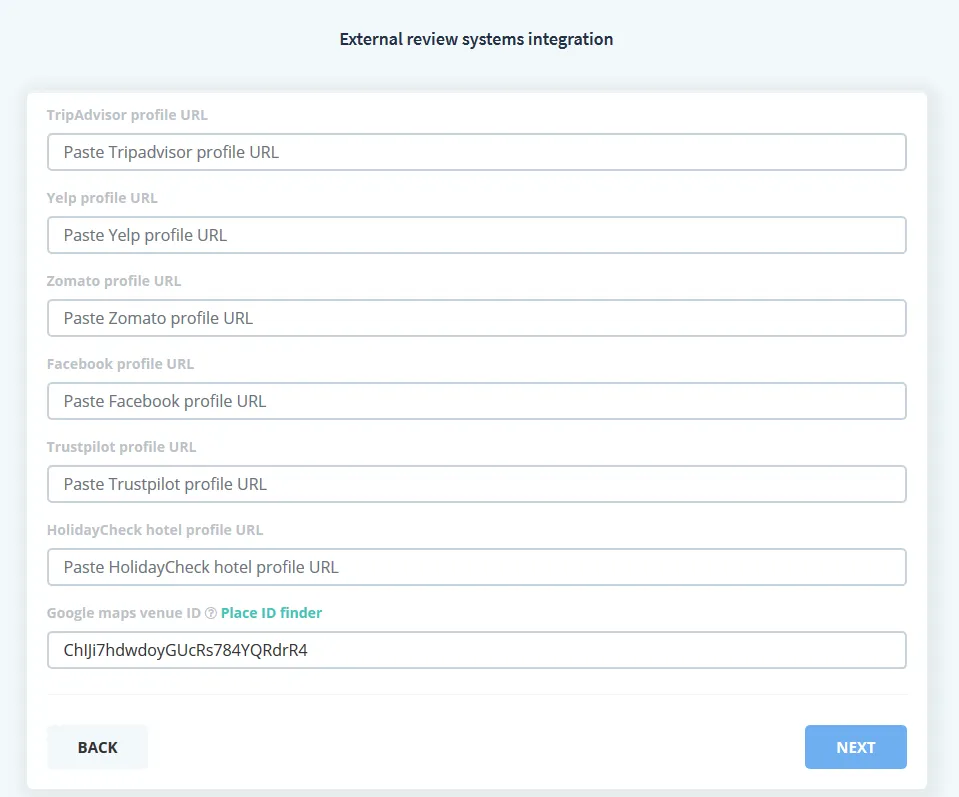
On the Review System section, you will paste in the URL of the review site pages that you wish users to navigate to if they leave a positive review through Social WiFi. If you leave any field blank, this review site will not be visible as an option. You can update these at any time.
If you used the Google address search function earlier in the process, you will already have the Google Maps ID populated. Google use a different method to set their links and you can check your venue by using the Place ID Finder tool.
Finally, you will come to the Venue Style section. As this stage has many options, we have a guide specifically for this.
This page is the final step of the Venue creation wizard. Once you have set your styling, you can click CREATE and you will be navigated to the new Venue within the Social WiFi dashboard to make further adjustments if you’d wish to.